Contents
Introduction
When you have a client pass away, you will need to update the client’s information. Updating the appropriate information in Tamarac CRM allows you to avoid sending emails to your deceased client or including them on any information sent to the surviving spouse.
Update the Contact for a Deceased Client
To update the contact for a deceased client, follow these steps:
-
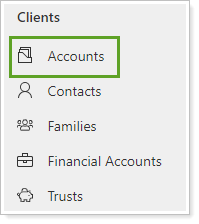
On the side menu, select Accounts under Clients.
-
Click the name of the account where you want to update a contact.
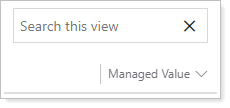
If needed, search for the account.
-
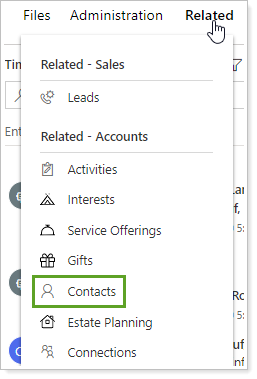
Click Contacts.

If your window is not large enough to show Contacts, click Related then click Contacts.
-
Click the name of the contact who passed away.
-
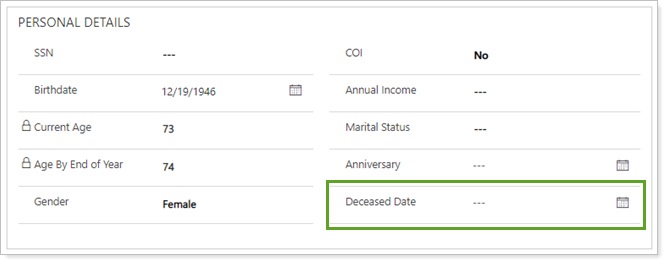
In the Deceased Date box, type the date the client passed away.
-
Click Save.
Update the Account
TIP
After you remove the contact, replace it with another contact. Replace the deceased primary or secondary contact with another contact for this account. If the deceased is the primary contact, you may need to make the secondary contact to the primary contact.
To update the account for a deceased client, follow these steps:
-
On the side menu, select Accounts under Clients.

-
Click the name of the deceased client's account.
If needed, search for the account.

-
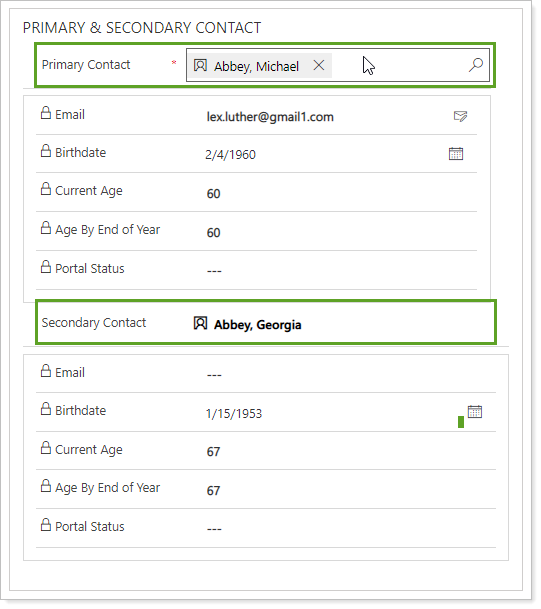
If the deceased client is listed in Primary Contact, click the Primary Contact. If the deceased client is listed in Secondary Contact, click Secondary Contact.
-
Click the X.

-
If deleting the primary contact, replace the deleted contact with another name.
-
Update the Name, Address Name Line, and Salutation fields on the account for the surviving contact on the account.
-
Create a task to deactivate the deceased contact at the end of the year. The contact needs to remain active through the current year to maintain any RMD requirements you are tracking on the RMD report.
Add a Connection
Adding a connection between the account and the deceased’s contact allows you to keep the history for this client and deactivate the deceased’s contact keeping your system streamlined without losing vital information.
To add this connection, follow these steps:
-
On the side menu, select Accounts under Clients.

-
Click the name of the applicable account.
If needed, search for the account.

-
Click Connections.

-
On the menu next to Connect, click To Another.

-
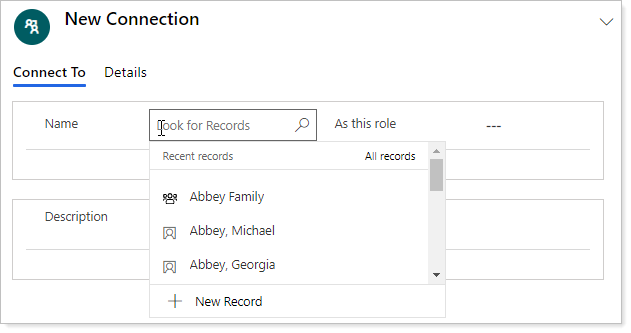
Click Name on the New Connection page. Type the last name of the deceased contact and select the contact when it appears.
-
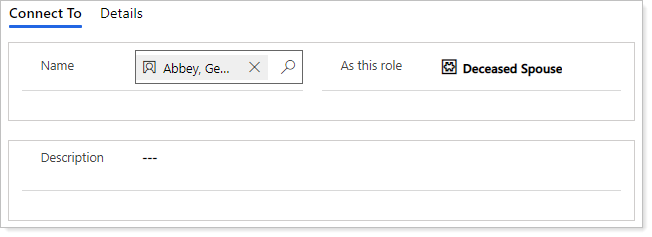
Enter Deceased Spouse in As this role.
-
Type any additional details you'd like to add, such as the deceased date, in Description.
-
Click Save.
The newly created connection will display in the Active Connection Associated View.
