
Contents
|
Use Calendly Flow Templates in Power Automate Enable the Calendly Integration Authenticate the Dataverse in Power Automate Enable the Integration in Calendly |
Introduction
Calendly’s integration with Microsoft Dynamics 365 offers a streamlined connection between your scheduling activities and Tamarac CRM processes. By incorporating this integration into your daily workflows, you can reduce manual tasks, ensure data accuracy, and enhance overall operational efficiency.
With the Calendly integration, you can do the following:
-
Automatically create or update leads when meetings are booked, ensuring each lead is accurately linked to the correct new or existing prospect and appointments are documented in CRM.
-
Push real-time updates when events are canceled or rescheduled, keeping your CRM data and communication current without additional effort.
This article covers steps to enable and use Calendly in Dynamics 365.
Enrollment
To enable this integration, your organization must have the following:
-
Calendly Enterprise plan.
-
Microsoft Dynamics 365 Sales Enterprise plan.
Use Calendly Flow Templates in Power Automate
To maximize the value of the integration, Calendly recommends taking advantage of their pre-built flow automations, designed to address key scheduling support across the Microsoft Dataverse.
Calendly’s primary Power Automate flow templates offer the following automations:
| Template | flow automation |
|---|---|
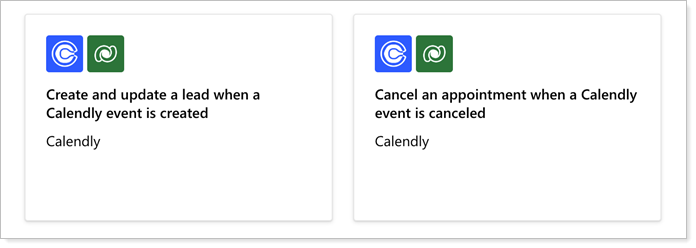
| Create and update a lead when a Calendly event is created |
When a Calendly event is created, the flow triggers to create or update the existing lead information, and create a new appointment in Dynamics 365. Newly created leads will be associated with the owner if one exists. |
| Cancel an appointment when a Calendly event is canceled |
When a Calendly event is canceled, the flow triggers to cancel the corresponding appointment for that contact in Dynamics 365. |
Enable the Calendly Integration
A Calendly Owner or Admin must enable the Calendly and Dynamics 365 integration in Calendly and Power Automate. To enable the Calendly integration, you must:
-
Authenticate your Microsoft Dataverse in Power Automate.
-
Enable the integration in Calendly.
-
Authenticate the Calendly flow connector in a Power Automate template.
Authenticate the Dataverse in Power Automate
To set up the Calendly connector in Power Automate, you must confirm your Microsoft Dataverse is authenticated in Power Automate. This is typically automatically set up upon logging in to Power Automate and authenticating your CRM site.
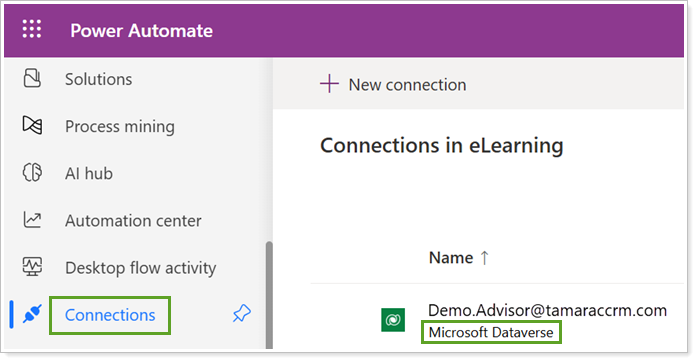
When you're authenticated, you should see the following in Power Automate:
-
The Environment is set to your production site, without the word Default after it.

-
In Connections, it lists your Microsoft Dataverse and Dynamics credentials.
Reach out to Support for additional guidance if needed.
Enable the Integration in Calendly
To set up the Calendly integration:
-
From your Calendly Home page (external link opens in a new tab), select Integrations & apps.
-
From Integrations (external link opens in a new tab), select Microsoft Dynamics 365.
-
Select Connect Microsoft 365.
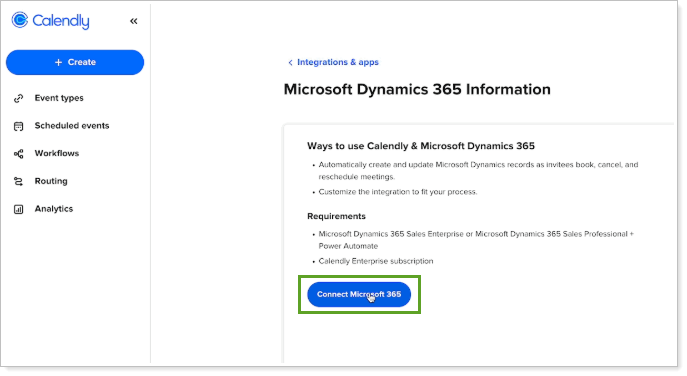
You’ll be automatically redirected to Power Automate to configure the Dynamics 365 integration.
For more information on enabling the Calendly integration, see Calendly + Microsoft Dynamics 365 via Power Automate (external link opens in a new tab).
Authenticate Calendly in Power Automate
To authenticate Calendly in Power Automate after enabling the integration, you can add a Calendly flow connector directly to one of their prebuilt templates.
You must first retrieve a Personal Access Token from Calendly to complete the process in Power Automate. For steps, see Create a personal access token (external link opens in a new tab).
To authenticate Calendly in Power Automate:
-
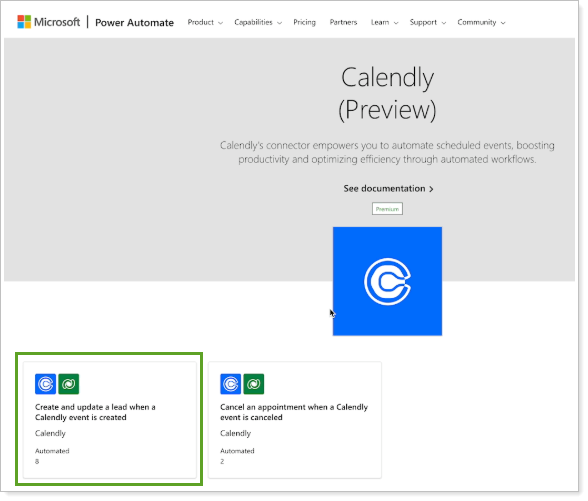
If you just enabled the Calendly integration, you are automatically redirected to the Calendly marketplace page in Power Automate.
To begin the connection process, select one of the templates:
-
Create and update a lead when a Calendly event is created.
-
Cancel an appointment when a Calendly event is canceled.
Important
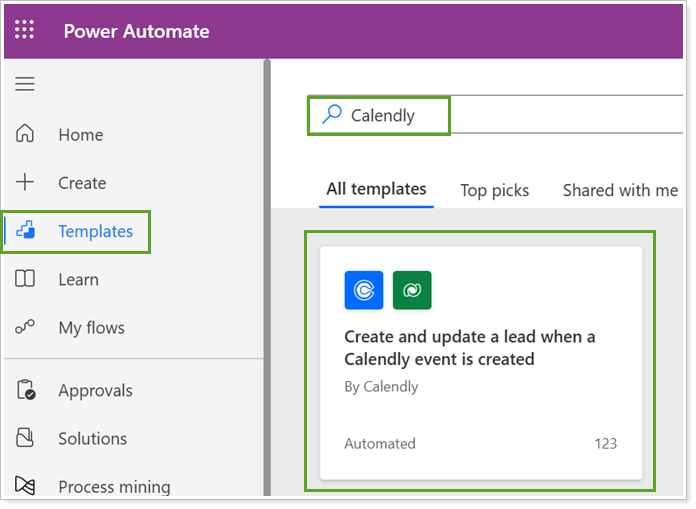
If you are not redirected or accidentally exit the marketplace page, you can access the Calendly templates in Power Automate directly.
From Power Automate, select Templates and search for Calendly under All templates. Select one of the desired templates and proceed to authenticate the Calendly connector.
-
-
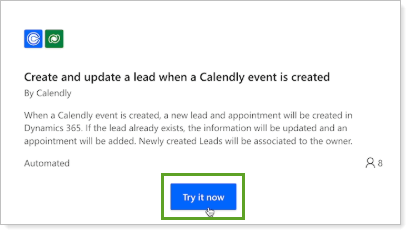
If you select the template from the Calendly marketplace page, select Try it now.
-
If it doesn’t automatically authenticate you, select Sign in to enter your Power Automate credentials.
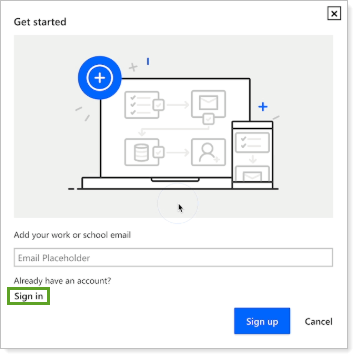
The template page opens in Power Automate.
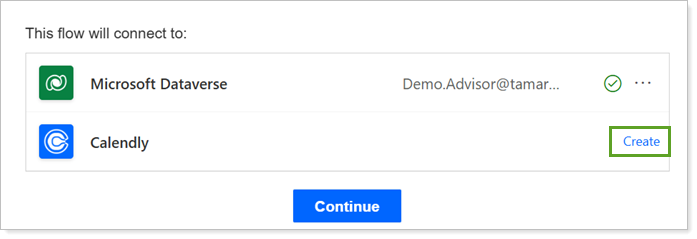
-
In the Power Automate template, under This flow will connect to, your Microsoft Dataverse connection should appear as connected.
Under Calendly, select Create to enter your personal access token and connect your Calendly account.
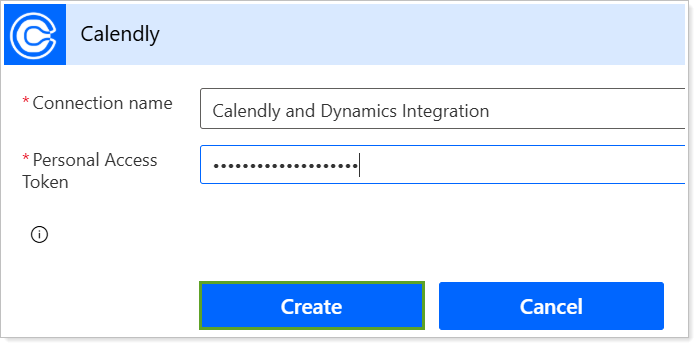
-
In Connection name, enter a name for your flow connection.
-
Under Personal Access Token in Power Automate, enter your personal access token from Calendly and select Create.
-
Select Continue.
The flow editor page opens. From there, you can edit the flow or simply save the pre-built flow.
-
Select Save.
Troubleshoot the Calendly Integration
For troubleshooting support, use the following resources:
-
Calendly Support Team. Reach out to the Calendly Support team to help troubleshoot the integration.
-
Calendly Help Center. For additional support, see Microsoft Dynamics 365 via Power Automate FAQs (external link opens in new tab).