 Back
Back Home > Tamarac Reporting > Clients and Client Portals > Client Portals > New Client Portal > Customize New Client Portal Dates and Date Periods
|
Back |
Home > Tamarac Reporting > Clients and Client Portals > Client Portals > New Client Portal > Customize New Client Portal Dates and Date Periods
|
Customize New Client Portal Dates and Date Periods
|
Default Dates and Date Periods |
In the client portal configuration tool, you choose which dates and date periods are available to your clients. These dates and date periods appear on reports pages, allowing clients to see data for the selected period. For example, if you include the Year to date date period, a client could choose to see their account performance for Year to date.
This topic provides steps for how to add and remove dates and date periods for the Reports templates in your firm.
The client portal shows Tamarac Reporting data for the standard client portal date or date period definitions.
If they aren’t specifically defined, the following are defaults:
Start date is the account inception date.
End date is the Tamarac Reporting enterprise as-of date.
You can't remove a date or date period that's actively used in a page or widget. Select In use next to a date or date period to see where it's in use.
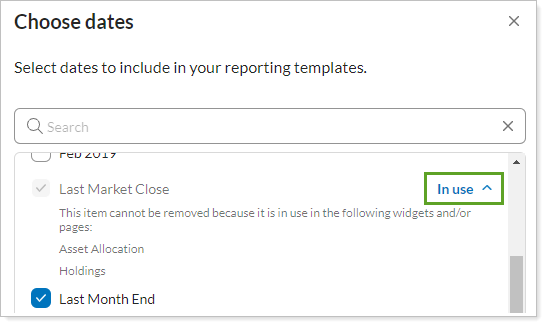
The following dates and date periods are included in widgets and pages by default and can't be removed:
Last market close
Month to date
Inception to date
The steps describe how to add a date to the client portal. Use the same steps in the Date Periods section to manage date periods.
To add a date:
On the Client Reporting menu, select Configuration Tool (New).
Select Reports.

Select Customize Pages/Widgets.

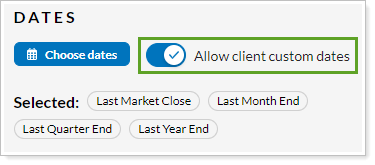
In Dates, select Choose dates.

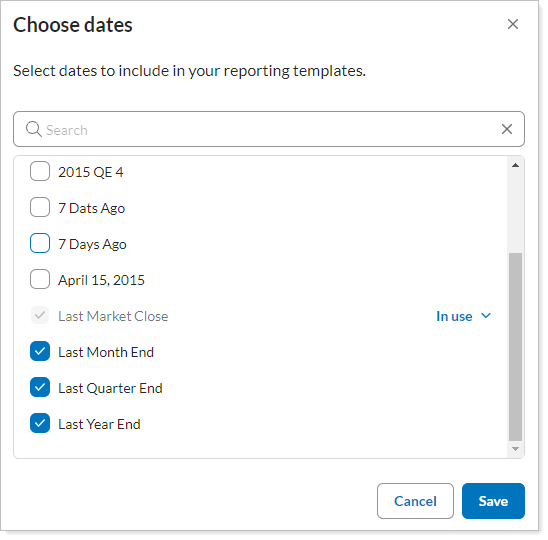
In the Dates dialog, you'll see a list of all your Tamarac dates. Select the check boxes next to the dates you want to make available to clients when they're looking at reports and pages.
By default, the client portal allows your clients to create their own custom dates. To prevent clients from creating their own dates, turn off Allow client custom dates.
When you have the full list of dates, select Save.
The steps describe how to remove a date from the client portal. Use the same steps in the Date Periods section to manage date periods.
To remove a date:
On the Client Reporting menu, select Configuration Tool (New).
Select Reports.
Select Customize Pages/Widgets.
In Dates, select Choose dates.
In the Dates dialog, you'll see a list of all your Tamarac dates. Clear the check boxes next to the dates you want to make available to clients when they're looking at reports and pages.
You can't remove dates that are currently being used by pages or widgets. Select In use to review where the date is being used.
When you have the full list of dates, select Save.