
Contents
Introduction
Branding templates determine the look and feel of the client portal experience, including your firm’s logo. To make sure your logo looks its best, you can upload separate logos for Light Mode and Dark Mode. By default, the Branding Starter template comes with a generic logo. You can use this logo or replace it with a custom logo.
![]()
Because you may use different logos for different Branding templates, each Branding template tile shows all the logos associated with that template.
This page provides steps for how to upload your logo to a Branding template.
Logo Image File Requirements
Logo image files must:
-
Be PNG or SVG format. If the file is not one of the accepted file types, you'll see an error and have the opportunity to choose another file.
-
Not exceed 1 MB
All images are subject to virus scan upon upload.
Upload Your Logo to a Branding Template
These steps describe uploading a logo to a light mode section. Follow the same directions for a dark mode logo.
To upload your logo to a Branding template:
-
On the Client Reporting menu, select Configuration Tool (New).
-
Select Branding.
-
Select the Branding template where you want to upload the logo.
-
In the Light Mode section under Upload your light mode logo, click Upload.

-
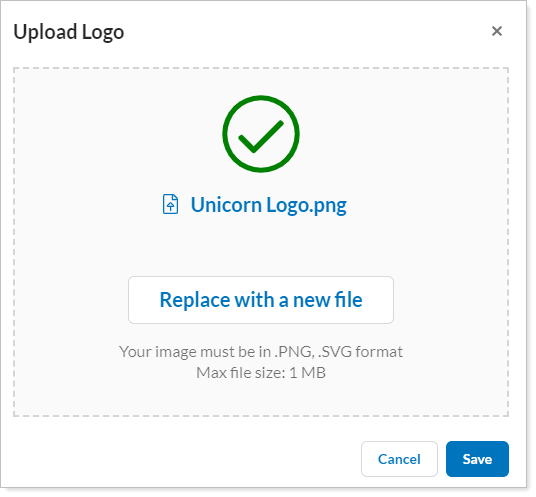
Drag and drop or click Browse files and navigate to and select the logo image on your computer.

-
Select Save. If you accidentally chose the wrong file, select Replace with a new file to start over.
You'll see your logo added to the Light Mode section and to the Branding template tile.

-
To keep working on the template later, select Save as draft. Firm users can see and edit draft templates, but can't assign them to clients. To make the template available to assign to clients, select Publish.