
This dialog allows you to format how text appears on PDF reports within Tamarac so your PDF report text matches your firm's font and branding standards. Depending on what text you're editing, the exact settings available may vary.
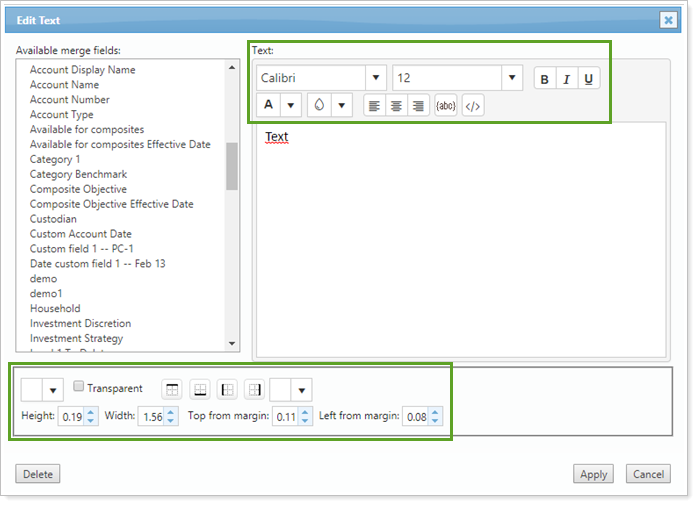
You can use the following settings to format text:
| Setting | What the Setting Changes |
|---|---|
|
Changes the font. |
|
Changes the font size. |
|
Formats the font as bold. |
|
Formats the font as italicized. |
|
Formats the text as underlined. |

|
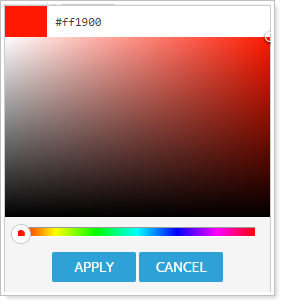
Changes the color of the font. Click ▼ to open the Color Selection window.
On the Color Selection window, you select a color by clicking anywhere in the color field or entering an exact hexadecimal value. Click Apply to close the dialog. |

|
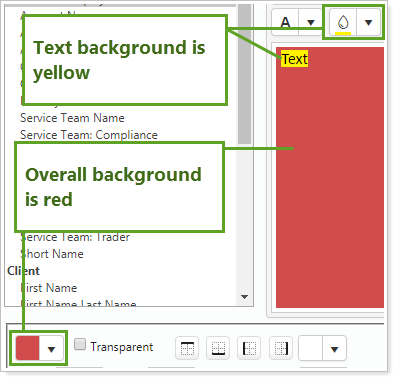
Changes the background color of the text. Click ▼ to open the Color Selection window.
On the Color Selection window, you select a color by clicking anywhere in the color field or entering an exact hexadecimal value. Click Apply to close the dialog. |
|
|
These settings allow you to set the color of the overall background. To set the background as a specific color, click ▼ to open the Color Selection window.
To set the background as transparent, select Transparent. What's the Difference between these background settings?The The
|

|
Left justifies the text. |

|
Centers the text. |

|
Right justifies the text.
|

|
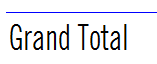
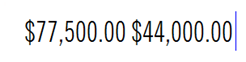
Adds a border to the top of the text. In the picture below, the blue line represents a top border for the grand total line:
The width of the border is 1px. You cannot change the width of the border. Customize the color of the border by clicking the Border Color button. |

|
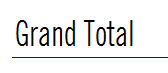
Adds a border to the bottom of the text. In the picture below, the blue line represents a bottom border for the grand total line:
The width of the border is 1px. You cannot change the width of the border. Customize the color of the border by clicking the Border Color button. |

|
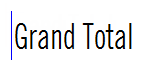
Adds a border to the left of the text. In the picture below, the blue line represents a left border for the grand total line:
The width of the border is 1px. You cannot change the width of the border. Customize the color of the border by clicking the Border Color button. |

|
Adds a border to the right of the standard or custom text. In the picture below, the blue line represents a right border for the grand total line:
The width of the border is 1px. You cannot change the width of the border. Customize the color of the border by clicking the Border Color button. |
|
Changes the color of the borders for the standard or custom text. Click ▼ to open the Color Selection window.
On the Color Selection window, you select a color by clicking anywhere in the color field or entering an exact hexadecimal value. Click Apply to close the dialog. The color you select will change the border color for all borders for the item. You cannot specify a different color for each border. |
| Top from margin | The number of inches from the top of the page that the picture or text starts. |
| Left from margin | The number of inches from the left edge of the section that the picture or text starts. |
| Height |
For text, the height of the text you've included. For images, the height of the image in the custom section. The printed version of your report will always print the actual size of your image, regardless of the height specified or displayed while creating your report. |
| Width |
For text, the width of the text you've included. For images, the height of the image in the custom section. The printed version of your report will always print the actual size of your image, regardless of the width specified or displayed while creating your report. |

|
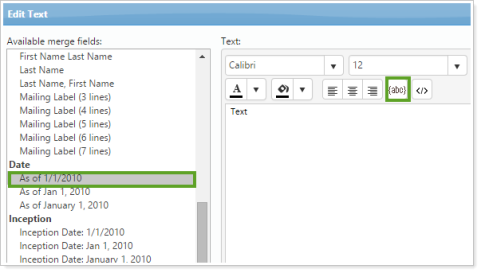
Inserts the selected merge field.
|

|
Allows you to directly edit the HTML. In most cases, we do not recommend selecting this option. |
For more information on customizing PDF reports, see Learn More About Working with PDF Reports.