Contents
Introduction
Templates are useful for saving all content and formatting for future use. Examples include client addresses on Labels and notification emails.
Create an email template
You can use email templates to send an email to your clients through Direct Emails and Quick Campaigns in CRM. Templates can include web-facing images and attachments.
To create an Email Template, follow the below steps.
-
Navigate to Setup and select Templates. Choose Email Templates.
-
Select New.
-
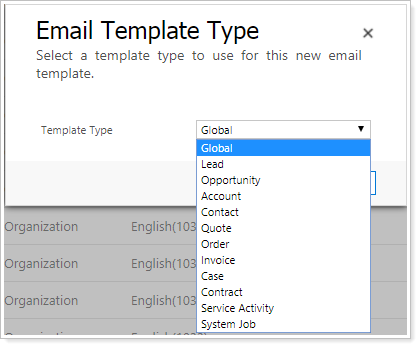
Select the Template Type, for example Contact, to make it available for use when creating a Quick Campaign or Direct Email on that record type.
Note
You can't send Direct Emails to accounts. If you plan to use an email template to send a Direct Email, choose Contact or Lead.
-
Select OK.
-
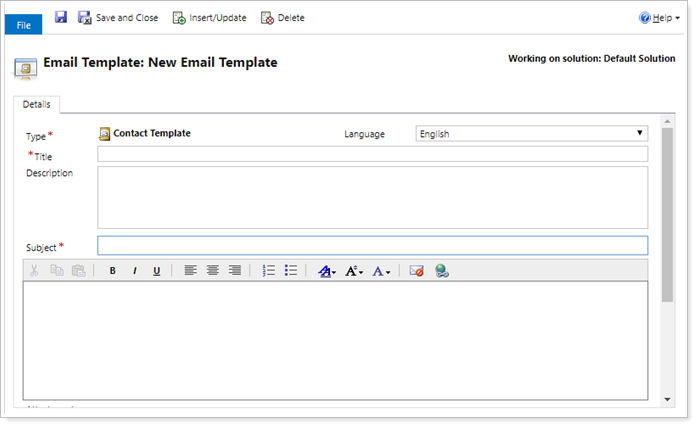
Fill out the template by entering a Title, Subject, and Description.
-
Optionally, follow the additional steps to insert images, attachments, or dynamic fields to the template.
-
Once you add all desired elements, select Save
 to save the template.
Insert an attachment
To insert an attachment, follow these steps:
-
In the template, under Attachments, select New Attachment to add files as needed.
You can add multiple attachments to an Email Template, but the total file size must not exceed 5MB.
-
Select Save to add the attachments to the Email Template.
Insert an image
To insert images directly into the body of the email, they must be publicly accessible on the web. We recommend reaching out to your IT or website provider for assistance.
To add an image, follow these steps:
-
Upload the image to a publicly accessible webpage.
-
Navigate to the image, right click on it, then select the Copy option.
-
In the template, press CTRL+V or the Paste option in the actions to paste the image into the body of the email.
-
Position the image where you would like it to appear in the body of the email.
-
Save the template.
Insert a dynamic field
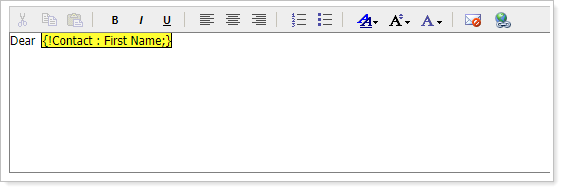
In the subject and body of your email, you can use dynamic fields to personalize the email you send. For example, you can include the first name of your clients.
To add a dynamic field, follow these steps:
-
At the top of the email template, select Insert/Update.

-
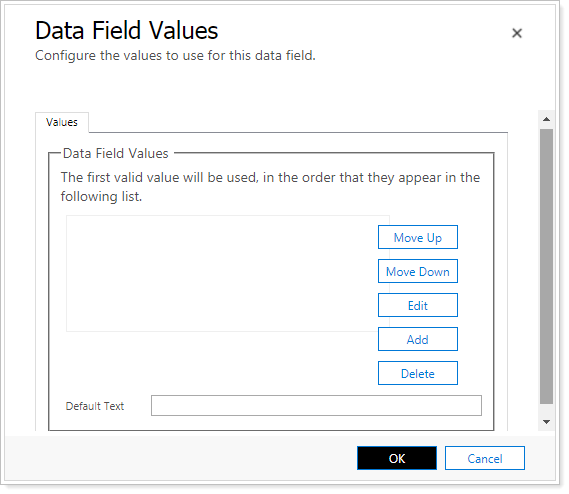
In the Values window, select Add.
-
In the Record Type list, choose the record type you want to add a value for.
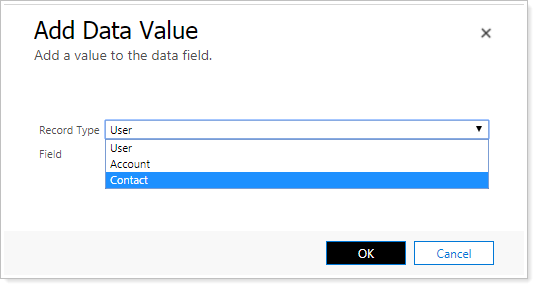
-
In the Field list, choose the field from the contact you want to include in your email.
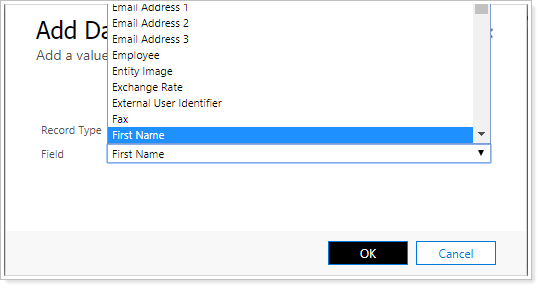
-
Select OK to add the field to the list, then select OK to add the field to the email. Your dynamic field will appear where your cursor was in your email, highlighted in yellow.