
Contents
Introduction
Our best practice is to use a Marketing List to identify recipients. Marketing Lists keep track of list membership for accounts, contacts, or leads to be used for regular communications from CRM. There are two kinds of marketing lists:
-
Dynamic Marketing Lists.These are maintained using a query similar to an Advanced Find. They will update automatically as your client data changes.
-
Static Marketing Lists.These do not automatically update, allowing you a finer level of control over the list membership.
Note
Inactive records are excluded from both Static and Dynamics Marketing Lists automatically when running a Quick Campaign. For this reason, you cannot use this feature to drip on disqualified Leads.
Tamarac CRM allows you to set the Preferred Method of Contact for your clients, as well as specify if they do not want to receive mass emails or paper mail. This can be tracked on both the account and individual contact records in CRM.
Tamarac’s best practice is to set the contact preferences appropriately on both account and contact records. This will ensure that you honor your clients Contact Preferences whether you’re contacting your accounts or individual contacts. Additionally, you can easily exclude contacts you may not want to include, like minor children, by using contact preferences. This is important when sending an email via a Quick Campaign as it will allow you to create a list of only those clients that should receive emails in bulk.
Example: Use a Marketing List for Contact Preferences
Below is an example of how to create a client email recipient list using a Marketing List using contact preferences.
-
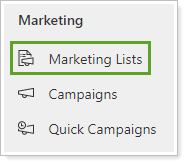
On the side menu, select Marketing Lists under Marketing.
-
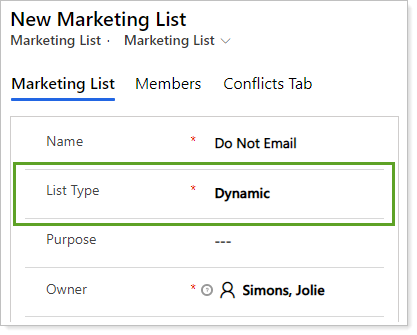
Click New.
-
Change List Type to Dynamic.
-
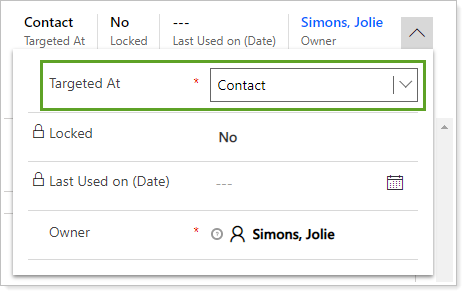
Set Targeted At to Contact.
-
Click Save.
-
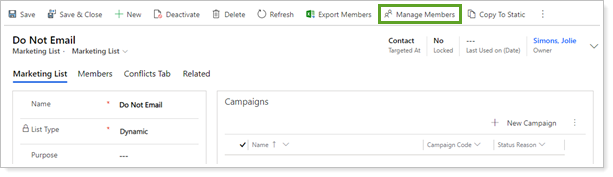
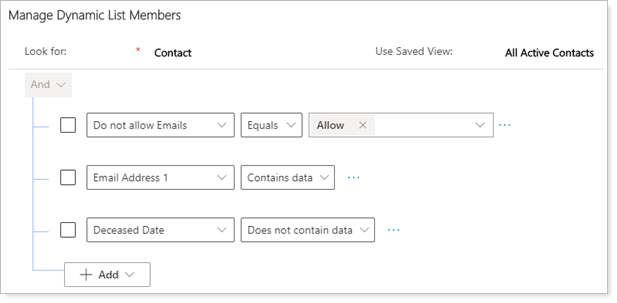
Click Manage Members
-
In Use Saved View, select All Active Contacts.
-
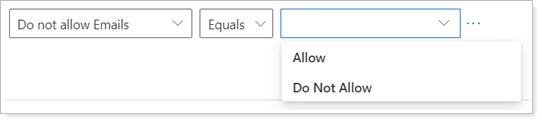
In Status, select Do not allow Emails.
-
Set the operator as Equals.
-
In the blank list next to Equals, select Allow.
-
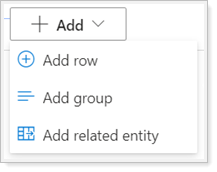
Click Add and select Add row.
-
Enter Email Address 1 and set the operator as Contains data.
-
Click Add and select Add row.
-
Enter Deceased Date and set the operator as Does not contain data.
-
Click Add and select Add related entity.
-
Select Account/Household (Account) and Contains data. A row appears underneath.
-
Select Type, set the operator as Equals, and select Household.

-
Select Find.
-
Select Use query.
Advanced Find
As an alternative to Marketing Lists, you can use an Advanced Find to create your lists for Quick Campaigns. Advanced Finds are recommended if this list is for a one-time use or if exporting to an external marketing program.
As an example, you can create a view for sending an email via Mail Merge to just the Primary Contact of your Accounts. This view looks for Accounts and Primary Contacts whose Contact Preferences are set to allow emails.
To create this view, follow these steps:
-
Open an Advanced Find by clicking
 in the navigation bar.
 -
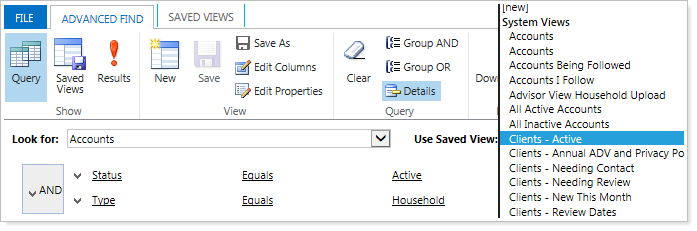
In the Look for list, click Accounts, then in the Use Saved View list, click Clients – Active.
-
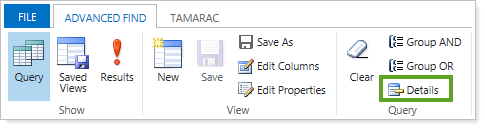
In the ribbon, if Details is not already highlighted in blue, click Details, which will allow you to add filters.
-
Click Select, then click Do not allow Emails. Set the operator to Equals. Click
 , click Allow, click
  , then click OK.
-
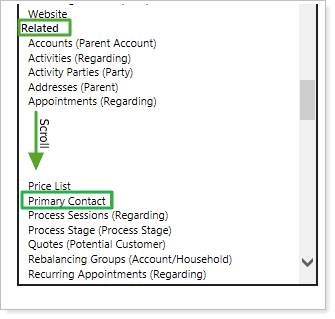
Click Select below the line you just created, then scroll down through the Related section to choose Primary Contact.
-
Below Primary Contact, click Select, then choose Do not allow Emails. Set the operator to Equals. Click
 , click Allow, click , then click OK.
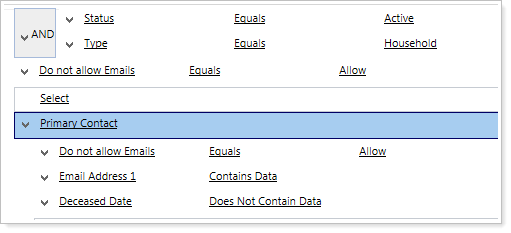
-
Select Select and choose Email Address 1. Set the operator to Contains Data. This will ensure that only those Accounts where the Primary Contact has an email address will be returned in the results.
-
Select Select and choose Deceased Date. Set the operator to Does Not Contain Data.
-
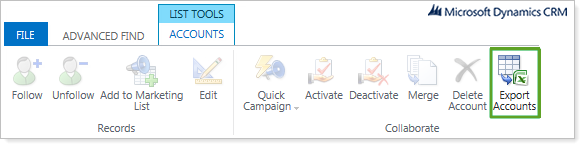
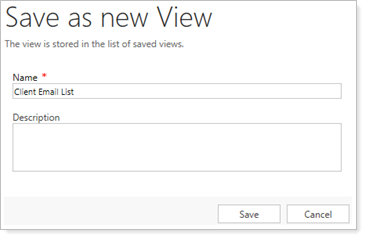
If you’re going to export this list to use in an external program, you can select Edit Columns to specify data points. If you wish to save this view for use again in the future, select Save As.
-
In the Save As New View window, type Client Email Mail List in the Name field and then click Save. The Client Email List will now display in the My Views list for Accounts.
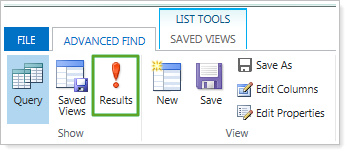
-
Select Results from within the Advanced Find.
-
If desired, proceed to start a Quick Campaign.