Contents
|
Access the Tamarac Power Automate Custom Solution |
Introduction
You can create and automate workflows and tasks across multiple applications and services with Power Automate flows, designed to replace legacy workflows and enhance your processes in Tamarac CRM.
This article covers general steps to enable Power Automate flows for use in Tamarac CRM.
Before You Start
You must have appropriate permissions to use and enable Power Automate flows.
The following are the roles and permissions available:
| user | permissions |
|---|---|
| Any User with Dynamics 365 License |
|
| CRM System Administrator or Global Admin for Microsoft 365 |
|
Flow Implementation Steps
Each new Power Automate flow or flow template may require different steps to build and activate it for use in Tamarac CRM.
Prior to turning on a Power Automate flow, complete the necessary steps based on the individual flow requirements:
-
Disable legacy workflows. If a Power Automate flow or flow template is designed to replace existing workflows, disable the legacy workflow to ensure no automated task duplication.
-
Add flows to custom solution. Whether you build a new flow or use a flow template, you must first add it to the Tamarac Power Automate (Custom) Solution.
-
Copy Tamarac flow templates. If you choose to use a Tamarac flow template, copy the template and make any necessary customizations.
-
Customize flow templates. If you copy a Tamarac template or build a flow from a Microsoft template, you may have to update generic information provided in the template in order to reference the correct records in your CRM site.
-
Add flow connectors. If you need to integrate apps for the flow, you must authenticate the app in Power Automate.
Once all prerequisites steps are complete, you can turn on the Power Automate flow.
If you are unsure what steps may be required for your desired flows or flow templates, reach out to Support for assistance.
If you use a Tamarac flow template, visit the respective flow page to review the steps required. For more information, see Use Power Automate Flow Templates.
Disable a Legacy Workflow
To turn off an automated business process or workflow:
-
Open PowerApps (external link opens in a new tab). Ensure that the Environment is set to your production site. This should be the environment without the word Default after it.

-
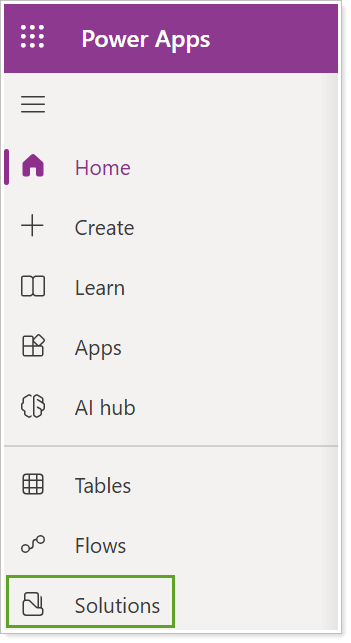
Select Solutions.
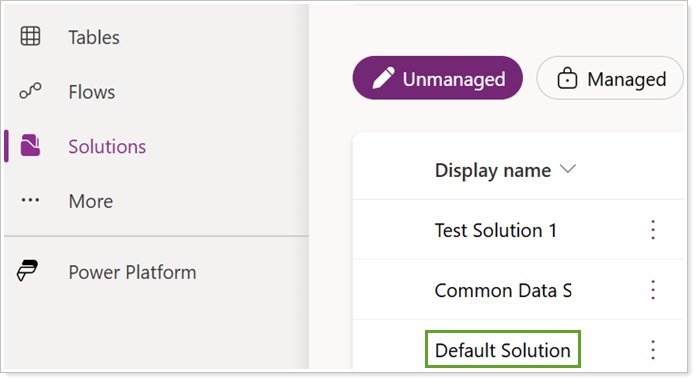
-
Select Default Solution.
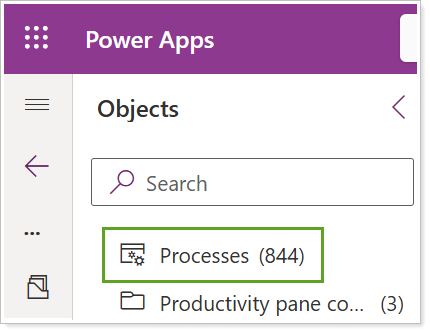
-
In Objects, select Processes.
-
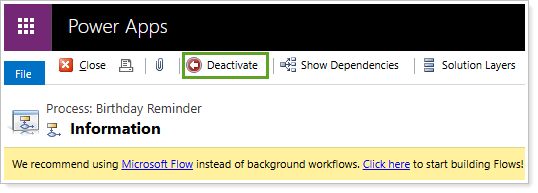
Select the desired process and select Turn off in the command bar.
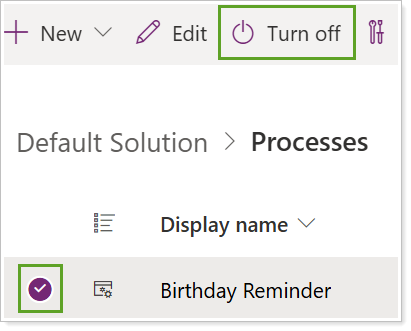
Alternatively, select the title to open the process and select Deactivate.
Access the Tamarac Power Automate Custom Solution
We recommend that you add and enable flows in the Tamarac Power Automate (Custom) Solution.
To access the Tamarac custom solution in Power Automate:
-
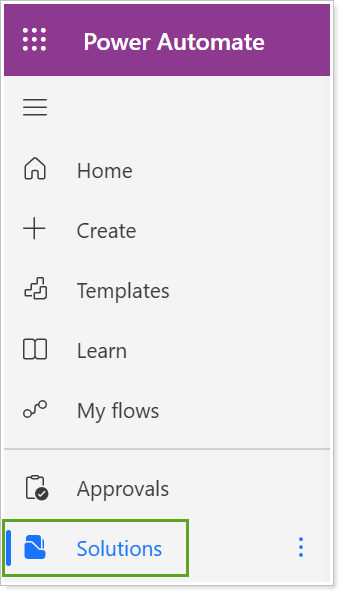
From Power Automate (external link opens in a new tab), select Solutions.
-
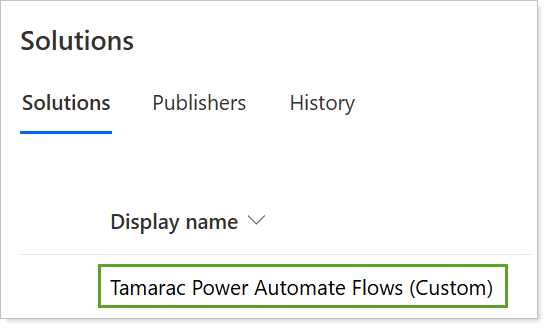
Select Tamarac Power Automate Flows (Custom).
.
Add Flow or Flow Template to Custom Solution
If you don't see your custom flow or flow template in the Tamarac Power Automate Flows Custom Solution, you must add it.
To add a flow or flow template to the custom solution:
-
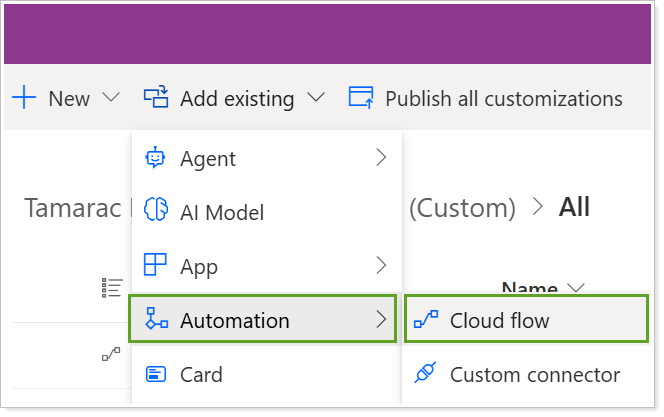
From the Tamarac Power Automate Flows Custom Solution, select Add existing.
-
Under Automation, select Cloud flow.
-
In Add existing cloud flows, select the desired templates or flows and Add.
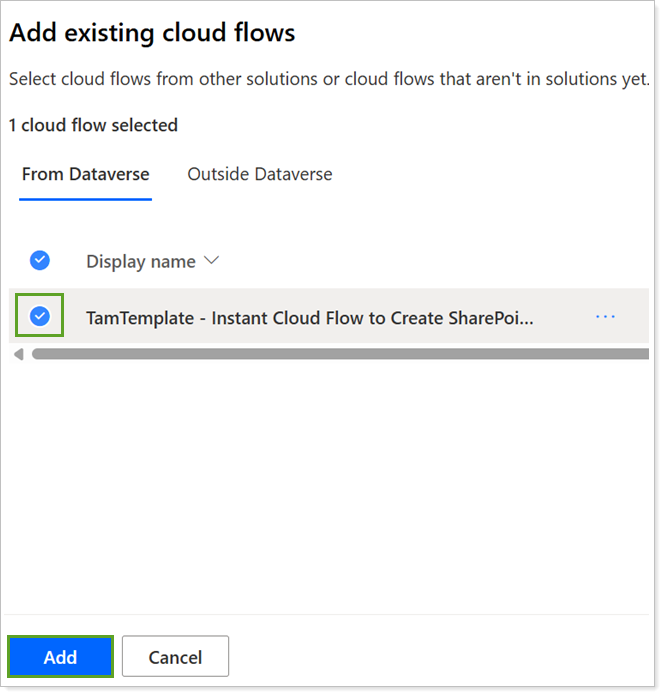
If you added a Tamarac flow template, complete the steps to copy the template. If you added a new Power Automate flow, you can proceed to the steps to turn on the flow.
Copy a Tamarac Flow Template
Once a Tamarac flow template is added to or already available in the Tamarac Power Automate Custom Solution list, you can create a copy to tailor it to your own needs. If you update and turn on the template in the custom solution without copying it, your changes may be overwritten in future releases since it is part of the managed solution.
To copy a Tamarac flow template:
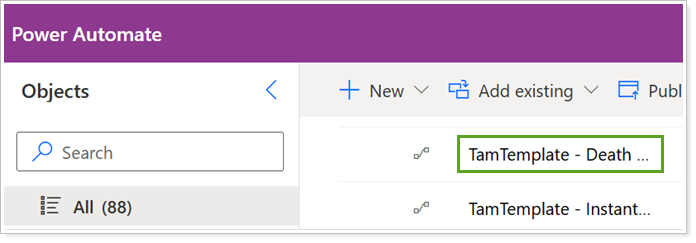
-
From the Tamarac Power Automate Flows Custom Solution, select the desired flow title.
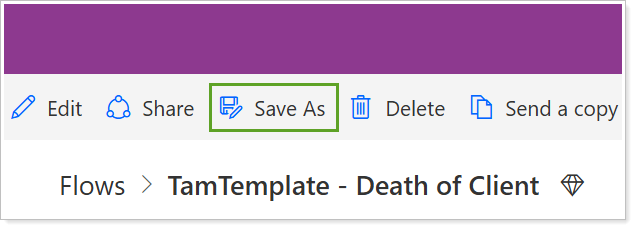
-
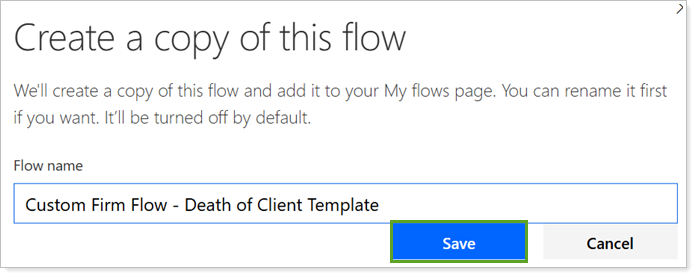
In the flow page, select Save As.
-
Type to enter a Flow name and select Save.
-
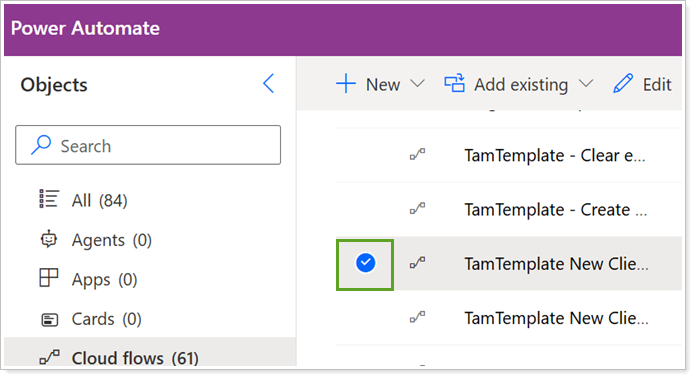
Verify that your new flow copy is in the custom solution list. If not, repeat the steps to add the flow to the custom solution.

Turn on a Power Automate Flow
Once you have completed all prerequisite steps and your Power Automate flow is added to the custom solution, you can turn it on.
To turn on a Power Automate Flow:
-
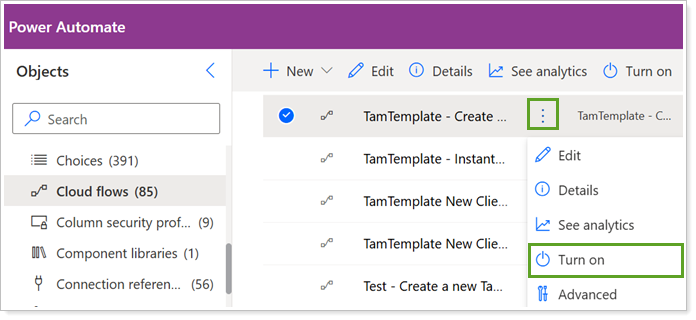
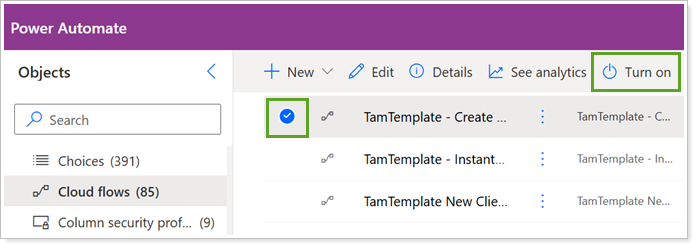
From the Tamarac Power Automate Flows Custom Solution list, select the desired flow.
-
In the command bar, select Turn on.
Alternatively, select the menu next to the desired flow and select Turn on.