Contents
Color Assignments for Fixed Income and Asset Allocation Charts
In our previous releases, we delivered color assignments, which allow you to specify the color that Advisor View will use to represent particular items on your reports - for example, you can specify that the S&P 500 index always displays in green on your reports and portal sites.
In this release, you can now specify the colors Advisor View will use for the:
-
Bond analysis bar chart color ratings if you're not using a smoke stack
-
Bond analysis bar chart average line color
-
Bond ratings
-
Projected Income bar chart colors (paid income as well as projected income)
-
Asset Allocation bar chart
To check out this new feature, follow these steps:
-
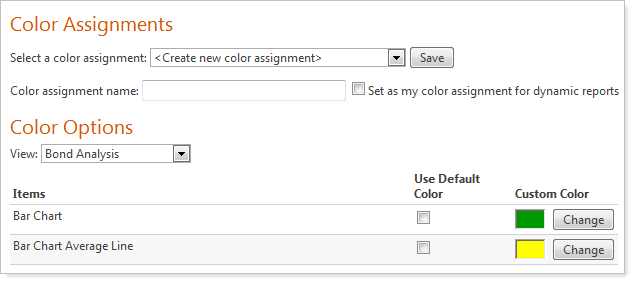
On the Setup menu, click Color Assignments.
-
In the Color assignment name box, type a name for the color assignment. With Advisor View, you can create multiple color assignment templates and assign them to your report templates as necessary.
-
If you want the color assignment to be your default color assignment for when you view dynamic reports, select the Set as my color assignment for dynamic reports check box.

-
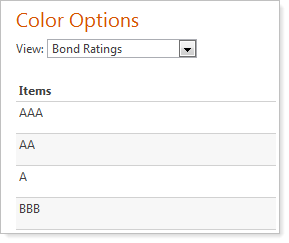
Under Color Options, in the View list, choose one of the following:
Bond Analysis
Bond Ratings
Projected Income
Asset Allocation
-
For the item where you want to assign a color, clear the Use Default Color check box. If you select this check box, Advisor View will automatically assign a color to the color option.
-
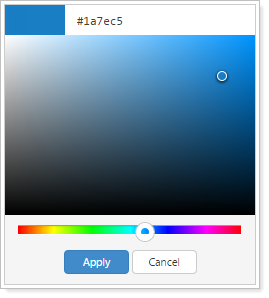
Click Change. The Color Selection window appears. Select a color from the grid. You can also enter an exact hexadecimal value in the large box. Click off the Color Selection window to close the dialog.
-
When finished creating color assignments, click Save.
Account Display Configuration Consistency
All dynamic reports will now use the account display configuration you set up on the Options page. Before this release, some dynamic reports did not use this setting.
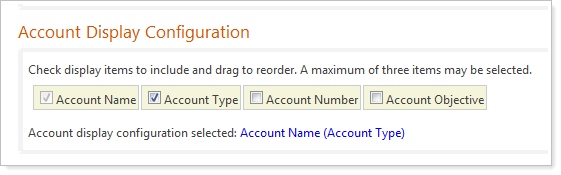
In addition, when you export your dynamic reports, Advisor View will now add the items included in your specified account display configuration format as a separate columns on the exported report.
For more information on setting up the account display configuration, visit Options Page.
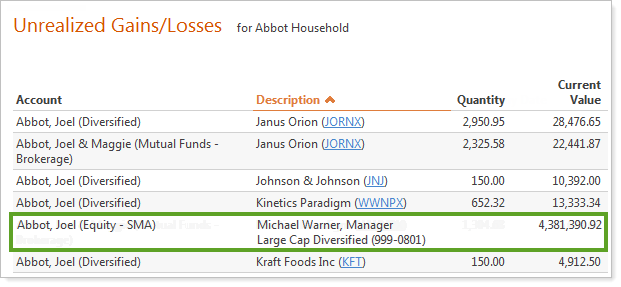
View SMAs as a Single Line Item on the Unrealized Gains and Losses Report
You now have greater control over how you view the Unrealized Gains and Losses report. All holdings within a separately managed account are now viewable in one combined line entry using the account number as the ticker. Use this setting to suppress individual detail from each holding in the separate account.
To customize the dynamic Unrealized Gains and Losses report, follow these steps:
-
On the Reports menu, click Unrealized Gains/Losses.
-
Click Edit.
-
Do one of the following:
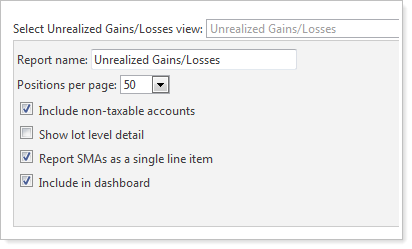
To view SMA holdings at the group level, select the Report SMAs as a single line item check box.
To view a detailed breakout of the SMA holdings, clear the Report SMAs as a single line item check box.
-
Click Apply. The report appears on your screen. For more information on the Unrealized Gains and Losses report, visit Unrealized Gains and Losses Report.
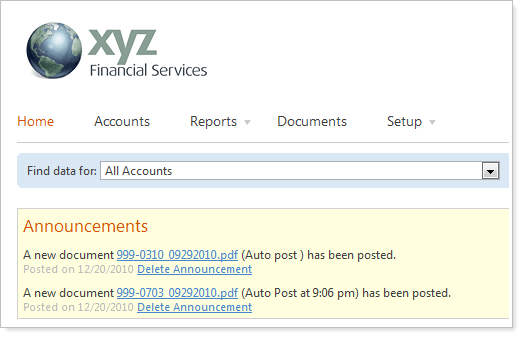
More Intuitive Labels for Deleting Announcements
When you post a document to the client portal, you have the option of including an announcement on the Home page. To delete the announcement, your client would simply click the Delete link.
However, some clients thought that clicking the Delete link would also delete the document you posted to the portal. To avoid any unnecessary confusion, we renamed the Delete link to Delete Announcement.
View PortfolioCenter Expense Classifications
If you've set up custom expense classifications in PortfolioCenter™, the classifications you've specified will now appear on the Income and Expenses and Transactions reports. Before this release, the custom classifications would appear as User Defined 1, User Defined 2, and so on.
Find Accounts Easier
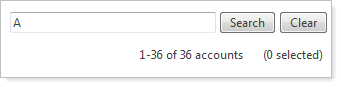
When you type a single letter in the Search accounts box on the Accounts page, Advisor View will now display a list of accounts that start with the letter you type. Before this release, Advisor View would return results for all accounts that included any word that started with the letter you specified.
For example, prior to this release, searching for L would return both Laura Smith and Smith, Laura. With this release, searching for L will only return Laura Smith.
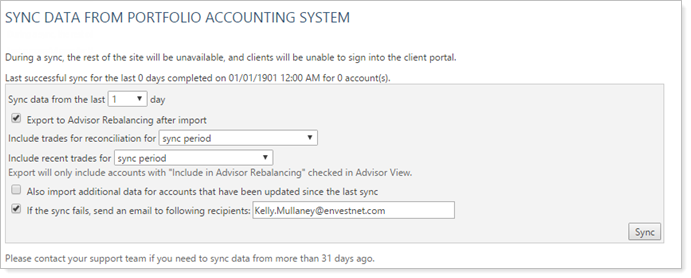
View the Last Sync Date and Time
With this release, you can now see the last date and time Advisor View was synchronized with PortfolioCenter.
To check out this feature, click Sync Data From PortfolioCenter on the Setup menu.
Customize the Display of Your Company Logo
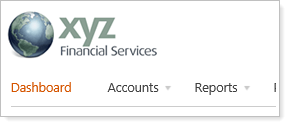
As a client of Tamarac, you can rebrand Advisor View and make it your own. Your logo will replace the Tamarac logo on the sign in screen and at the top-left of every page - each touch-point is rebrandable to keep your brand firmly in the spotlight.
However, until this release, the same company logo would appear for all your clients. Over the years, we received feedback that many of you wanted greater control over the display of this logo.
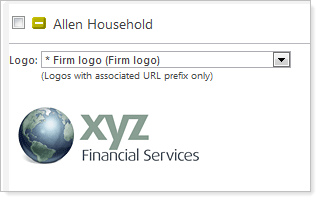
That's why we're pleased to announce that you can now specify a unique logo for each portal account group assigned to your firm. You can also assign a unique logo for each advisor in your firm.
Assign a Logo to a Portal Account Group
To check out this new feature, follow these steps:
-
On the Setup menu, click Portal Account Setup.
-
In the Logo list for each account or account group, choose the logo that you want to display. If you want to add a new logo that's not in the list, contact your Tamarac service team for assistance in adding a new logo.
-
When finished, click Save All.

Assign a Logo For Each Advisor
To assign a unique logo for an advisor in your firm, follow these steps:
-
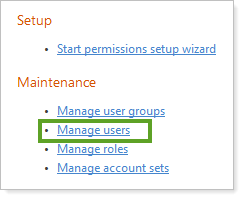
On the Setup menu, click User Management.
-
Click Manage Users.
-
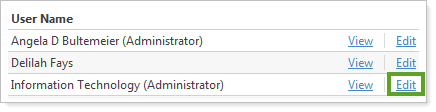
Click Edit next to the advisor where you want to assign a logo.
-
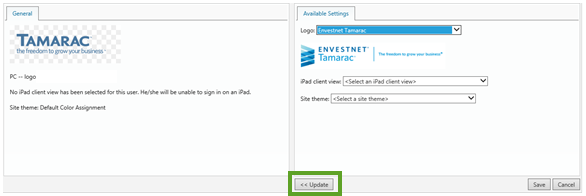
On the Logo tab, choose the logo you want to assign to the advisor and then click Add.
-
Click Save.
View the Number of Selected Items
When viewing items that appear in a list, Advisor View now shows you the number of items that you've selected. For example, when viewing your accounts on the Accounts page, Advisor View will show you the number of accounts that you've selected.

You can see this feature on the following pages:
-
Accounts Page
-
Clients Page
-
Document Vault Page
-
PDF Report Status Page
-
Automatic File Post Status Page
-
Securities Page
-
User Management Page
-
Portal Account Setup Page
-
Billing History Report
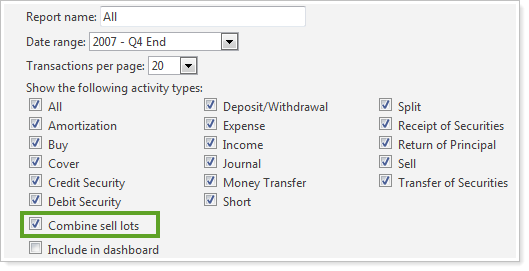
Combine Sell Lots on the Transactions Report
You now have the option to combine sell lots on the Transactions report. When you select the new Combine sell lots check box, Advisor View will aggregate transactions with matching sell lot ID's.
This enhancement will affect the following transaction types:
-
Amortization
-
Cover
-
Debit Security
-
Split
-
Return of Principal
-
Sell
-
Transfer of Securities
To enable this feature, follow these steps:
-
On the Reports menu, click Transactions.
-
Click Edit next to the Select Transactions view list.
-
Select the Combine sell lots check box, and then click Apply.