 Back
Back Home > Tamarac Reporting > Integrations > CRM Integrations > Salesforce Integration > Install and Configure Tamarac App > Set Up Manage Connected Apps
|
Back |
Home > Tamarac Reporting > Integrations > CRM Integrations > Salesforce Integration > Install and Configure Tamarac App > Set Up Manage Connected Apps
|
Set Up Manage Connected Apps
Single sign-on (SSO) allows you to open records in Tamarac Reporting directly from Salesforce. This powerful tool uses contextual links to take you to the exact Tamarac Reporting record relevant to you with a minimum amount of navigation on your part.

This page provides steps to set up Manage Connected Apps in Salesforce. This is where you tell the Tamarac app where to look for your Tamarac Reporting data.
This is Step 2 in Workflow: Configure Single Sign-On in the Tamarac App. That workflow is the second step in the overall onboarding process.
To set up the Tamarac connected app:
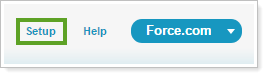
Click Setup.
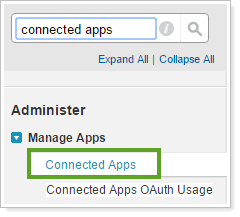
In the Salesforce search bar, search for Connected Apps.
Click Connected Apps in the search results.
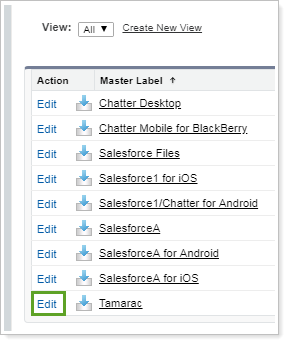
Under Manage Connected Apps, under Action, click Edit.
Under SAML Service Provider Settings, complete the following fields:

Click Save.
On the Manage Connected Apps page, look for SAML Login Information. Copy the IdP-Initiated Login URL. You will need this to set up the custom metadata.
Set which profiles should have SSO access from Salesforce to Tamarac:
On the Manage Connected Apps page, look for Profiles.
Click Manage Profiles.
Select the profiles that should have SSO access. Any user not designated here will see an error when they attempt to SSO to Tamarac.