 Back
Back Home > Tamarac Trading > Setup and User Management > User Management > Manage Permissions for Roles and Role Sets
|
Back |
Home > Tamarac Trading > Setup and User Management > User Management > Manage Permissions for Roles and Role Sets
|
Manage Permissions for Roles and Role Sets
A role defines the set of tasks that a user or user group is allowed to perform. With user roles, you can control who has permission to rebalance accounts, modify accounts, run reports, and more. For example, you can set whether an operations associate can see and delete any report on the PDF Report Status page, or whether she can only see and delete the ones she generated.
Permissions are granted on a per-page basis. To set up the specific permissions within a particular role, you'll first determine which areas or pages you'll want to grant permission to for that particular role. Then you'll further specify what that role can see and which actions that role can perform.
Role sets allow you to assign roles quickly and accurately, and they make permissions easier and more reliable. Role sets allow you to group specific roles—for example, a role that grants permission to edit securities and another role that grants permission to edit account information—into role sets that you can then assign to specific users. This way, you won't have to assign each permission for each user, and you won't risk forgetting permissions that you wanted to include.
In addition, you can create role sets based on a user's role within the company. One role set can be for a CSA, another for an operations associate, and another for an advisor, and so on.
The following procedures allow you to create and manage the roles within your firm. After setting up your roles, you can also combine these roles into role sets, allowing you to combine your defined permissions and then assign role sets to individual users.
To create a new role, follow these steps:
On the Setup menu, click User Management.
In the Manage list, click Roles.
Click Create.
Type the name of the role in the Role name field. This shows on the Roles page once the role is created.

Type a description in the Role description field. This description shows on the Roles page once the role is created. This field is optional, but can help you differentiate between roles with similar names and/or similar permissions.
On the available tabs, add any applicable permissions to the role:

Pages.Select any page-level permissions you want to add to the role and click Add.
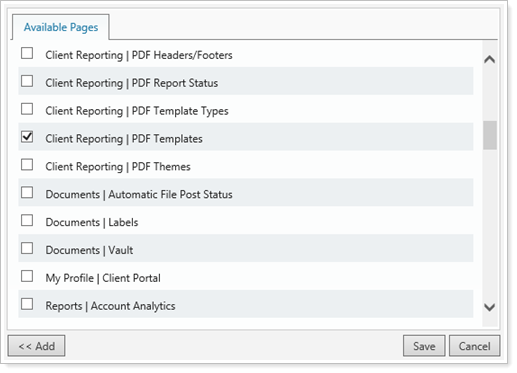
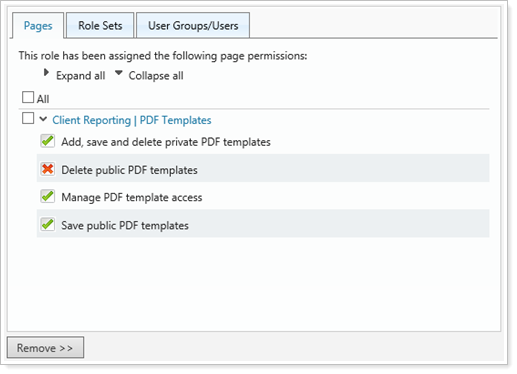
Then, on the Pages tab, enable any specific permissions you want to include with a green check mark. Disable any permissions by clicking the permission until you see a red "X."
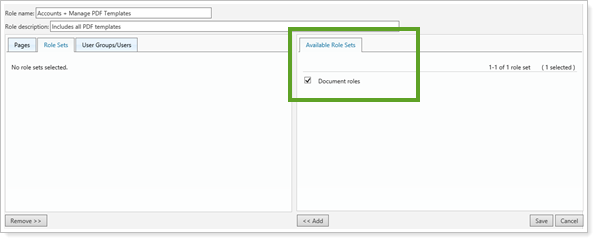
Role Sets.Select any role sets you want to include in this role on the Available Role Sets tab and then click Add.
User Groups/Users.The User Groups/Users tab allows you to associate either user groups or individual users to the model set:
On the Available User Groups tab, select any groups you want to include for this model set. When finished, click Add.
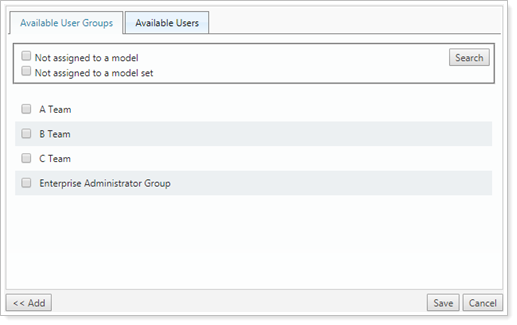
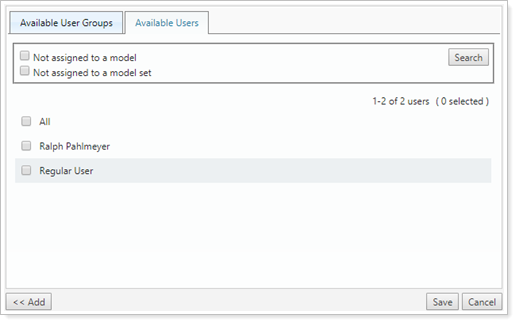
On the Available Users tab, select any individual users you want to include for this model set. When finished, click Add.
You can filter the list of users by using the Not assigned to a model and Not Assigned to a model set check boxes.
Click Save.
To edit an existing role, follow these steps:
On the Setup menu, click User Management.
In the Manage list, click Roles.
Click the Edit link for the role you want to edit.
On the available tabs, add or remove any applicable permissions to the role.
For more information on the available tabs, see Create a New Role.
When complete, click Save.
The following procedures allow you to create and manage role sets within your firm. These allow you to combine various roles and then assign role sets to individual users.
To create a new role set, follow these steps
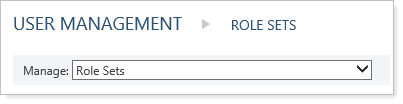
On the Setup menu, click User Management.
In the Manage list, click Role Sets.
Click Create.
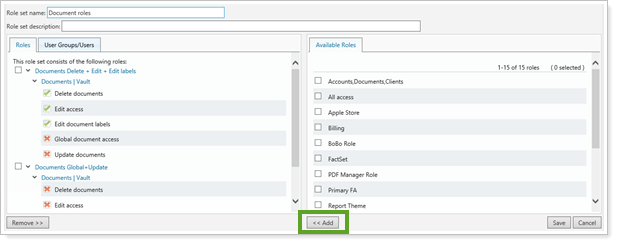
Type the name of the role set in the Role set name field. This is the name that shows on the Role Set page once the role set is created.
Type a description in the Role set description field. This description shows on the Role Set page once the role set is created. This field is optional, but can help you differentiate between roles with similar names and/or similar permissions.
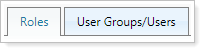
On the available tabs, add any applicable permissions to the role set:
Roles.Select any roles you want to add to this role set and click Add.
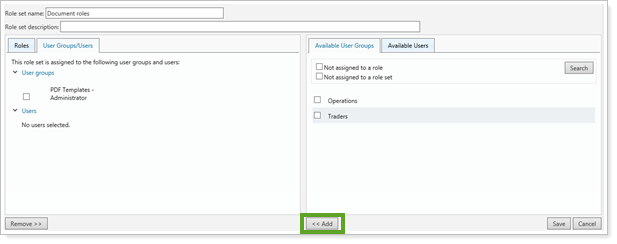
User Groups/Users.The User Groups/Users tab allows you to associate either user groups or individual users to the role:
On the Available User Groups tab, select any groups you want to include for this role set. When finished, click Add.
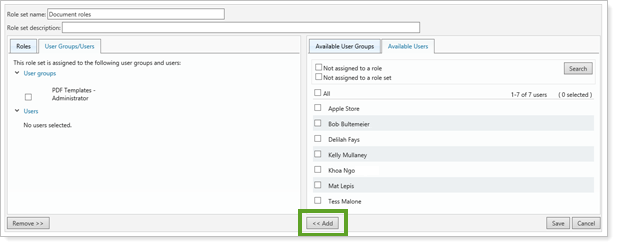
On the Available Users tab, select any individual users you want to include for this role. When finished, click Add.
You can filter the list of users by using the Not assigned to a role and Not Assigned to a role set check boxes.
Click Save.
To edit a role set, follow these steps:
On the Setup menu, click User Management.
In the Manage list, click Role Sets.
Click Edit for the role that you want to edit.

On the available tabs, add or remove any applicable permissions to the role set.
For more information on the available tabs, see Create a New Role Set.
When complete, click Save.