
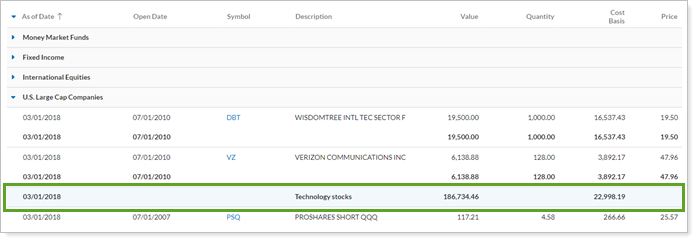
Security Groups allow you to group multiple securities within an account for reporting purposes. For example, you may want to create a security group for a client who continues to hold legacy positions, rather than having each individual security listed on reports. In this case, you would create a name for the group—for example, Schwab Equities—and assign classifications at the various category types. This would then allow you to roll up the security group as a single line item on most holdings reports.
The security groups use the categories you've set up for your securities.
Create a Security Group
To create a security group, follow these steps:
-
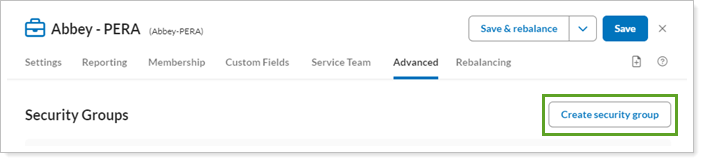
From the Security Groups panel for the desired account, click Create Security Group.
-
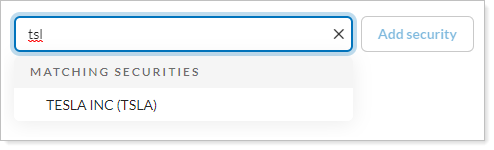
In the Search securities box, start typing the security symbol you want to add and a list of up to 20 symbols that match your entry will display dynamically. Click the symbol in the list that you want, then click Add Security.
-
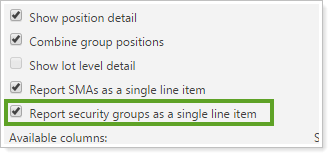
Enter the name of the security group in Security Group Name. This name appears on the reports when you choose to report security groups as a single line item.
-
In the Create Security Group dialog, complete the categories for the security group.
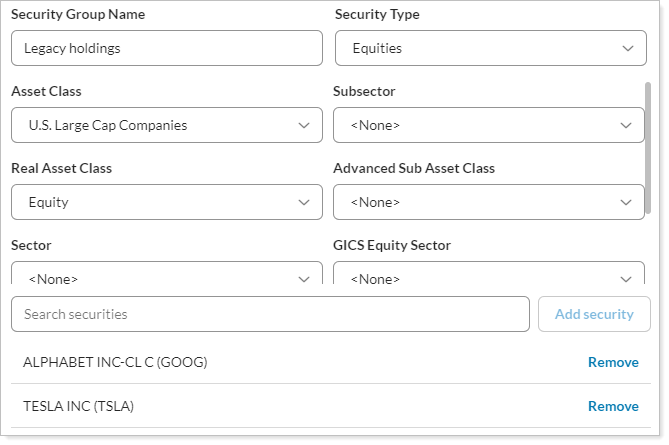
-
Click Save.
-
Click Save.
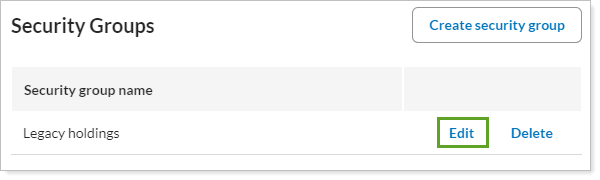
Edit a Security Group
To edit a security group for an account, on the Security Groups panel, click Edit next to the security group you want to update.
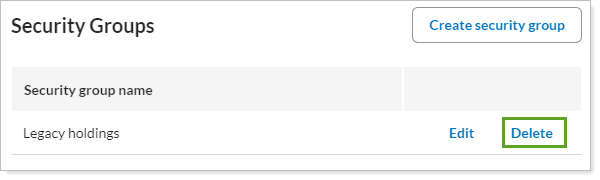
Delete a Security Group
To delete a security group for an account, on the Security Groups panel, click Delete next to the security group you no longer want to keep.
Ownership Accounts and Security Groups
If you are editing an ownership account, all fields are disabled, and the fields update to reflect the parent account settings.
Learn More
To create additional security categories, see Security Categories.