
These PDF theme settings allow you complete control over report formatting, including the font, font color, font size, and font alignment for each report section.
Use the following settings to configure PDF look and feel the way you want:
| Font Formatting | Text Alignment | Borders, Lines, and Background Color |
|---|---|---|
| This Setting... | Does This... |
|---|---|
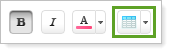
| Choose the font for the item you selected in the Item list. | |
| Choose a font size for the item you selected in the Item list. | |
| Formats the font as bold. | |
| Formats the font as italicized. | |
|
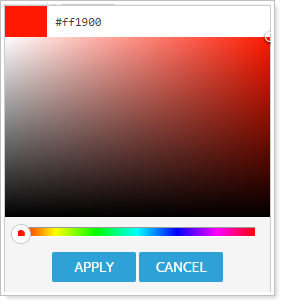
Changes the color of the font. When you click this button, the Color Selection window appears.
Select a color or enter an exact hexadecimal value in the large box at the top. Click Apply to close the dialog and save you changes. |
|
|
Changes the background color of the whole row. When you click this button, the Color Selection window appears.
Select a color or enter an exact hexadecimal value in the large box at the top. Click Apply to close the dialog and save you changes. |
|
|
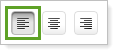
Left justifies the text for the item you selected in the Item list. This setting will only appear for the following items:
|
|
|
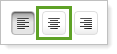
Centers the text for the item you selected in the Item list. This setting will only appear for the following items:
|
|
|
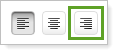
Right justifies the text for the item you selected in the Item list. This setting will only appear for the following items:
|
|
|
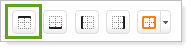
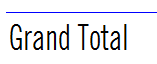
Adds a border to the top of the item you selected in the Item list. The width of the border is 1px. As of this release, you cannot control the width of the border.
In the picture below, the blue line represents a top border for the grand total line:
You can customize the color of the border by clicking the Border Color button. |
|
|
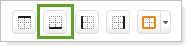
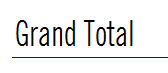
Adds a border to the bottom of the item you selected in the Item list. The width of the border is 1px. As of this release, you cannot control the width of the border.
In the picture below, the blue line represents a bottom border for the grand total line:
You can customize the color of the border by clicking the Border Color button. |
|
|
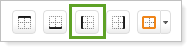
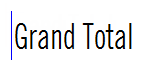
Adds a border to the left of the item you selected in the Item list. The width of the border is 1px. As of this release, you cannot control the width of the border.
In the picture below, the blue line represents a left border for the grand total line:
You can customize the color of the border by clicking the Border Color button. |
|
|
|
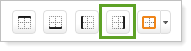
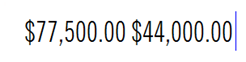
Adds a border to the right of the item you selected in the Item list. The width of the border is 1px. As of this release, you cannot control the width of the border.
In the picture below, the blue line represents a right border for the grand total line:
You can customize the color of the border by clicking the Border Color button. |
|
|
Changes the color of the borders (if any) for the item. When you click this button, the Color Selection window appears.
Select a color or enter an exact hexadecimal value in the large box at the top. Click Apply to close the dialog and save you changes.
The color you select will change the border color for all borders for the item. You cannot specify a different color for each border – for example, you can't have a blue top border and a green bottom border. |


For more information, see Understanding PDF Themes.