
Contents
|
Create Custom Views with Advanced Find Edit the Columns for a Custom View |
Introduction
In Tamarac CRM, you can search for data in a variety of ways: At the record level, using a global search, or through Advanced Find. Advanced Find offers more expansive search capabilities, allowing you to perform more complex and tailored searches based on multiple criteria in CRM.
To more efficiently access these custom searches and insights on a daily basis, you can create custom views from Advanced Find to readily view in Tamarac CRM and share it with members of your organization.
This article covers steps and best practices for using Advanced Find and creating custom views.
For more information on alternative search methods, see Search Functionality in Tamarac CRM.
Access Advanced Find
You can access Advanced Find at any time using the global filter in Tamarac CRM.

If you select Advanced Find while viewing a record or entity page, it will help kick start the process to search a more advanced search as well as save a custom view for that specific record or entity.
Access Custom Views
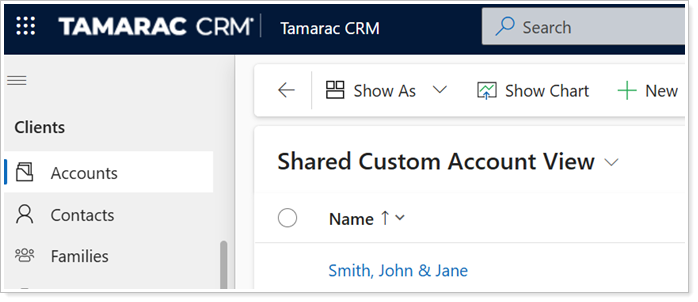
Once you create a custom view, you and any users you share view access with will be able to see the view in Tamarac CRM on record pages, on dashboards, and in charts.
Create Custom Views with Advanced Find
When you perform a complex search with Advanced Find, you can access one-time search results or save the search as a custom view to recall in CRM moving forward.
To create a custom view with Advanced Find:
-
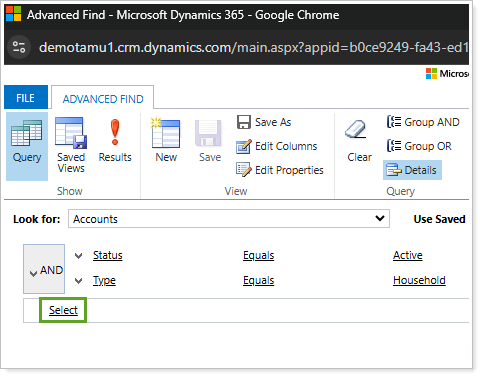
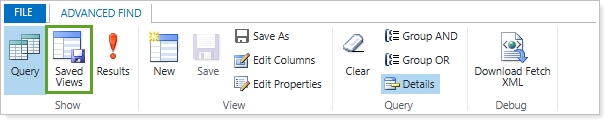
From Tamarac CRM, select Advanced Find .
-
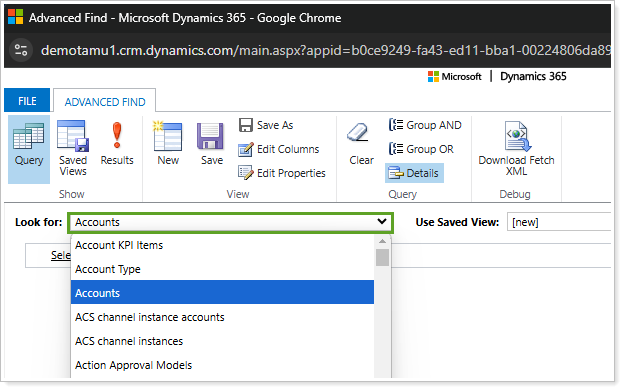
By default, Look for: will pre-populate to match the record or entity you were viewing in CRM when you opened Advanced Finds. If it doesn’t pre-populate, select the desired record or entity type.
To more quickly find a record type, begin typing the name of the record type in the Look for: list and it'll pull up matching records in the list.
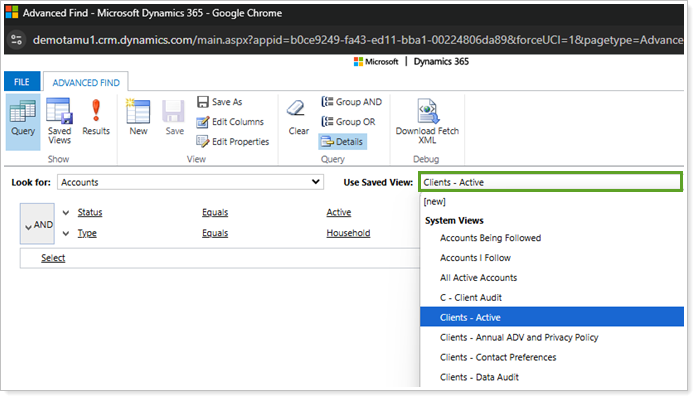
As an optional starting point, you can use an existing view to populate the Advanced Find the same criteria and columns.
To use an existing view, in Use Saved View, select the desired view under Personal/My Views or System View. Once you select the view, you can continue through the steps to add additional criteria and remove or rearrange existing criteria as needed.
-
Choose Select to add search criteria from all available fields for the record or entity, including background fields that are not in use and related record fields.
-
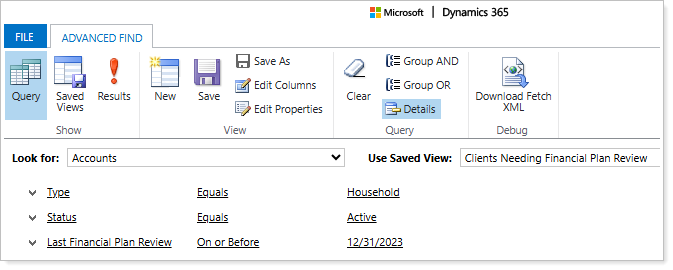
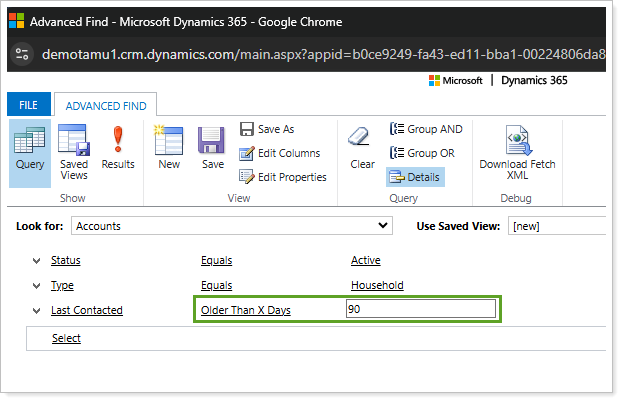
For each field, add the corresponding Operator and Value. For example, for Last Contacted, you can select Older than X days as the Operator and enter 90 as the Value to filter for all households that haven’t been contacted in over 90 days.
Best Practice
When selecting your criteria, consider the following:
-
By default, the system uses an And clause for each row of criteria. This means that the search will only display records or entities that match all the criteria. To display records that match any of the criteria, change this to an Or clause.
-
To provide more granular results based on multiple criteria, add a Group Or clause to group criteria together. You can also combine And and Or clauses as needed.
-
If you intend to build a view that will be shared with other users, you can dynamically show criteria in the view that is only relevant to the user viewing it, such as Owner or Primary Advisor. To do so for the desired criteria, select the Operator Equals Current User.
Example
The system view Clients – Needing Review provides a helpful example of multiple grouping clauses.
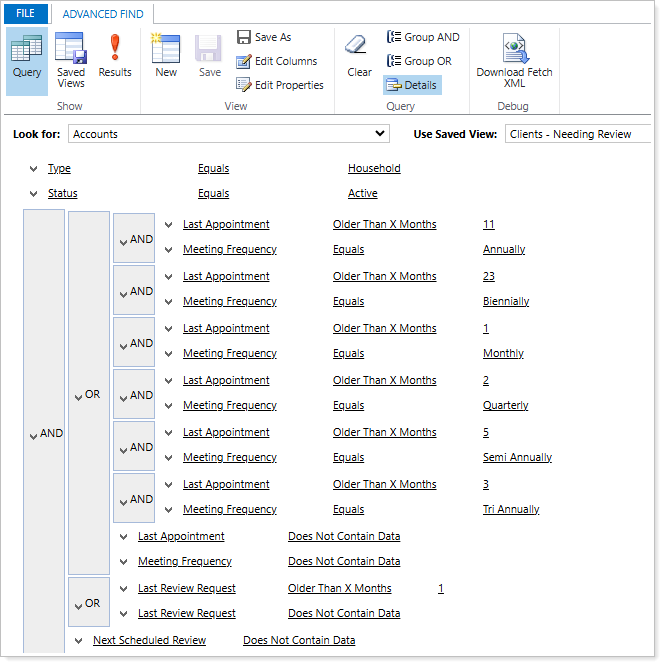
The goal of this system view is to filter a list of clients that may need a review. Since each Account record may have a different Meeting Frequency, you can use the Advanced Find tool to accommodate for each type by implementing the following grouping clauses:
-
Each Meeting Frequency is grouped with an And clause that connects it to the corresponding date criteria for the Last Appointment.
-
For example, a client that has a Meeting Frequency set to Annually can have the corresponding Last Appointment date of Older than 11 Months to trigger the client to come up on the list.
-
-
An Or clause connects all grouped Meeting Frequency criteria, since each Account type will only have one of the field values set for their household.
In this system view, you can review the additional fields with And and Or clauses that help expand the criteria even further.
-
-
Once you have added all your desired criteria, you have the options to select:
-
Edit Columns. Update the fields that will display as columns in your custom view. Proceed with the steps on this page to edit columns.
-
Results. Review and validate that the criteria capture the data you are looking for. If you are using this as a one-time search query, you can stop here.
-
Save as or Save. After you validate the Results, if you want to save this as a new custom view, select Save as. If you are updating an existing custom view and want to override it with your changes, select Save. Proceed with the steps on this page to save a new custom view.
-
Edit the Columns for a Custom View
To simplify your search to only the datapoints that you need, you can optionally Edit Columns to customize the record or entity fields that display in the columns of your view.
Editing columns in a custom view allows you to:
-
Add Columns. Choose from the available record or related record fields to display additional data in the custom view columns.
-
Configure Sorting. Sort up to two fields in ascending or descending order to organize the way the custom view displays the data.
-
Change Properties. Resize the width of columns. The default width is 100 px.
-
Remove Columns. Remove unnecessary or irrelevant fields.
In Advanced Find, you can access Edit Columns under each custom view to adjust the fields that display.
Add Columns
You can choose from the available record or related record fields to display additional data in the custom view columns.
To add columns to a custom view:
-
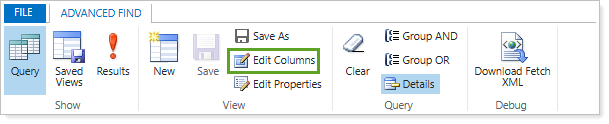
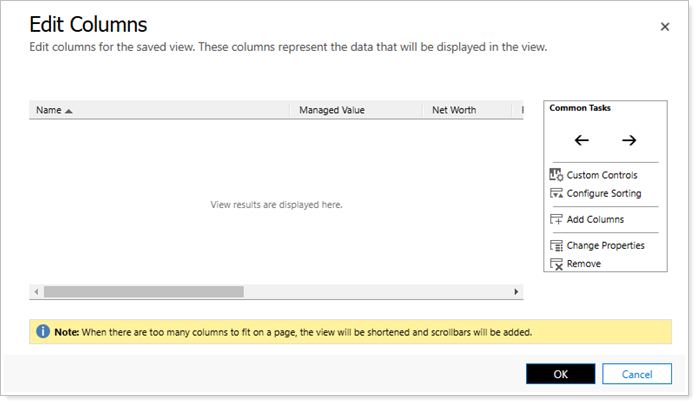
In Advanced Find, select Edit Columns.
-
Under Common Tasks, select Add Columns.

Note
If you have existing columns in the view, you can add your new columns before an existing column field. To do so, select the column title to highlight it, then select Add Columns.
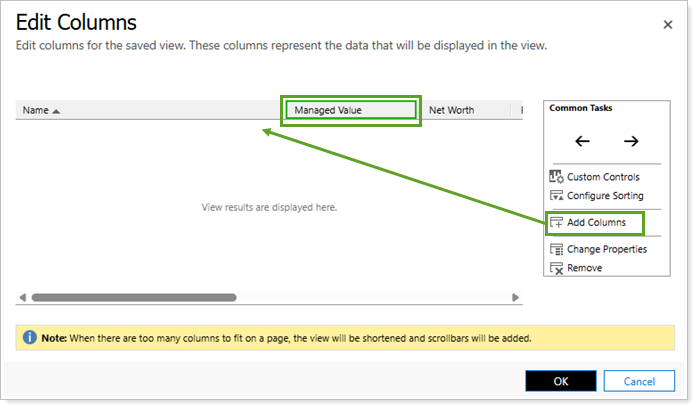
If no field is selected, all new columns will be added at the end of the existing columns.

-
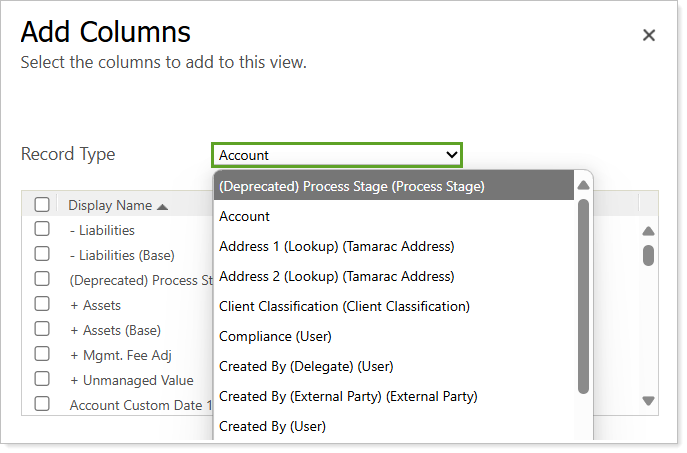
All available fields will appear for the selected record or entity type. If desired, you can select Record Type and choose a related record to review and add alternative fields from that record.
-
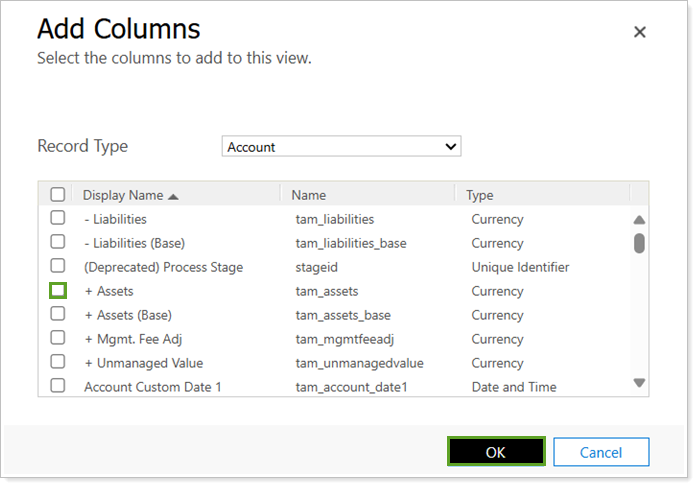
Select each field to include it as a column in the custom view and select Ok.
The added fields will appear under Edit Columns in alphabetical order, sorted by the main record fields first, then the related record fields.
-
Once you have added all your desired columns, in Edit Columns, select one of the following options based on your preferred next steps:
-
OK. Finish editing columns and proceed with steps to view results or save as a new custom view.
-
Configure Sorting. Proceed with the steps on this page to rearrange the columns.
-
Change Properties. Proceed with the steps on this page to change column widths.
-
Remove Columns. Proceed with the steps on this page to remove some columns.
-
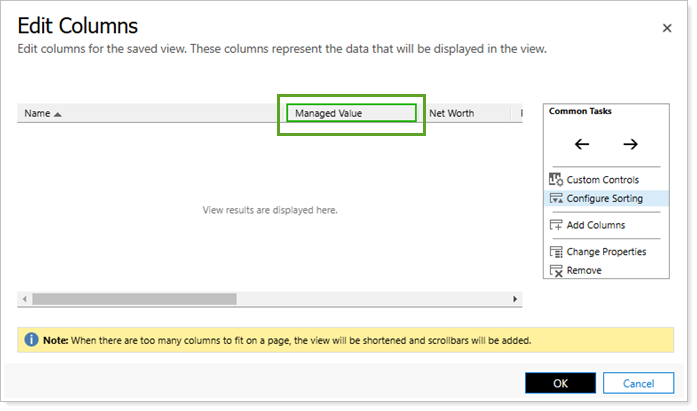
Configure Column Sorting
If desired, you can set default column sorting for your view to organize the way the custom view displays the data.
To configure column sorting:
-
In Advanced Find, select Edit Columns.
-
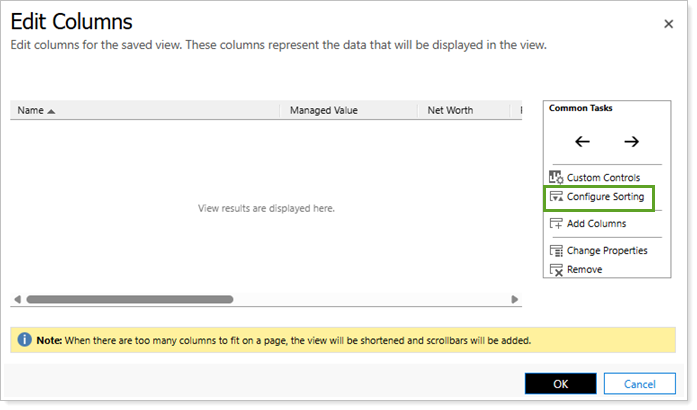
Under Common Tasks, select Configure Sorting.
-
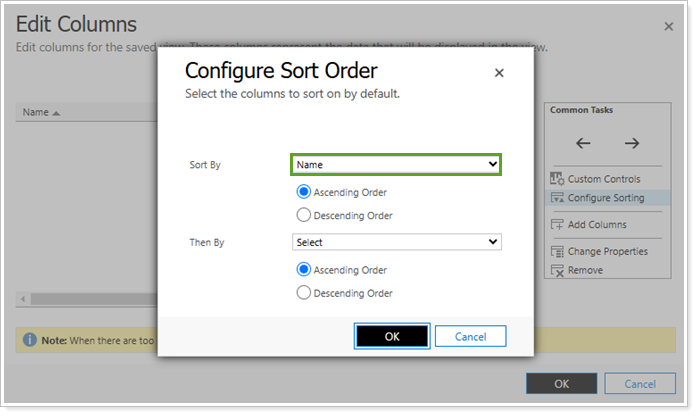
In Configure Sort Order, select Sort By to choose the criteria you want to use for sorting and select Ascending Order or Descending Order.
-
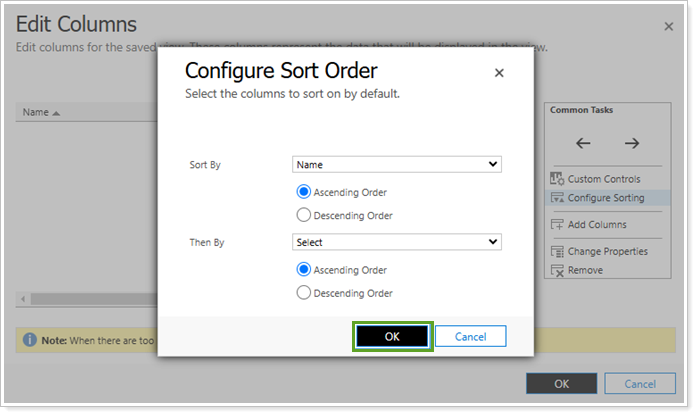
Optionally, select Then By to add another field for sorting. Set the desired sorting order and select OK.
-
Once you have configured column sort order, in Edit Columns, select one of the following options based on your preferred next steps:
-
OK. Finish editing columns and proceed with steps to view results or save as a new custom view.
-
Add Columns. Proceed with the steps on this page to add additional columns.
-
Change Properties. Proceed with the steps on this page to change column widths.
-
Remove Columns. Proceed with the steps on this page to remove some columns.
-
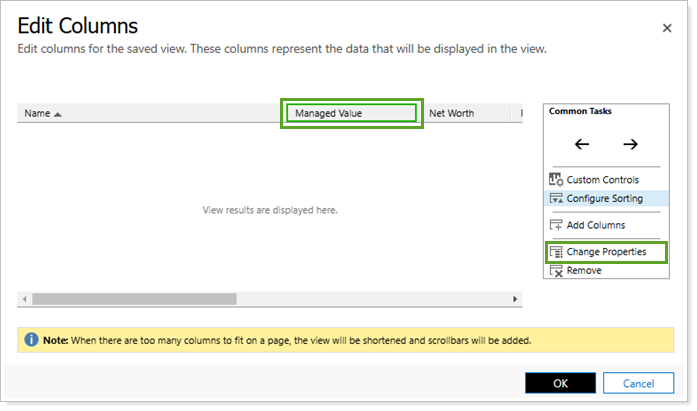
Change Column Properties
In custom views, columns default to 100 pixels wide. However, resize the width of specific columns in your custom view to fit data better.
To change column width for a custom view:
-
In Advanced Find, select Edit Columns.
-
Under Common Tasks, select the desired column header choose Change Properties. Alternatively, double click the column header to open the window.
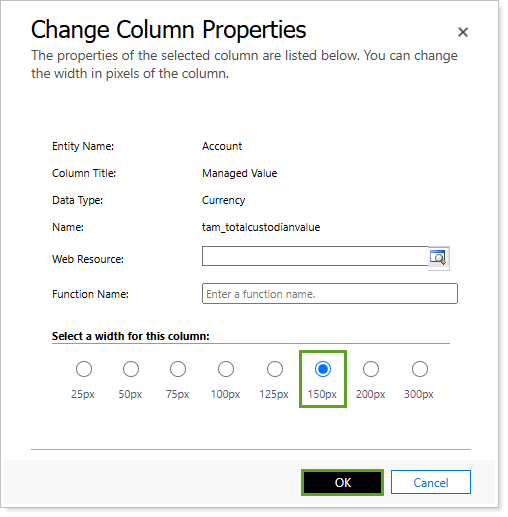
-
Under Select a width for this column, select the desired width in pixels. Select OK.
-
Repeat the process for as many columns as you want to resize.
-
Once you have updated the desired the column widths, in Edit Columns, select one of the following options based on your preferred next steps:
-
OK. Finish editing columns and proceed with steps to view results or save as a new custom view.
-
Add Columns. Proceed with the steps on this page to add additional columns.
-
Configure Sorting. Proceed with the steps on this page to rearrange the columns.
-
Remove Columns. Proceed with the steps on this page to remove some columns.
-
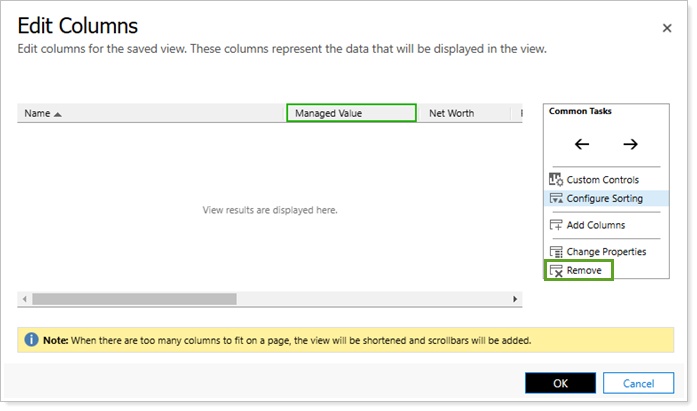
Remove Columns
Whether you’re creating a new custom view or editing an existing view, you may need to remove fields that are no longer relevant.
To remove existing columns from a view:
-
In Advanced Find, select Edit Columns.
-
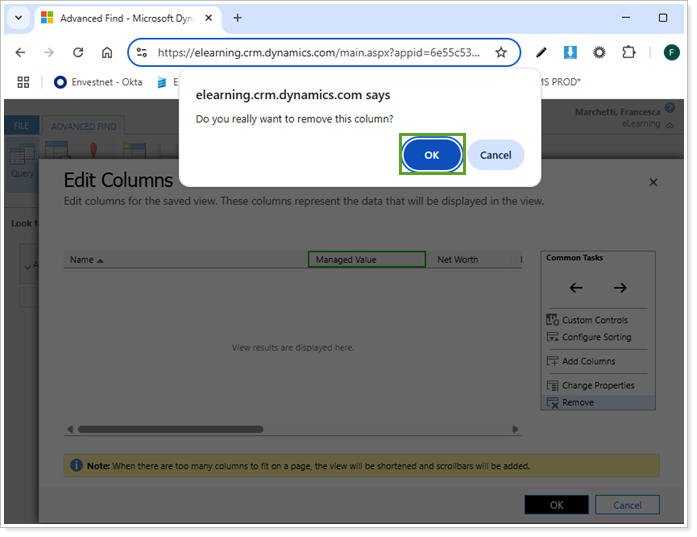
Select the desired column title to remove. The system will highlight the column with a green box to indicate it is selected.
-
Under Common Tools, select Remove.
-
In the browser prompt, select OK.
-
Once you have removed the desired columns, in Edit Columns, select one of the following options based on your preferred next steps:
-
OK. Finish editing columns and proceed with steps to view results or save as a new custom view.
-
Add Columns. Proceed with the steps on this page to add additional columns.
-
Configure Sorting. Proceed with the steps on this page to rearrange the columns.
-
Change Properties. Proceed with the steps on this page to change column widths.
-
Save as a New Custom View
Once you have gone through all the necessary steps to create and configure a custom view, you can save it as a new custom view.
This creates a personal view that you will be able to review under My Views in Advanced Find and on the relevant record or entity page, dashboards, and with charts.
To allow other members of your firm to access your new view, you will need to share it with them.
To save a new custom view:
-
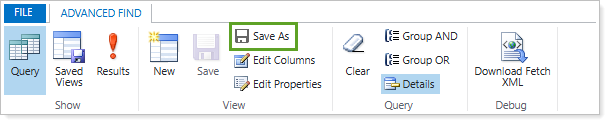
In the custom view, select Save As.
-
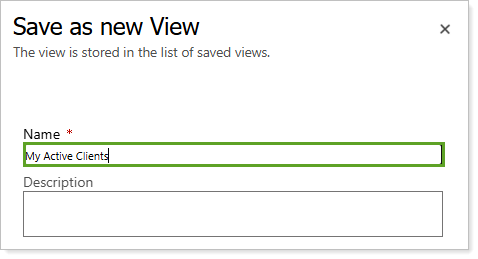
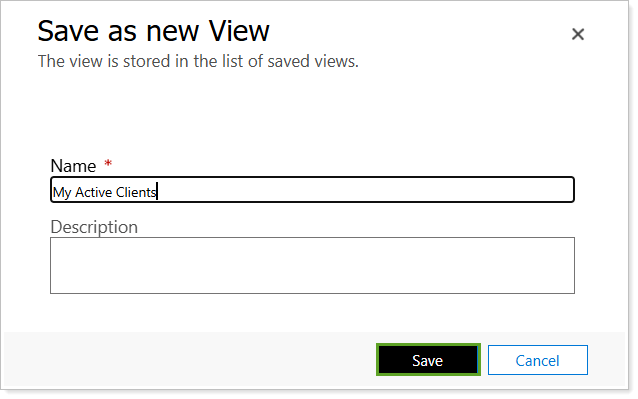
In Name, type a name for your new view. Optionally, type to add a Description.
-
Select Save.
Share a View with Team Members
All views that you create in CRM are personal unless you share them with other team members.
To share a custom view:
-
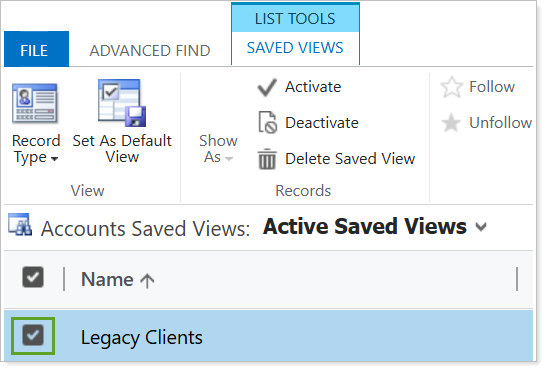
In Advanced Find, select Saved Views.
-
Select the view you want to share.
-
Select Share.

-
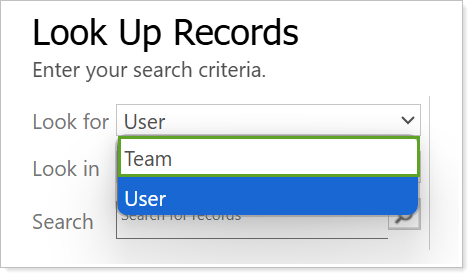
Select Add User/Team to search for the individual or team user to share this view with.

-
If you wish to share with a team, select Look for and Team.
-
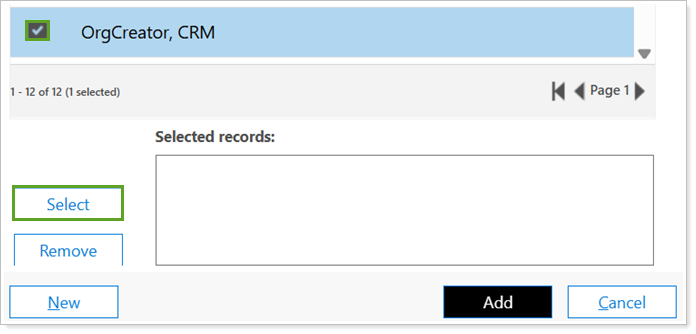
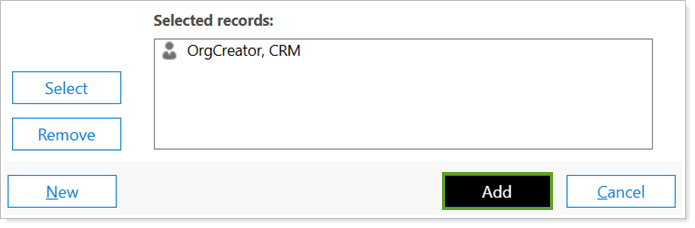
Select your desired Users or Teams and Select.
Note
If you select a name in the list, it will open the record for that User or Team in a new window.
-
Once all desired Users and Teams are added under Selected records, select Add.
-
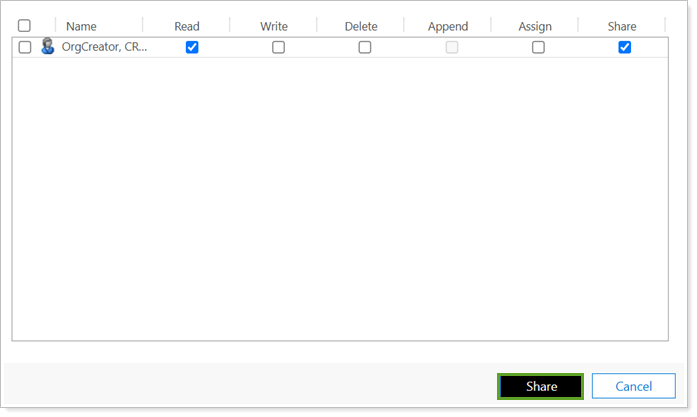
Select the desired view permissions.

Best Practice
We recommend you give each selected User or Team Read and Share access so they can view and share it with others or unshare it with themselves.
-
Once all permissions have been set for the desired Users and Teams, select Share.
Additional Information
To learn more, see Create, edit, or save a view using Advanced Find (links to an external site).