 Back
Back Home > Tamarac Reporting > Clients and Client Portals > Client Portals > Setting Up Client Portals > Client Views > Client Views Pages > Client Views - Accounts Page
|
Back |
Home > Tamarac Reporting > Clients and Client Portals > Client Portals > Setting Up Client Portals > Client Views > Client Views Pages > Client Views - Accounts Page
|
Client Views - Accounts Page
|
Customize the Accounts Page for a Client View Rename a Column on the Accounts Page Delete an Accounts Page Client View |
The Accounts page lists all of your client's financial accounts or any account assigned to the Household. The page looks very similar to the Accounts page you see when you sign into Tamarac Reporting; however, it doesn't have the same features like saved searches and advanced filters.

You can customize how the Accounts page looks when it's added to the client portal for your clients. You can choose the columns that appear, the title of the page, the title of the columns and more. You can create as many views of the Accounts page as you want, but you can only assign one Accounts page to a client view.
To customize the Accounts page, follow these steps:
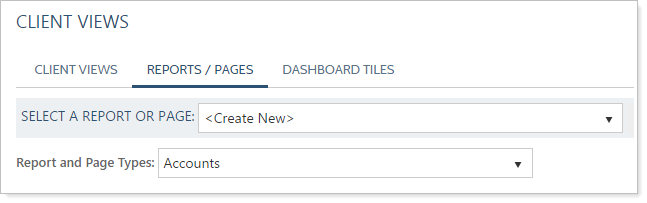
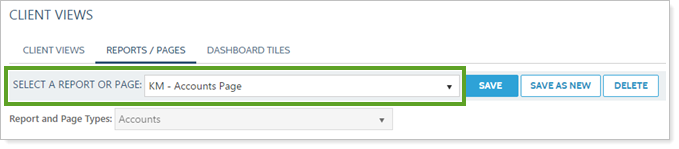
On the Client Reporting menu, click Client Views and then click Reports / Pages.
In the Report and Page Types list, click Accounts.
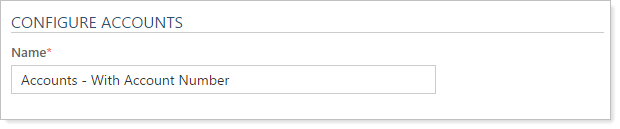
In the Name box, type a Name for the Accounts page. You can use the Name field to differentiate the different Accounts pages in your firm—for example, you may have one Accounts page that shows the account number and another that does not.
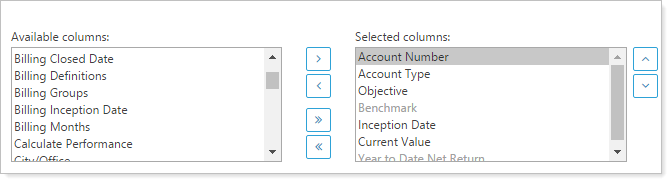
Choose the columns you want on the Accounts page for the client view. For more information, see Available/Selected Columns.
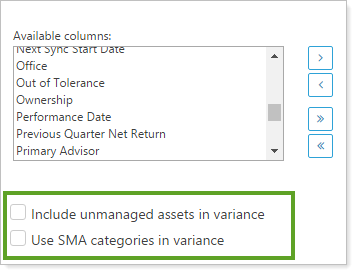
If you added the Percent Variance column, you have the option to complete the following check boxes:
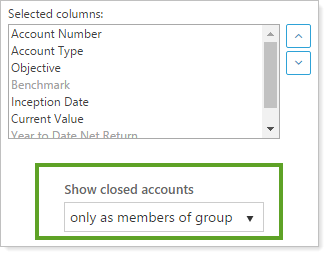
Use Show closed accounts to set how you want closed accounts to appear on the Accounts page of your client portal views.
Click Save.
To customize a column names on the Accounts page client view, follow these steps:
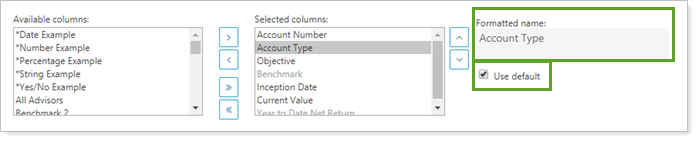
Under Selected columns, click the desired column and the Formatted name field will display on the right.
Clear the Use default check box and type the name you want shown on your reports (if a column or row displays in gray, it can't be edited).
Click Save.
To delete an Accounts page client view, follow these steps:
On the Client Reporting menu, click Client Views and then click Reports / Pages.
In the Select a Report or Page list, choose the Accounts page client view you want to delete.
To make a copy of an Accounts page client view, follow these steps:
On the Client Reporting menu, click Client Views and then click Reports / Pages.
In the Select a Report or Page list, choose the Accounts page client view you want to copy.
For details on assigning an Accounts page to a client view, visit Create a Client View.