Contents
|
Removed the Portal Logo Preview on the Portal Accounts Page View Transaction Notes on the Transactions Report |
Revamped Capital Flows Report
At the 2011 Tamarac User Conference, many of you shared your ideas on how to make Advisor View even better. And some of those ideas were so great that the clients that suggested them were awarded an iPad®.
One award winning suggestion was to add the Capital Flows report as an available section for PDF reports. We're pleased to announce that we've incorporated the suggestion into this release of Advisor View.
The Capital Flows report displays all capital flow transactions over a specified time period for an account or reporting group. You have the option to filter these flows by either a dollar range or percentage of the account value. You can also choose to show an Account Value vs. Net Investment chart for a specified time period.
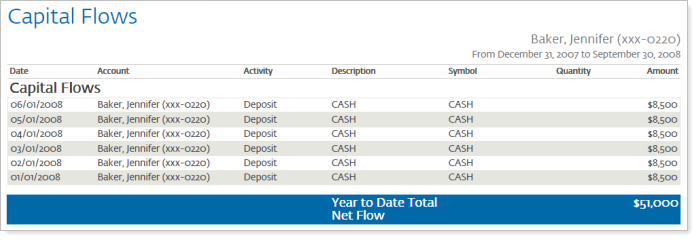
In addition to adding the Capital Flows report as a PDF section, we've also added some new report features to the dynamic Capital Flows report.
These features include:
-
Exclude intra-group flows from the report
-
Add a short summary at the top of the report
-
Include transactions on the report
-
Choose the columns you want to appear on the report
-
Clearly show your clients how withdrawals and contributions affect the account value
-
And more
Removed the Portal Logo Preview on the Portal Accounts Page
In April, we released the Customize the Display of Your Company Logo feature that allowed you to specify a unique logo for each portal account group assigned to your firm.
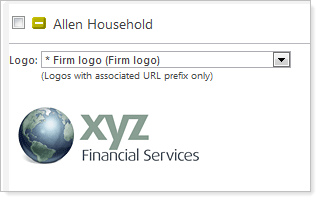
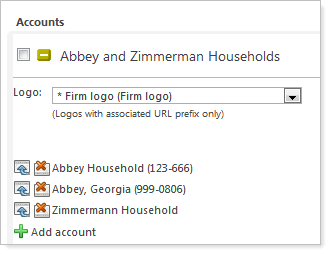
When you'd set up your portal account group, Advisor View would show you a preview of the logo on the Portal Account Setup page. Many users provided feedback that the logo preview was not an efficient use of space. Based on your feedback, we've removed the logo preview from the page.
|
|
|
| Before This Release | After This Release |
View Transaction Notes on the Transactions Report
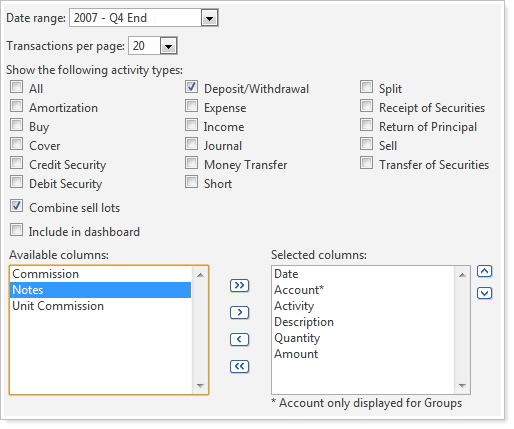
When you run the Transactions report, you now have the option to add the transaction notes to the report. Advisor View "pulls" the transaction notes from PortfolioCenter.

To check out this new feature, follow these steps:
-
On the Reports menu, click Transactions.
-
Click Edit.
-
Under Available Columns, click Notes and then click
 .
.
-
Click Apply and Advisor View adds the Notes column to the report.
"Download and Post to Clients" Report Delivery Method
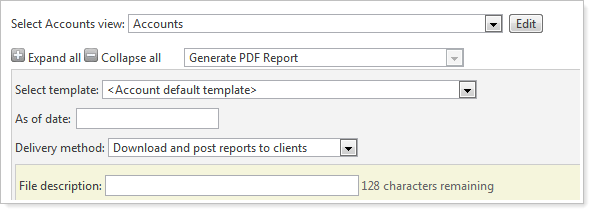
When you generate your PDF reports, you now have the option to download your reports and post them to your client portals. Before this release, you could only download reports or post them to clients, but you couldn't perform both actions in a single step.
To take advantage of this new feature, when you generate your PDF reports, specify Download and post reports to clients for the delivery method.
Set a Default Report Delivery Method
With this release, you can now set the default PDF report delivery method for your clients. When you generate your PDF reports, Advisor View can print the reports or post them to a client portal according to the preferences of your client.
To set a default report delivery method, follow these steps:
-
Click the Clients menu.
-
Select one or more clients where you want to set a default report delivery option.
-
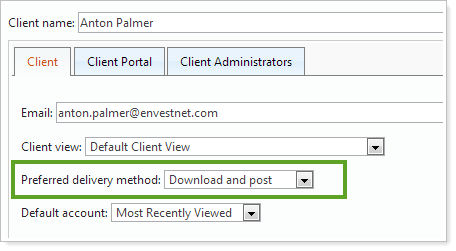
In the More Actions list, click Edit Preferred Delivery Method.
-
In the Preferred delivery method list, choose the default delivery method for the client, and then click Save.
-
When you generate your PDF report, choose Use client preferred delivery method for the delivery method and Advisor View will print the reports or add them to a client portal according to the preferences of your client.


