 Back
Back Home > Tamarac Trading > Setup and User Management > User Management > Manage Permissions for Models and Model Sets
|
Back |
Home > Tamarac Trading > Setup and User Management > User Management > Manage Permissions for Models and Model Sets
|
Manage Permissions for Models and Model Sets
|
How Models and Model Sets Permissions Work |
The Models and Model Sets pages on the User Management page allows you to create model sets and set permissions for both models and model sets. Model sets are a defined group of models, either Allocation or Security Level models. Once created, model sets can be used to filter some pages by model set.
After creating model sets, you can then grant access to models by model set, simplifying the permissions process. For example, you have a portfolio manager who needs access to one group of models. However, there are other models in your firm that the portfolio manager doesn't maintain and doesn't need access to. You can create a model set of these models, then assign the portfolio manager access to that model set. You can also create model sets based on factors like account size, or by characteristics like submodels versus account-level models.
Typically, model access is granted using Model Sets. However, if you do not want to create and maintain model sets, or want to grant or revoke access on a one-off basis, you can use the Models page to accomplish this.
If a user doesn't have access to models, he or she won't be able to see those models throughout Tamarac Trading.
The ability to edit model sets is based on a users's role. For more information on creating and editing roles that you can then assign to individual users, see Manage Permissions for Roles and Role Sets.
The Model Sets page allows you to create and edit model sets, as well as assign access to your models sets to individual users.
To create a new model set, follow these steps:
On the Setup menu, click User Management.
In the Manage list, click Model Sets.
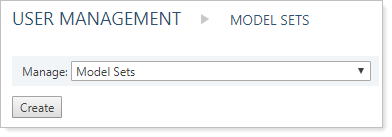
Click Create.
Type the name of the model set in the Model set name field. This is the name that shows on the Model Sets page once the model set is created.

Type a description in the Model set description field. This description shows on the Model Sets page once the model set is created. This field is optional, but can help you differentiate between model sets that contain similar models.
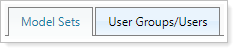
On the available tabs, add any applicable models and permissions:
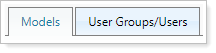
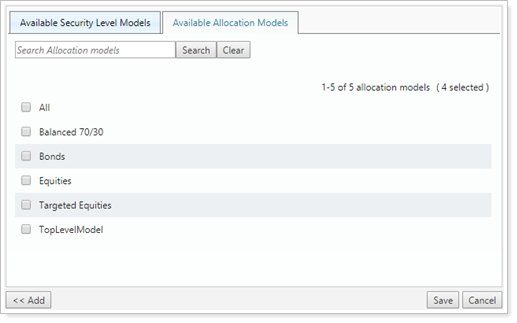
Models.The Models tab allows you to associate any Security Level or Allocation models to the model set you're creating. If the list of available models is long, you can use the search bar to search for specific models.
On the Available Security Level Models tab, select any models you want to include for this model set. When finished, click Add.

On the Available Allocation Models tab, select any models you want to include for this model set. When finished, click Add.
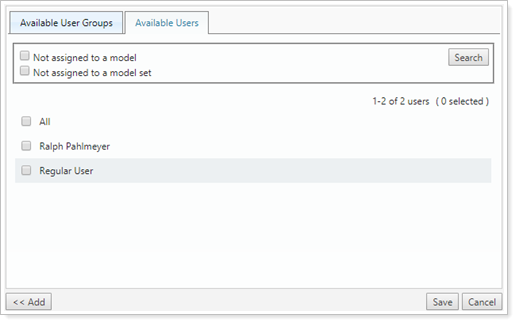
User Groups/Users.The User Groups/Users tab allows you to associate either user groups or individual users to the model set. You can filter the list of users by using the Not assigned to a model and Not Assigned to a model set check boxes.
On the Available User Groups tab, select any groups you want to include for this model set. When finished, click Add.
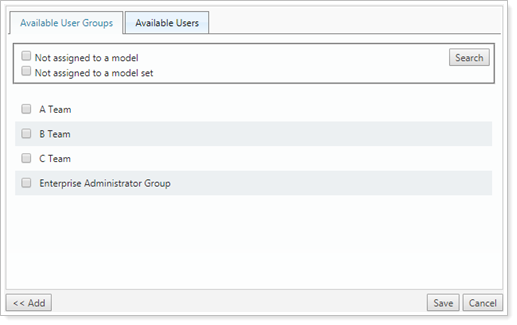
On the Available Users tab, select any individual users you want to include for this model set. When finished, click Add.
Click Save.
To edit an existing model set, follow these steps:
On the Setup menu, click User Management.
In the Manage list, click Model Sets.
Click Edit for the model set that you want to edit.
On the available tabs, add or remove any applicable permissions or models to the model set.
For more information on the available tabs, see Create a New Model Set.
When complete, click Save.
If you don't want to use model sets to grant access to models, you can set model permissions at the model level. In most cases, this is not recommended because it's more difficult to manage. However, it may be useful if you simply want to restrict access to one or two models.
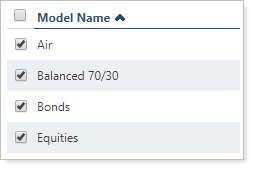
The Models page has several options to help you search for and filter your. This helps you find and identify models before managing access to these models.
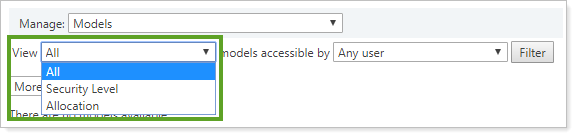
The View list allows you to filter results to either Allocation models or Security Level models.
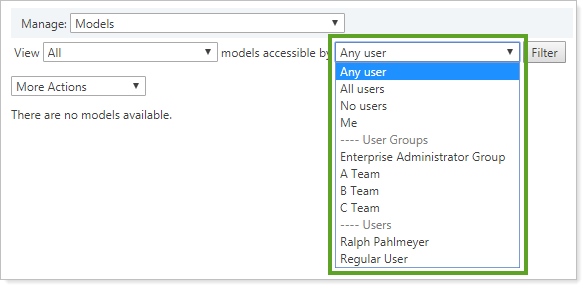
The models accessible by list filters models by user access. This means you can see the list of models accessible by a certain user, user groups, all users, any users, or no users.
The Search models box allows you to search for specific models by their names.

On the Setup menu, click User Management.
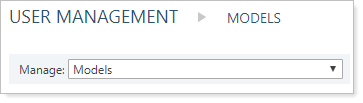
In the Manage list, click Models.
Click Edit next to the model in which you want to edit permissions. Use available searching and filtering to find specific models, if needed.
On the available tabs, add any applicable model sets and permissions:
Model Sets On the Available Model Sets tab, select any model sets you want to associate with this model. You can search for specific model sets using Search Model Sets. When finished, click Add.

User Groups/Users.The User Groups/Users tab allows you to associate either user groups or individual users to the model set. You can filter the list of users by using the Not assigned to a model and Not Assigned to a model set check boxes.
On the Available User Groups tab, select any groups you want to include for this model. When finished, click Add.
On the Available Users tab, select any individual users you want to include for this model. When finished, click Add.
Click Save.
On the Setup menu, click User Management.
In the Manage list, click Models.
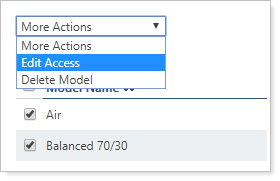
Select one or more models where you want to grant/revoke access.
In the More Actions list, select Edit Access. This opens the Manage Model Access dialog box.
On the available tabs, add any applicable model sets and permissions:
Model Sets.On the Available Model Sets tab, select any model sets you want to associate with this model. You can search for specific model sets using Search Model Sets. When finished, click Add.
User Groups/Users.The User Groups/Users tab allows you to associate either user groups or individual users to the model set. You can filter the list of users by using the Not assigned to a model and Not Assigned to a model set check boxes.
On the Available User Groups tab, select any groups you want to include for this model. When finished, click Add.
On the Available Users tab, select any individual users you want to include for this model. When finished, click Add.
Click Save.