Contents
|
Do You Use the Legacy Mobile App? Your Firm's Marketplace Assets Access the Mobile App Workflow Step 2: Set Up Your Google App |
Introduction
The new client portal mobile app provides clients with 24/7 access to all the data and features they need to live an Intelligent Financial Life™. You can choose between two versions of the client portal mobile app:
-
Generic app. This is the free version your clients can download and access once you’ve created a client portal. For more information, see Introduction to the New Client Portal Mobile App.
-
Branded app. This version of the app allows you to create a custom branded app that features your naming, logo, and colors. You may have to amend your contract to access.
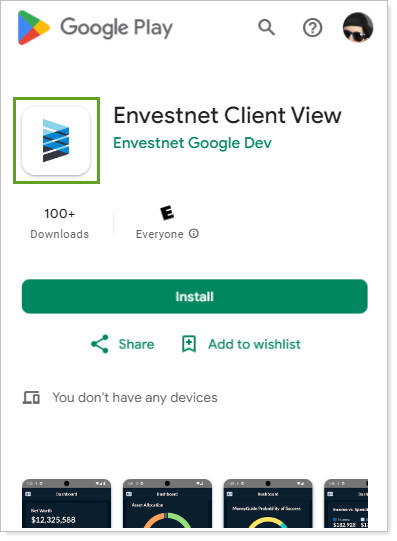
If you choose to offer your clients a branded mobile app experience, you can customize the mobile app with your own unique colors, themes, and brand identity. From your client’s perspective, the branded mobile app appears as an official app in the Apple and Google app stores bearing your firm’s name, branding themes, and unique logos. Your mobile app maintains all the powerful tools provided by the mobile app.

This topic provides steps for how to create and publish a custom branded mobile app in the Apple and Google app stores.
important
This only applies to the New Client Portal mobile app. For information about the legacy client portal mobile app, see Introduction to the Tamarac Mobile App.
Before You Start
Do You Use the Legacy Mobile App?
Names must be unique in the Google and Apple Play stores. If you already have a legacy mobile app in those stores, use one of the following ways to avoid having duplicate names and logos:
-
Use a new name and logo for the new app so it does not conflict with the old app.
-
Change the name and logo of the legacy app from the app stores so you can use the existing name and logo for the new app.
-
Retire the legacy app from the app stores so you can use the same name and logo.
Contract Amendment
Before you can access the mobile app workflow, contact Tamarac Account Management. You may need to amend your contract.
Technical Requirements
Before you can complete the steps, you must have the following:
-
Demo client credentials. The username and password for a demonstration client that Apple and Google reviewers will use to preview your mobile app. To create a demonstration client, create a new client, a new household, and new ownership accounts.
Before sending the credentials to the app stores, sign into the desktop version of the client portal as the demonstration client and accept the user agreement information. This will make the mobile app accessible for app store reviewers using those credentials.
-
Developer accounts. An Apple and a Google developer account with admin privileges on their respective sites.
-
Your private Apple app store key. From your Apple app store account, your private key (.p8 file).
-
Your Google Service Account Key. This is a JSON file that acts as a credential. You obtain it through Google Cloud for a particular Google Service Account. You must upload and configure your Google Service Account Key before you can submit the Android app to the Google store. For more information, see Google's documentation (external link opens in a new tab).
Your Firm's Marketplace Assets
Before you start, identify your firm's marketplace assets:
-
App name. Your app name.
-
Short description. A short description that will appear on the main app store page.
-
Description. A full description with details.
-
Keywords. The terms you want associated with your app to help clients find it in the app store.
-
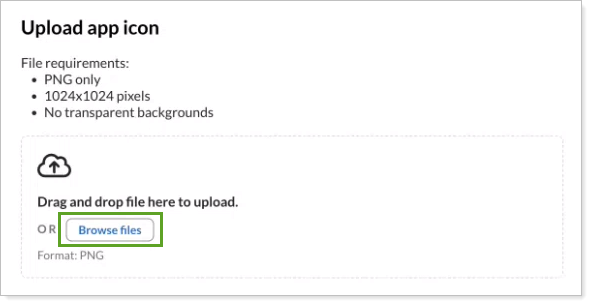
App icon. The image you want to use as your app icon. The image must meet the following requirements:
-
PNG file type only.
-
1024x1024 pixels.
-
No transparent background.
-
-
Logo. The image you want to use as the logo. The image must meet the following requirements:
-
PNG file type only.
-
1024x500 pixels.
-
No transparent background
-
- Contact email address. Identify an email address for your firm that can be used if clients have questions. This should be a generic inbox such as reception@(blank.com) or clientservice@(blank.com). You should provide an email address you are comfortable with showing in the Google marketplace.
Access the Mobile App Workflow
Once enabled, to access the branded mobile app creator workflow:
-
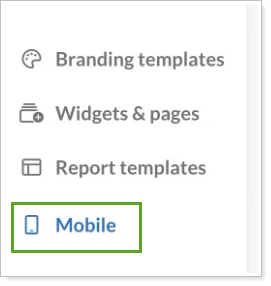
Under Client Reporting, select Configuration Tool.
-
Select Mobile.
Create a Branded Mobile App
When you create your branded mobile app, you’ll set up the app on both the Apple and Google app stores. When complete, clients will be able to download the app from either store.
The following is an overview of the steps. For more, see the detailed steps below.
-
Set up the Apple app.
-
Set up the Google app.
-
Upload the images.
-
Add the information you want clients to see in the app store.
-
Provide the demonstration client details.
-
Submit the app and monitor its progress.
Step 1: Set Up Your Apple App
In this step, we collect information from your Apple developer site. To set up your Apple developer account and acquire the information you need here, the workflow provides links to the Apple documentation.
Setting up the Apple app is the first step in the process. You must complete this step before you can move on.
To set up your Apple app:
-
In the Configuration Tool, select Mobile.
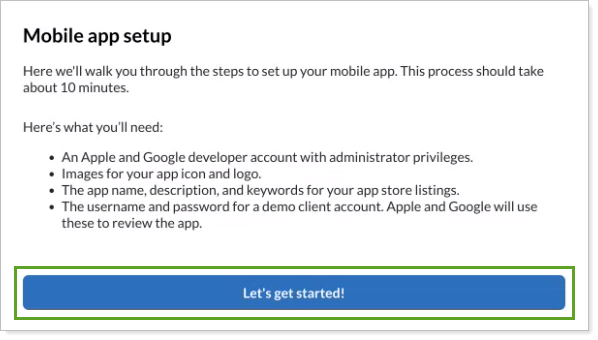
-
Select Let’s get started!
-
Once you've set up your Apple developer account, provide us with the following information:
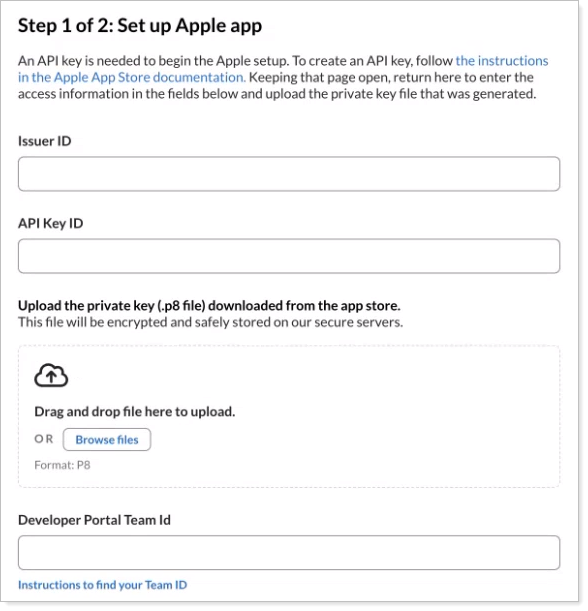
Setting Details Issuer ID Use the Issuer ID provided on the Integrations page. For more information, see App Store Connect (external link opens in a new tab). App Store Connect Key ID This is also called the API key. For more information, see Creating API Keys for App Store Connect API (external link opens in a new tab). Your private key Upload the private key, also called the .p8 file, that you downloaded from the Apple app store. Developer Portal ID For more information, see Locate your Team ID (external link opens in a new tab). -
Select Submit.
-
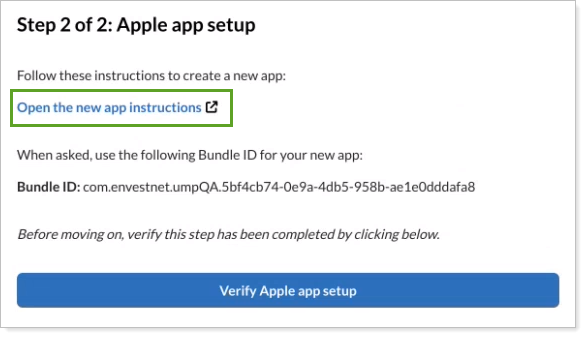
Complete the app setup on the Apple developer site. For steps, select Open the new app instructions.
-
Select Verify Apple app setup. If everything is in good order, you’ll see a message confirming that the app has been created.
-
Select Next.
Step 2: Set Up Your Google App
In this step, we collect information from your Google developer site. To set up your Google developer account and acquire the information you need here, the workflow provides links to the Google documentation.
Setting up the Google app is the second step in the process. You must set up the Apple app before you can start this step. You must complete this step before you can move on.
To set up your Google app:
-
In the Configuration Tool, in the Mobile flow, start on the Setup Google App screen.
-
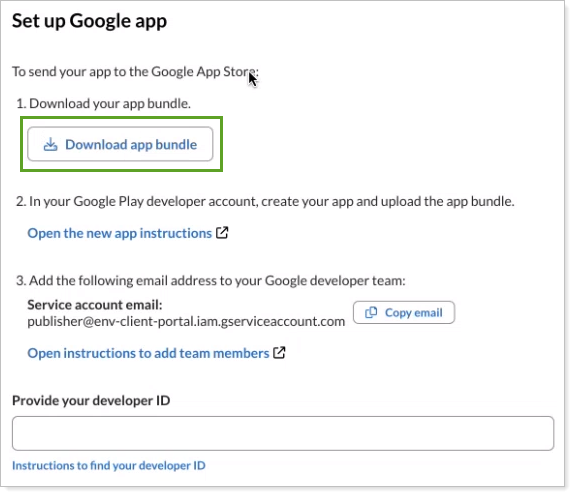
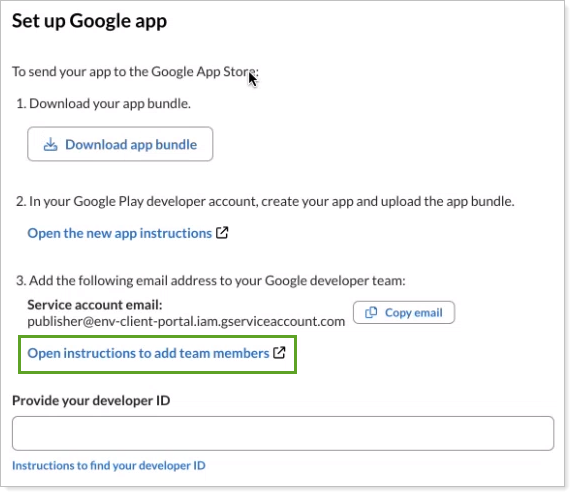
Select Download app bundle. It is saved to your computer. This generic file is used to create a connection with Google that allows us to create your custom app.
-
On your computer, find the downloaded app bundle file. Its file name follows this pattern:
android-placeholder (x).aab
-
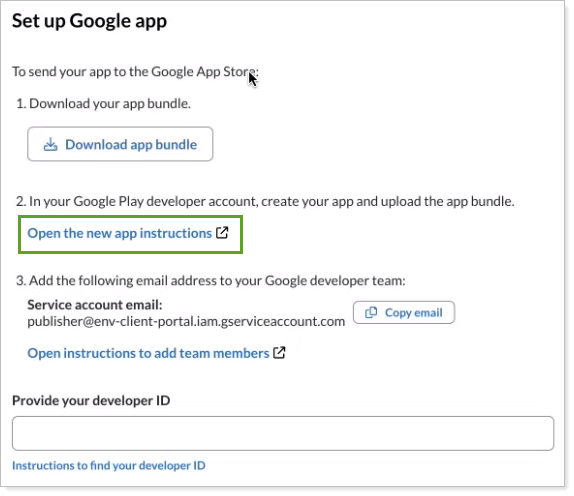
In your Google Play developer account, create your app and upload the app bundle. For more information, select Open the new app instructions or see Create and set up your app (external link opens in a new tab).
-
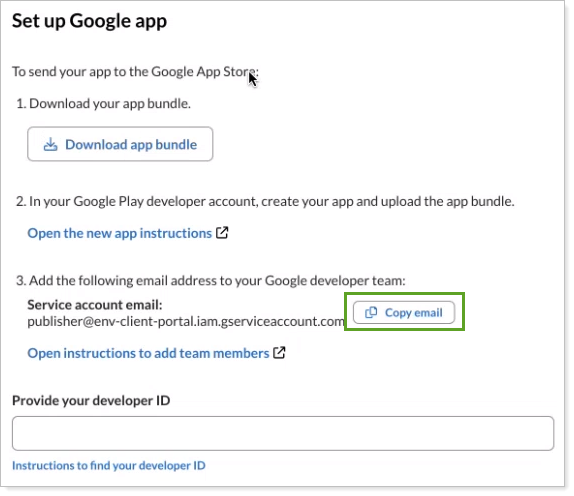
Select Copy email to copy the following service account email address:
publisher@env-client-portal.iam-gserviceaccount.com
-
Add the service account email address to your Google developer team. In Google, give that user Admin (all permissions). For steps, select Open instructions to add team members.
-
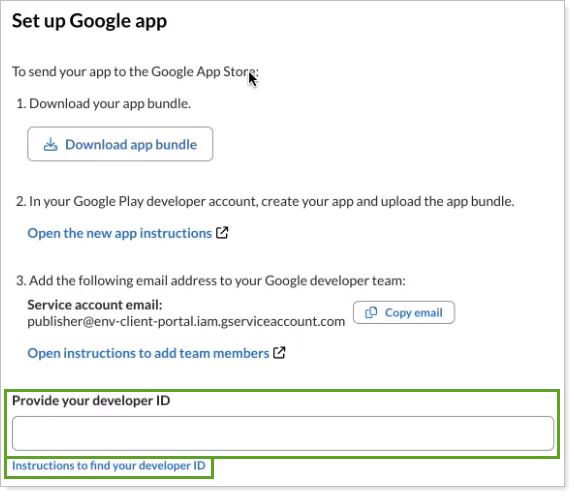
Enter your Developer ID. When you sign into Google Play, this is listed as Account ID. For directions to find the ID, select Instructions to find your developer ID.
-
Select Verify Google app setup. If everything is in good order, you’ll see a message confirming that the app has been created.
-
Select Next.
Step 3: Upload Assets
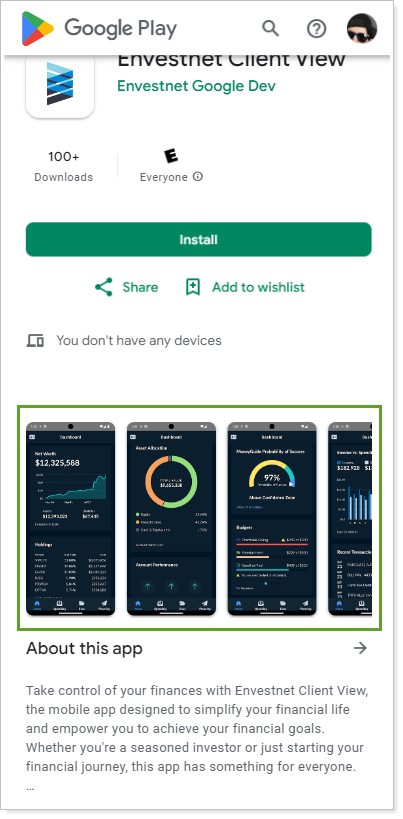
Uploading assets is the third step in the process. Here you add the logo images you want clients to see in the app store and on their device.
You must set up the Google app before you can start this step. You must complete this step before you can move on.
To upload assets:
-
In the Configuration Tool, in the Mobile flow, start on the Upload assets screen.
-
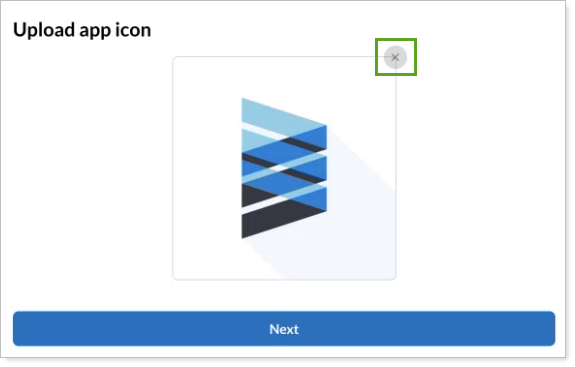
In Upload app icon, select Browse files. From your computer, choose the app icon file and upload it. This is the icon that clients see representing the app on their devices.
-
In Upload logo, select Browse files. From your computer, choose the image file and upload it. This is a banner that appears in the Google Play store.
-
Review the images you uploaded. To change the image, select X. The current image is removed and you can add a new one.
-
Select Next.
Step 4: Enter Metadata
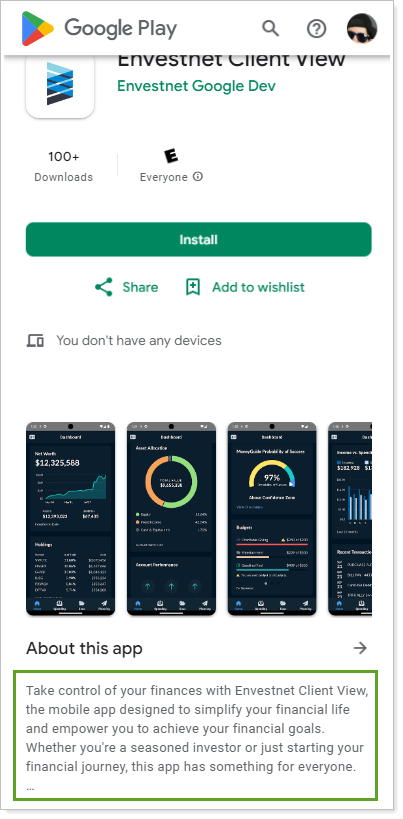
Entering metadata is the fourth step in the process. Here you add the description and details you want clients to see in the app store and on the app.
You must upload assets before you can start this step. You must complete this step before you can move on.
To enter metadata:
-
In the Configuration Tool, in the Mobile flow, start on the Enter metadata screen.
-
Enter the following data:
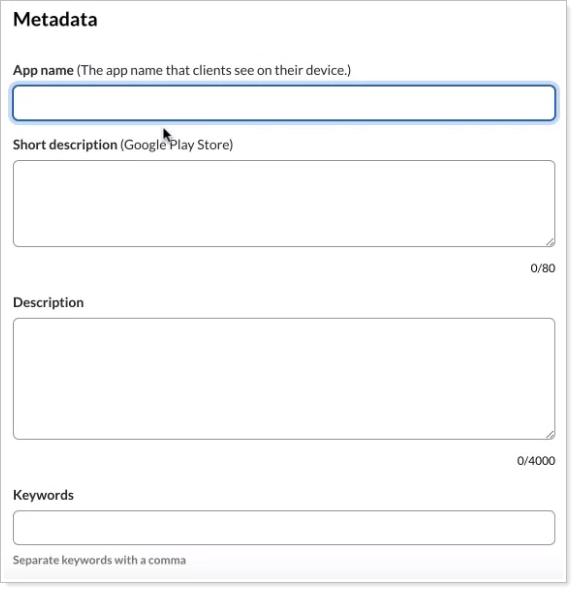
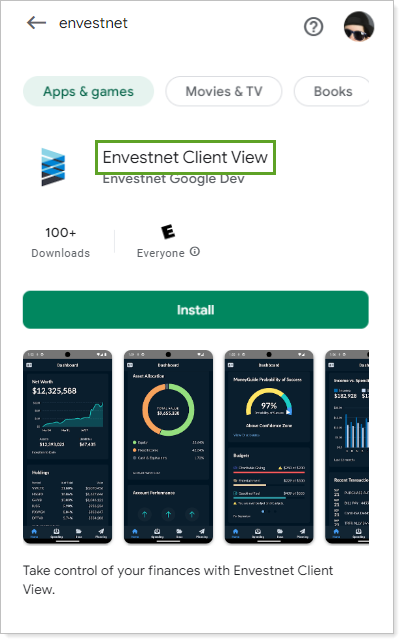
Setting Details Display name This appears in the app store and on the home screen of a user’s mobile device.
Short description Enter a short description of your app, up to 80 characters, that appears in the search results when a client searches for the app.
Only the Google App Store uses this description.
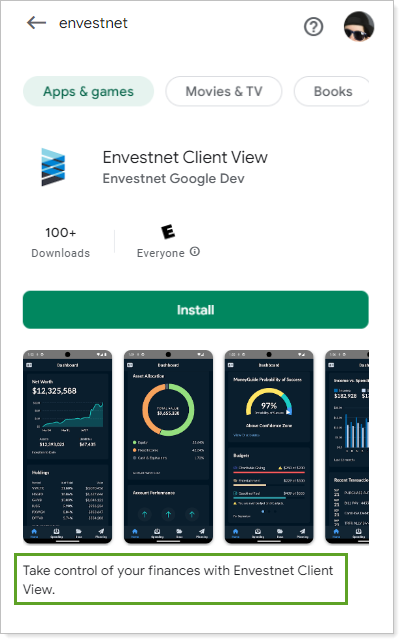
Description Enter a description of your app that is up to 4,000 characters long. This appears in both the Apple and Google app stores.
Keywords Enter keywords, such as your firm name, to help users find your app. Separate keywords with a comma.
For example, Cherry Street, Cherry Street Financial, CSF
-
Select Submit.
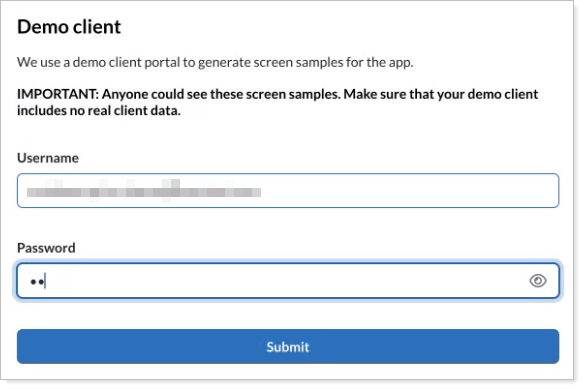
Step 5: Enter Demonstration Client Credentials
Entering demonstration user data is the fifth step in the process. Apple and Google reviewers use these credentials to view your app before approval. It also is the source of the screenshots that show up in your mobile app listing in app stores.
important
Members of the public will see this data. Make sure there’s no real client data included in this demo account.
You must enter metadata before you can start this step. You must complete this step before you can move on.
To enter demonstration client data:
-
In the Configuration Tool, in the Mobile flow, start on the Demo client screen.
-
Enter the Username and Password you created for the demonstration client.
-
Select Submit.
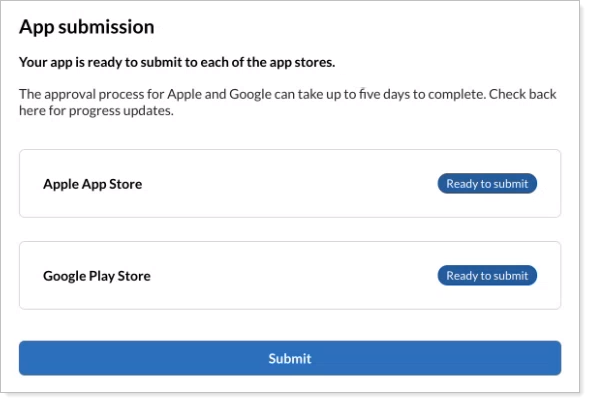
Step 6: Submit the App
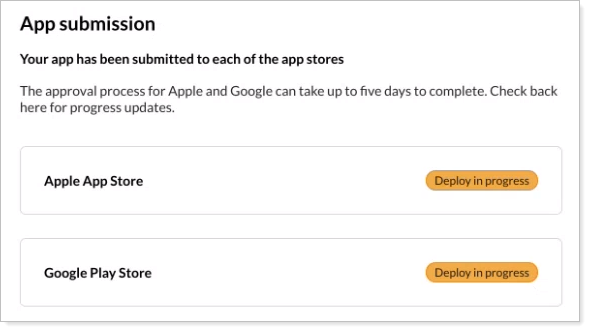
Submitting the app is the final step in the process. This page shows the submission status for your app for each app store.
You must complete all the other steps before you can start this step.
-
In the Configuration Tool, in the Mobile flow, start on the App submission screen.
-
When both app stores show Ready to submit status, select Submit.
Next Steps
The approval process for Apple and Google can take up to five business days to complete. Track the latest progress for the app on the App submission page.
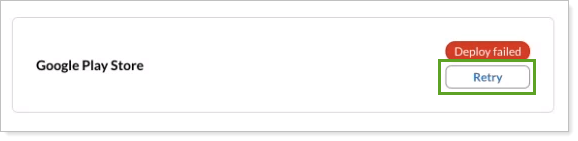
If an app fails, select Retry. You can retry up to three times, after which you'll need to contact your Support team.