Back
Back Home > Tamarac Reporting > Clients and Client Portals > Client Portals > Setting Up Client Portals > Setting Up Client Portals
|
Back |
Home > Tamarac Reporting > Clients and Client Portals > Client Portals > Setting Up Client Portals > Setting Up Client Portals
|
Setting Up Client Portals
|
Workflow for Setting Up and Creating Client Portals |
You can brand the Tamarac Reporting client portal with your company's logo and give each of your clients secure access, specifying how each client's portal is presented and the reports and information he or she can access.
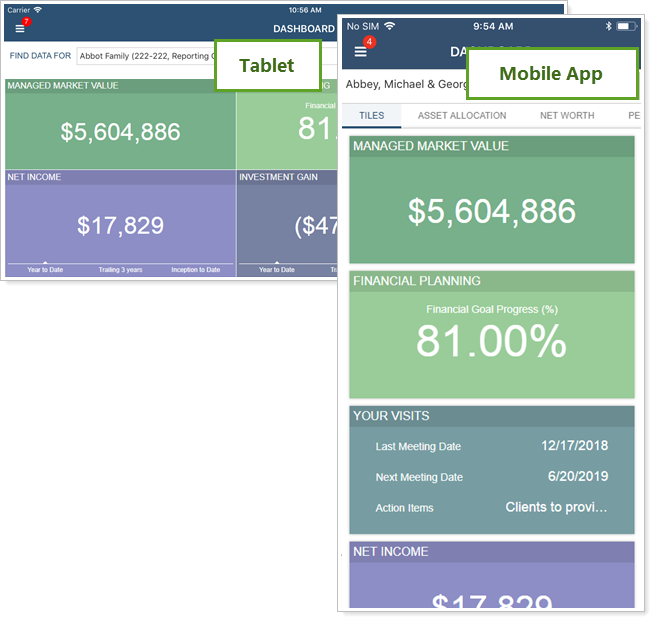
Additionally, client portals are optimized for viewing on mobile devices through the Tamarac mobile app. Learn more about the mobile app with the Introduction to Tamarac Mobile App and Learn More About the Tamarac Mobile App.
You can easily manage your client communications and document exchange with the Tamarac Reporting document vault. It allows you to post documents and messages to your clients and give them a platform for corresponding and sending documents back to you through a secure, branded interface.
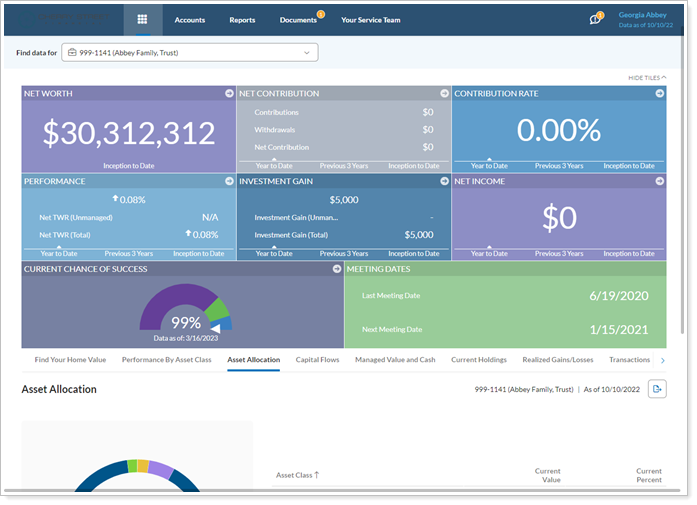
You'll need to complete a series of steps so the client can sign into a client portal. If you'd like to preview the client portal exactly as the client sees it, visit View a Client Portal Exactly As Your Client Sees It.
Follow the steps in the section below to complete the workflow for setting up and creating client portal.
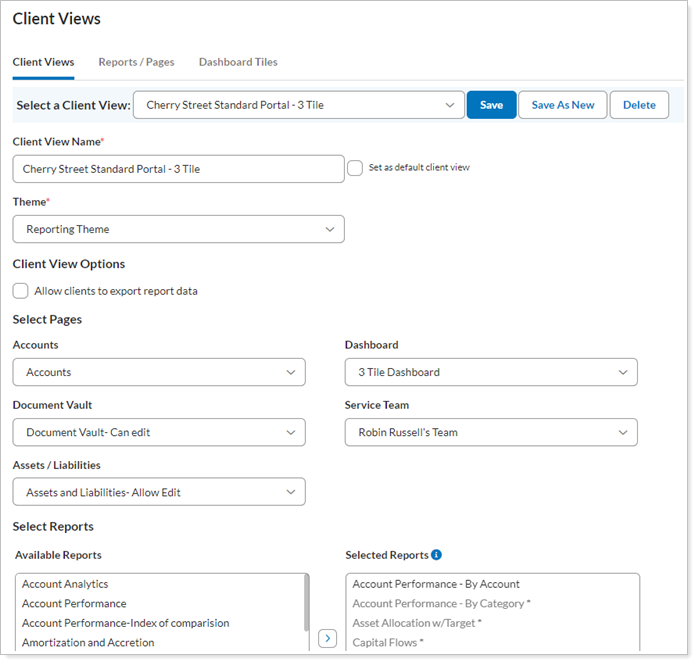
The first step in setting up your client portals is to create the client view. The client view determines the reports and theme of your client portal. Your clients can access no information other than what you provide to them in the client view. You can specify both the specific reports you share with them and also the granular display of those reports such as the specific columns of data you expose and any indexes of comparison. For details on creating client views, visit Create a Client View.
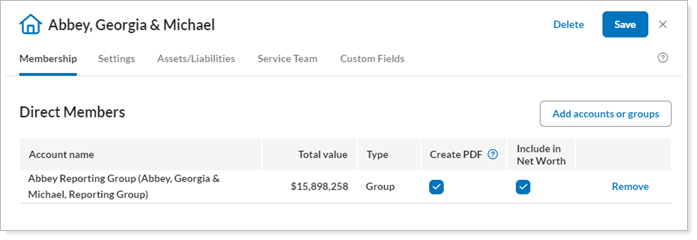
The Household determines the accounts and groups the client can see when signing into the client portal. It also determines the logo that the client will see once signed into the client portal. You will also assign your Service Team to the Household. As we expand the functionality of the client portal in future releases, clients will be able to assign tasks to the Service Team directly from the portal. For details on creating Households, visit Create a Household.
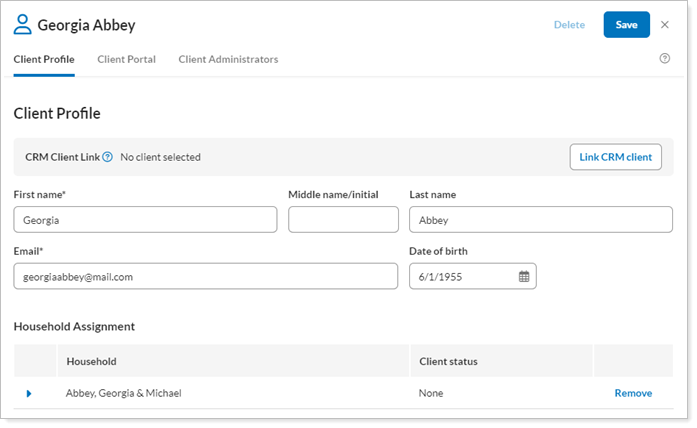
Clients are different from accounts, groups, and Households. Clients control the email address of the client as well as the client view and report delivery methods for reports. For more information, visit Create and Edit a Client.
The last step in the workflow is to enable client portal access for the client. Some firms prefer to do this right away when setting up the portal, while others prefer to set up the client portal and leave it deactivated until they meet with the client in-person and discuss the settings.
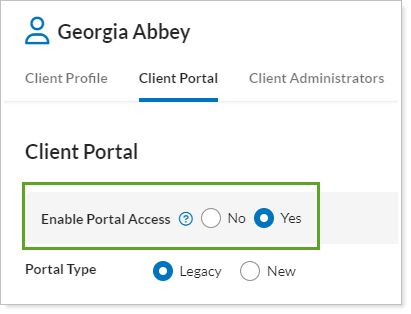
For steps to enable client portal access, see Enable Client Portal Access for a Client.
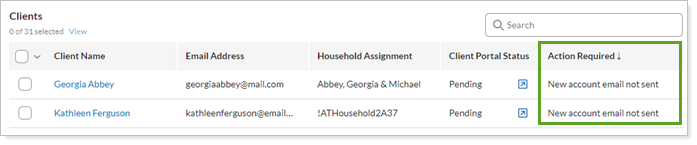
If you postpone steps when you set up a client portal, you'll later see a notification that indicates how many client portals need to be completed.

You can view the specific actions required for the specific accounts in the Action Required column.