 Back
Back Home > Tamarac Reporting > Clients and Client Portals > Common Customer Service Requests > Allow or Prevent Clients from Uploading to the Document Vault
|
Back |
Home > Tamarac Reporting > Clients and Client Portals > Common Customer Service Requests > Allow or Prevent Clients from Uploading to the Document Vault
|
Allow or Prevent Clients from Uploading to the Document Vault
|
Allow Clients to Upload Files to the Document Vault Prevent Clients from Uploading Files to the Document Vault |
You can allow your clients to securely share files with you using the document vault. This eliminates any risk associated with file sharing via email and makes files readily accessible right within Tamarac.
The documents vault must be added to the client view for clients to see and use it. If your client views do not currently include the document vault, first add it to the desired client view and then follow the steps below to enable client file sharing.
You may have multiple document vault pages set up. If so, follow the procedure for each page where you want to grant or deny access.
To allow clients to share files with you:
Under Client Reporting, select Client Views.
Select Reports / Pages.
In the Select a Report or Page list, select the Documents page where you want to disable access. If you haven't created one, visit Client Views - Document Vault Page.
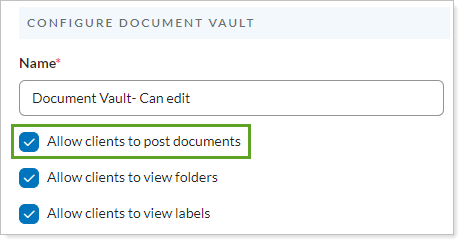
Select Allow clients to post documents.
Select Save.
When you prevent clients from uploading, advisors can still post files. However, clients must send files to you using an alternative method, such as email or FTP.
We recommend that you name the client view to indicate access level. For example, append No document access or Disallow clients to post documents to a client view name so you can easily identify the client views which have read-only access.
To remove document upload permission for a particular Documents page:
Under Client Reporting, select Client Views.
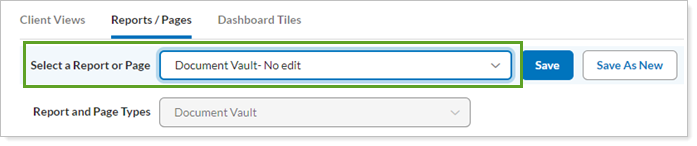
Select the Reports / Pages tab.
In the Select a Report or Page list, select the Documents page where you want to disable access. If you haven't created one, visit Client Views - Document Vault Page.
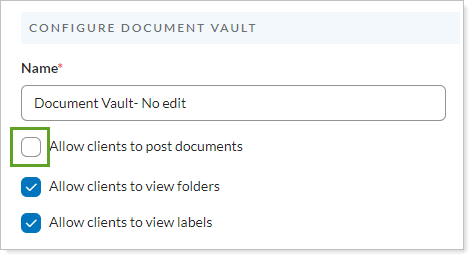
Clear Allow clients to post documents.
Select Save.
In the new client portal, you control whether clients can manage files or see a read-only view of the page.
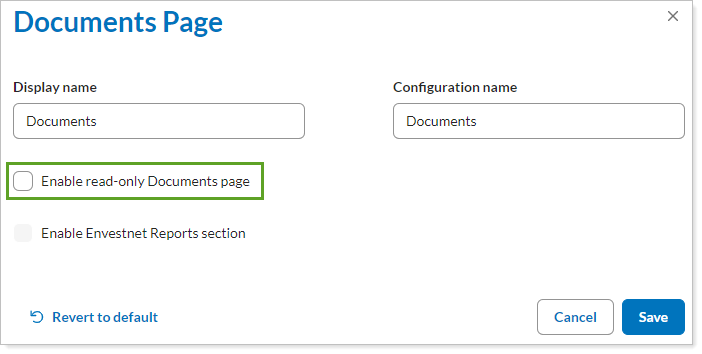
For details, see Allow Clients to Upload Files in the New Client Portal.
You can't upload files when viewing as client.
Once posting is enabled for the client view document vault, your clients can share files with you using the following procedure:
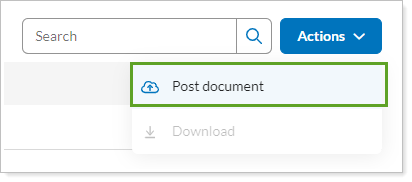
In the Client Portal, select the Documents menu.
In the Actions, choose Post Document.
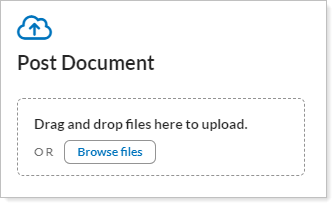
Select Select or Drop Files Here.... When you have located the file you want to post, click it, and then click Open. Alternatively, you can drag-and-drop files onto the Select or Drop Files Here... box.
For security, neither advisors nor clients are allowed to upload the following common file types, among others, to the document vault:
.zip
.html
.exe
.rar
.dll
.bat
.asp
.aspx
.php
In the expanded file upload area, perform any of the following actions:
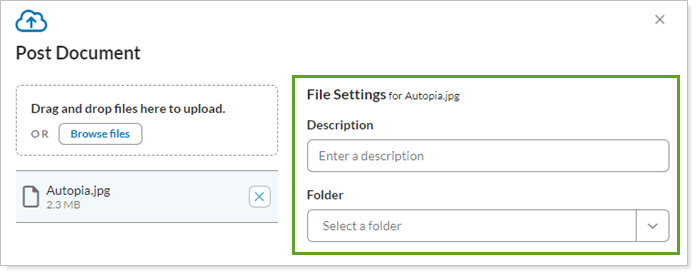
In the Description box, type a description for the file; this communicates the nature of the posted document by your client. The text is fully searchable.
Under Folder, choose any folders visible to the client. The client can only see folders containing files shared within his or her specific document vault. Clients cannot assign labels or folders.
Repeat to add as many files as you want to share.
When you're finished adding documents, select Post.