Back
Back Home > Tamarac Reporting > User Security and System Settings > User Management > Manage Permissions for Views
|
Back |
Home > Tamarac Reporting > User Security and System Settings > User Management > Manage Permissions for Views
|
Manage Permissions for Views
Tamarac Reporting enables you to access current performance data for accounts your firm manages with dynamically generated, interactive, on-screen reports. For each report, you can create views that display the data in different ways depending on what you want to see. When you run a report, you choose which view you want to use to show the data.
For more information about views, see Understanding Report Views.
Anyone with permission for a report can create a view for that report. Views are only available to the owner/author and administrators until they are set as publicly accessible. Administrators can then assign user and user group permissions for these shared views to determine exactly who can see them. Non-administrators will see only the views they have been given access to.
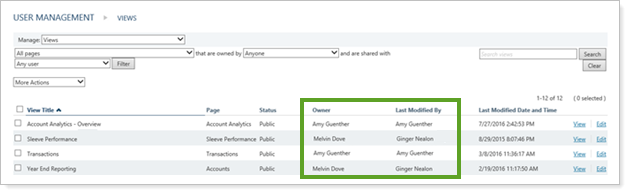
As an administrator, you can identify who owns views and who last modified them—which provides an audit trail—and you can assign views to a view set if you have frequent groups of permissions that you assign and want to include multiple views when granting permissions to users.
The following best practices will help you make the most of your views permissions.
Use helpful names for views so you can easily identify what they are in the future.
Your Support team can share views with end-clients to help with troubleshooting, so make sure the view names you use sound professional.
If users or end-clients are having trouble, share a view with them and allow them to clone it.
Users must own at least one view. It can be shared or private.
There are a number of ways that users can be given permission to a view, so if you remove access to a view and the user still sees it, you'll need to check all the permissions the user might have for that view.
In this short video, you'll learn about how to manage views in Tamarac.
The following sections discuss managing permissions for individual views.
A view must be marked as publicly accessible before it can be added to a view set or assigned to a user or user group. If it is not publicly accessible, it can only be viewed and edited by administrators and the user who created the template. Anyone with permission for a report can create a view for that report.
Public views will be available to users who:
Have been granted roles that have permission for that report page.
Belong to a group that has been granted permission for that report page.
Have access to all reports (such as administrators).
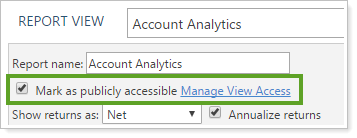
To assign a view as publicly accessible, follow these steps:
From the Reports menu, click a report that contains a view you want to use.
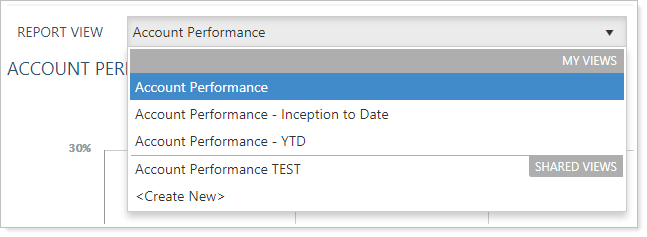
In the Report View list, select the view you want to use.
Click Edit.
Click the Mark as publicly accessible check box.
Once views have been created for a report, administrators can assign permissions to users and user groups.
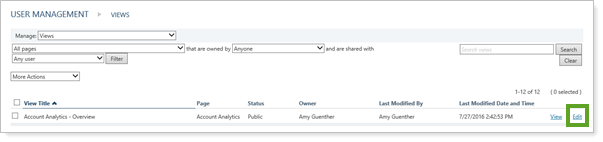
To assign and edit view permissions, follow these steps:
On the Setup menu, click User Management.
In the Manage list, click Views.
Click Edit for the view you want to assign permissions to.
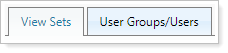
On the available tabs, add any applicable permissions to the view:
| Tab | Available Permissions |
|---|---|
| View Sets |
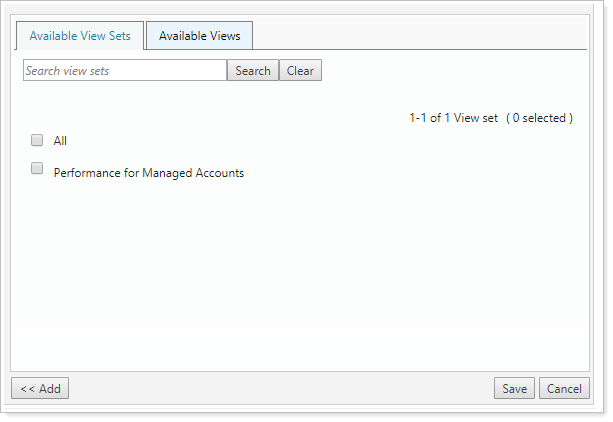
On the Available View Sets tab, select any view sets in which you want to include this view, and then click Add.
|
| User Groups/Users |
The User Groups/Users tab allows you to associate either user groups or individual users to the selected view:
|
Click Save.
You can delete a view even if others have permission to see it, and even if it's included in view sets. There is no "in use" limitation for deleting. If you delete a view, it will silently drop from any view set it was included in.
For steps on deleting a view, see Create, Edit, and Delete a Report View.
In this short video, you'll learn about how to manage view sets in Tamarac.
The following sections discuss managing permissions for view sets.
To create a view set, follow these steps:
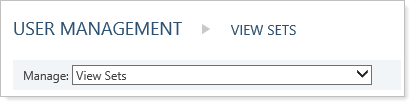
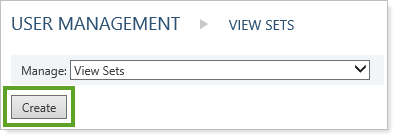
On the Setup menu, click User Management.
In the Manage list, click View Sets.
Click Create.
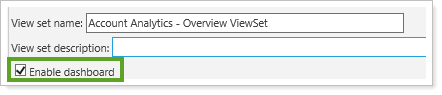
Type a name for the view set in the View set name field.
Type a description in the View set description field.
Click the Enable dashboard check box if you want this set of views to become available as a dashboard.
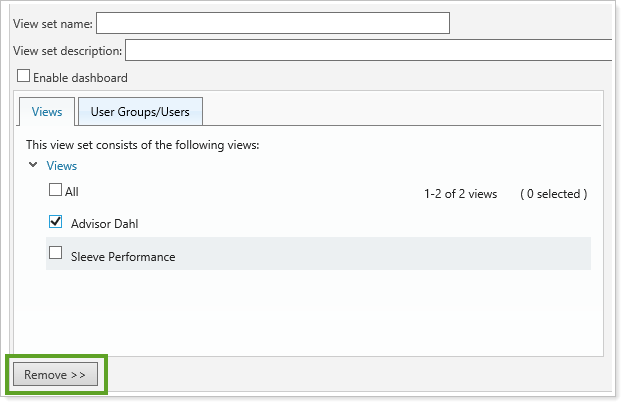
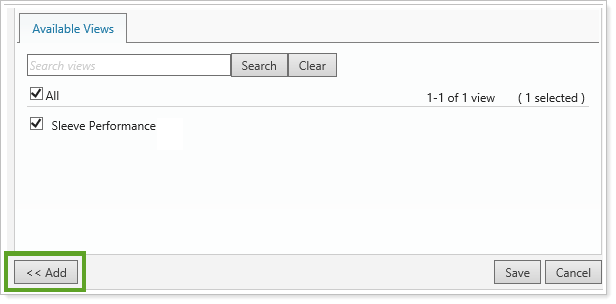
In the Views tab, select any views you don't want to include in this view set, then click Remove.
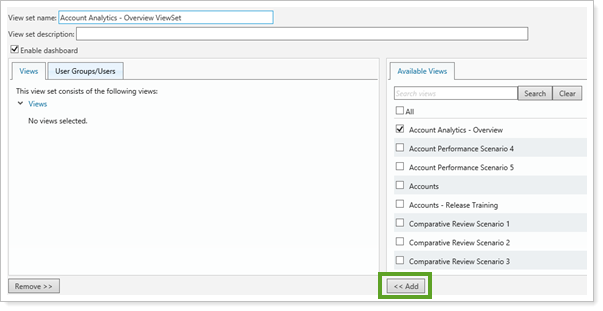
From the Available Views tab, select the report views you want people to see on the dashboard, then click Add. Report views will only be available if they have been set as publicly accessible.
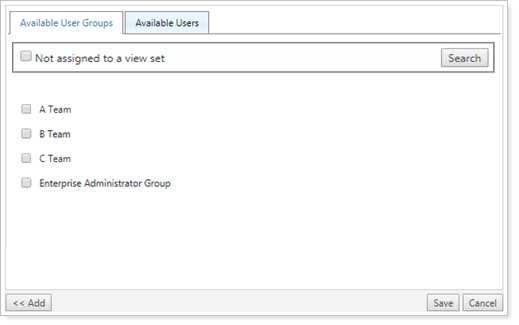
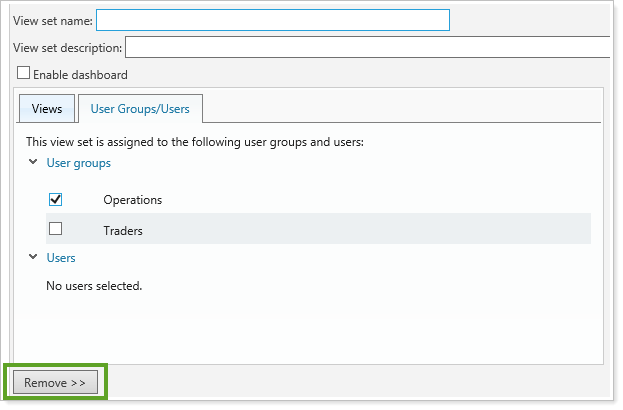
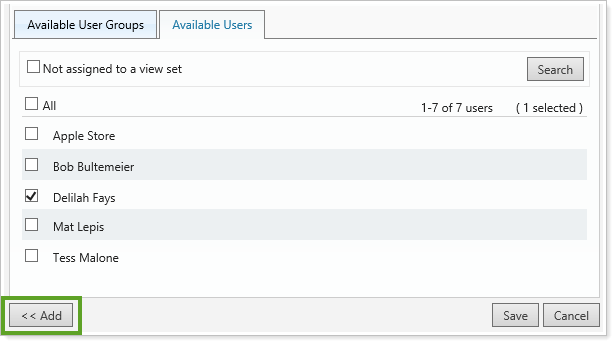
In the User Groups/Users tab, select any user groups that you want to deny access to for this view set, and click Remove.
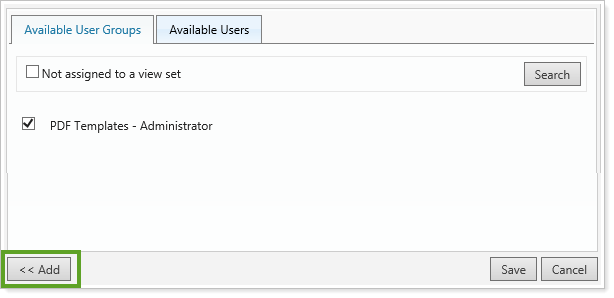
In the Available User Groups tab, select any user groups that you want to provide access to for this view set and click Add.
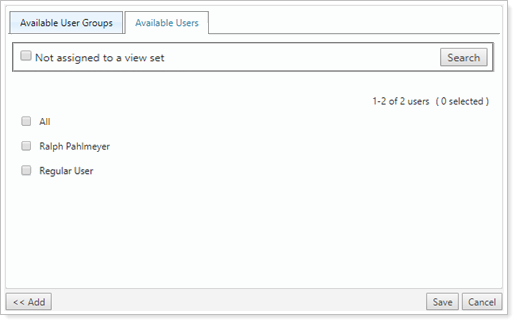
Click the Available Users tab and select the users who should have access to the dashboard view. Click Add. Only regular users are available in the Available Users tab, since administrators already have access to everything.
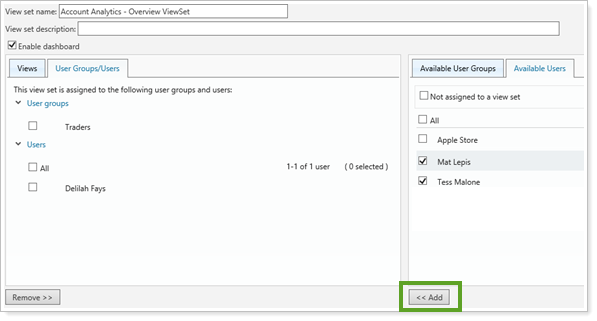
Click Save.
To edit a view set, follow these steps:
On the Setup menu, click User Management.
In the Manage list, click View Sets.
Click Edit for the view set that you want to edit.

In the Views tab, select any views you don't want to include in the view set.
Click Remove.
In the Available Views tab, select the views you want to include in the view set.
Click Add.
In the User Groups/Users tab, select any user groups or users that you don't want to provide access to for this view set.
Click Remove.
In the Available User Groups tab, select any user groups that you want to provide access to for this view set.
Click Add.
In the Available Users tab, select any users that you want to provide access to for this view set.
Click Add.
Click Save.
To delete a view set, follow these steps:
On the Setup menu, click User Management.
In the Manage list, click View Sets.
Click Delete for the view set that you want to delete.

In the confirmation window, click Delete.