
Contents
Introduction
When you set up a custom service request for your firm, you can optionally create business rules to control service request field requirements and visibility based on specific conditions.
This is step 2 in the Workflow: Set Up Custom Service Requests in Tamarac CRM.

Before You Start
To create business rules, you must have System Customizer permissions. For more information, see Customize Service Requests in Tamarac CRM.
Complete step 1 in the Workflow: Set Up Custom Service Requests in Tamarac CRM. For steps, see Customize Service Request Forms.
Create a Business Rule
To create a business rule:
-
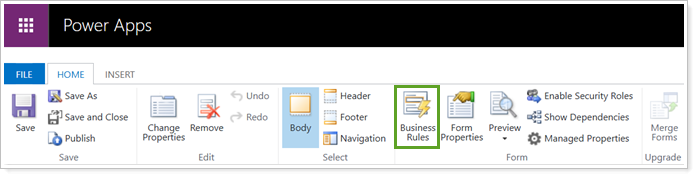
In Power Apps, in the custom service request form, select Business Rules.
-
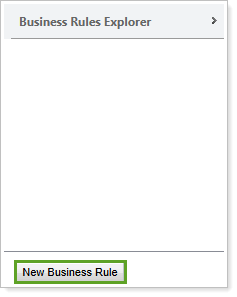
In the Business Rules Explorer panel, select New Business Rule.
-
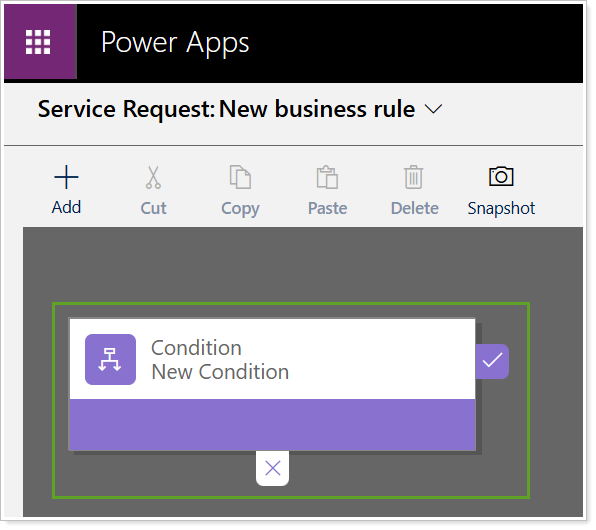
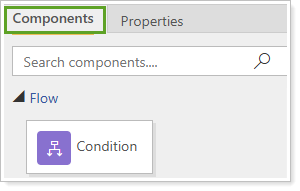
Select Condition.
-
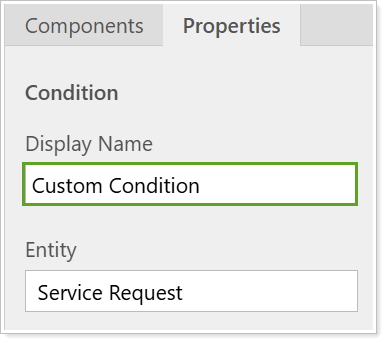
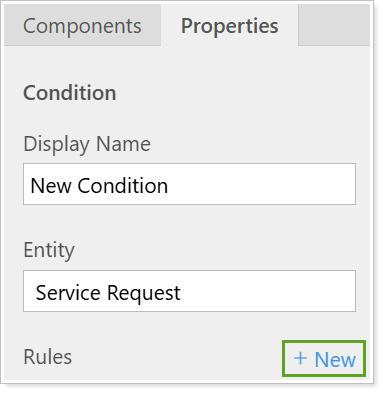
In Properties, update the Display Name to describe the condition. This is optional to label and help differentiate conditions internally.
-
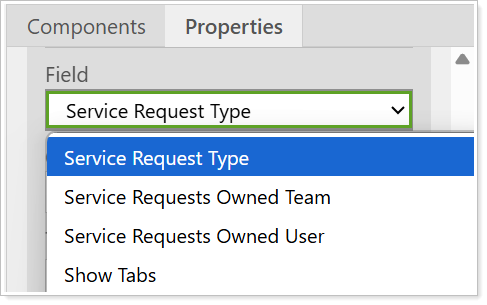
In Field, select the desired standard or custom field to use for the condition. If you need to create a custom field, see step 1 in the workflow, Customize Service Request Forms.
-
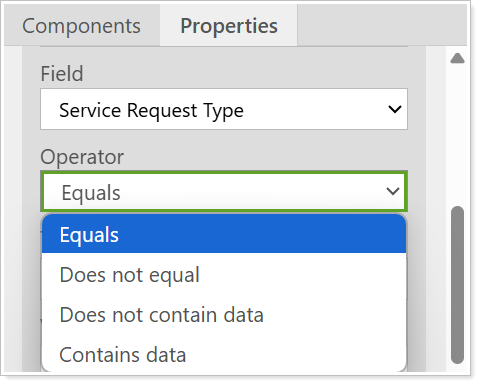
Optionally, to define the field logic, in Operator select the desired value.
-
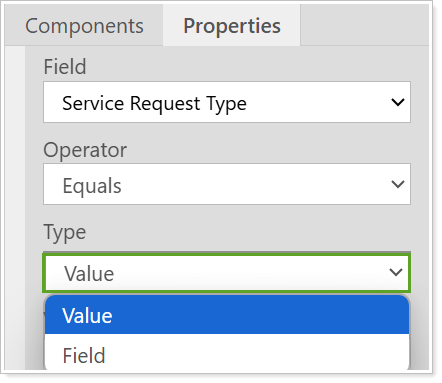
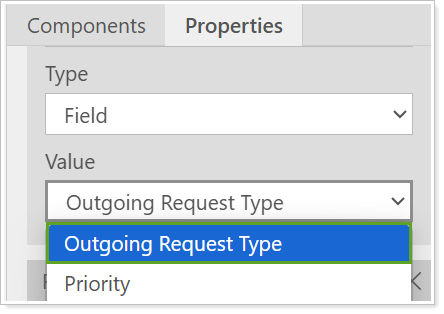
If you select an Operator, in Type, select Value or Field.
-
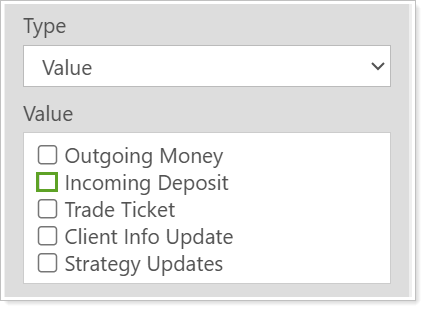
If you select Value, select the desired values.
If you select Field, select the desired field.
-
Optionally, to add a new rule to the condition, under Rules, select New.
-
Repeat the process to enter in the desired Properties for the rule.
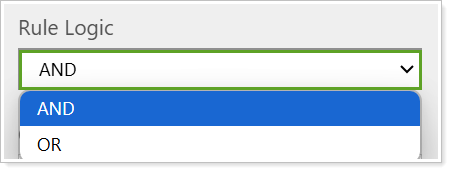
-
If you have multiple rules, you can optionally update the Rule Logic. In Rule Logic, select AND or OR.
Example
You may want to set a business rule to control the fields that show on a specific service request type. For one condition, you can create the following rules:
-
RUle 1 rule 2 Field: Service Request Type
Operator: Equals
Type: Value
Value: Incoming Deposit
Field: Type of Deposit
Operator: Equals
Type: Value
Value: Check
-
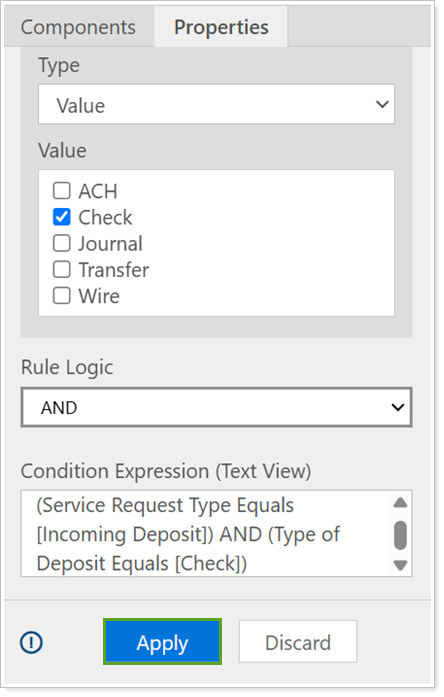
Rule Logic: AND
With this logic, this condition is met when the service request is an Incoming Deposit and the Type of Deposit is a Check. You can apply a Set Visibility action to control any additional fields that should populate when this condition is met, such as Check Number.
-
-
To save the Properties for your Rules, select Apply.
-
Select Components.
-
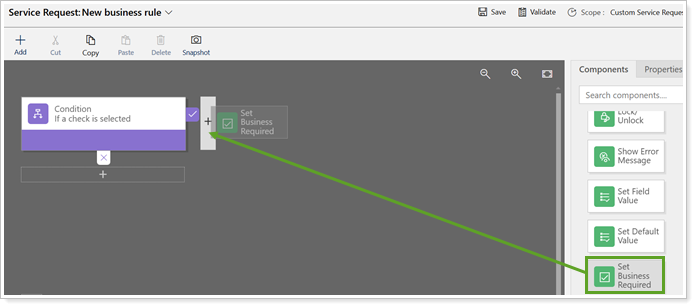
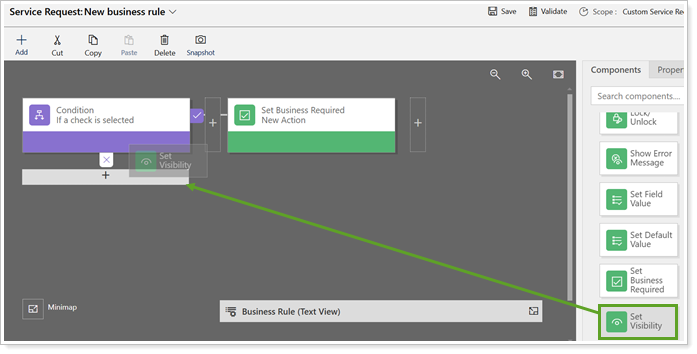
To set an action that will take place if the condition is met, select one of the Actions and drag it to the right of the Condition.
-
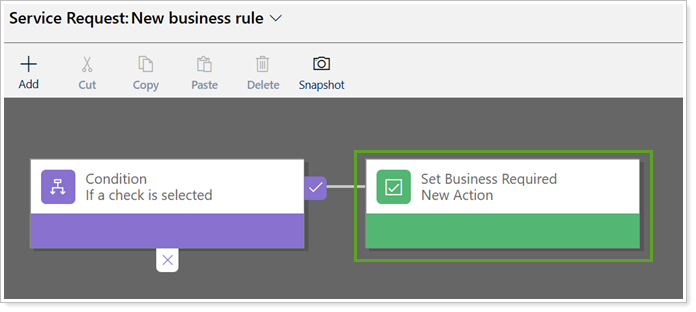
To update the properties, select New Action.
-
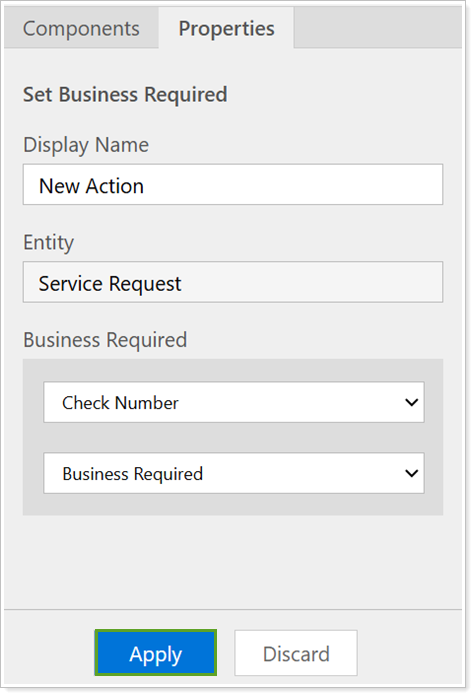
In Action Properties, optionally update the Display Name. Select the desired field and action. Once you enter all properties, select Apply.
-
Add additional actions under the Condition if you want something to occur when the condition isn’t met. Repeat the steps to update the Action Properties.
-
Repeat the process to add as many Actions as necessary to the Condition.
-
Select Save.

-
Select Activate.

Note
If you find a Business Rule that is close to what you need, you can open an existing Business Rule and use Save As to copy it. You can then make your updates and save.
For more information on creating business rules, see Create a business rule for a table (link to an external site).
Next Steps
You can create modern dialogs to control what CRM record service requests appear on.
To continue to the next step in the workflow, see Create Modern Dialogs for Service Requests.