Back
Back Home > Tamarac Reporting > PDF Reports > Create Edit or Delete PDF Report Components > PDF Custom Section: Add, Edit, and Delete Custom Graphics
|
Back |
Home > Tamarac Reporting > PDF Reports > Create Edit or Delete PDF Report Components > PDF Custom Section: Add, Edit, and Delete Custom Graphics
|
PDF Custom Section: Add, Edit, and Delete Custom Graphics
|
Reposition a Custom Graphic Object Delete a Custom Graphic Object |
This topic describes how to add custom graphics to a PDF Custom section. Custom graphics allows you to create a firm-branded cover page for reports templates or sections and add market commentary illustrations.
As you add images and create custom graphics, the following are some helpful tips to keep in mind:
When you add pictures to the Custom section, you can place text on top of pictures. Pictures will always be in the background.
If you want to set background images behind custom text, you can use a custom image or set a background for the Custom section. For more information, see PDF Custom Section.
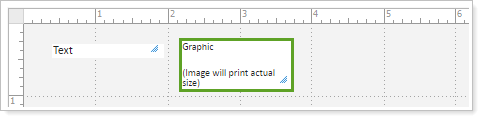
Once you add a picture to the custom section, you will notice the text Image will print actual size. Although the object may not reflect the actual size of the image, the image will print based on its actual size. You can resize the image to better represent the end result by dragging the corner to the proper size.
To add a picture to a PDF Custom section:
Open the PDF Custom section where you want to add graphic.
Drag Graphic onto the custom section grid.
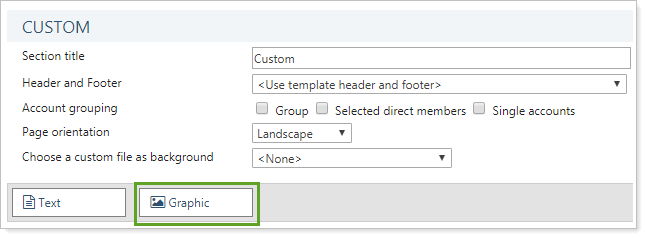
Double-click the graphic you added.

Choose the picture you want to add to the custom PDF section from the Choose graphic list. For more information about graphics settings, see Graphic Dialog. If the picture you want to add does not appear in the list, you can upload it to Tamarac Reporting. For more information on uploading graphics, visit Upload Custom Files.
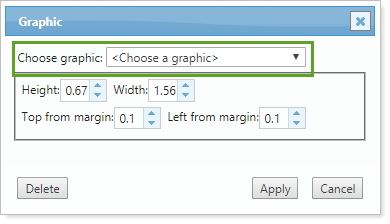
Click Apply.
Drag the graphic to the desired location, and then click Save.
You can change the position of a picture in the following ways:
Drag the graphic object to its new location on the grid.
Precisely enter the location by typing the position in the formatting area.
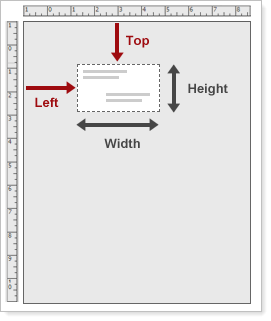
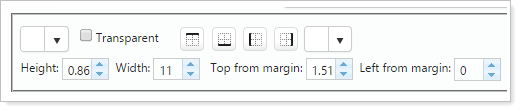
In the Top from margin box, type the number of inches from the top of the page where you want the image to start.
In the Left from margin box, type the number of inches from the left edge where you want the image to align.
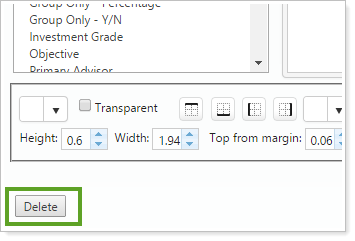
To delete a text object or graphic you've added to a custom section:
Double-click the object you want to delete.
On the dialog that appears, click Delete.
The PDF dashboard allows you to add a custom graphic to any given panel. This lets you include pictures of charts or graphs from outside analysis, branding graphics, or even photos for a staff bio.
When you add a custom graphic, the following settings are available:
| Setting | Details | Available in... |
|---|---|---|
| PDF Dashboard | ||
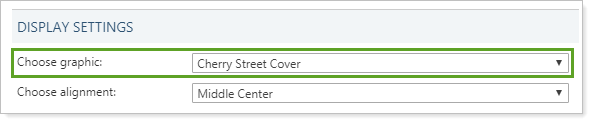
| Choose graphic | Designate which image to use. | X |
| Choose alignment | Designate where the image is displayed in the PDF dashboard panel. | X |
For more information about the PDF dashboard, see PDF Dashboard Report.
This setting allows you to display any of the images you've uploaded in the PDF dashboard panel.
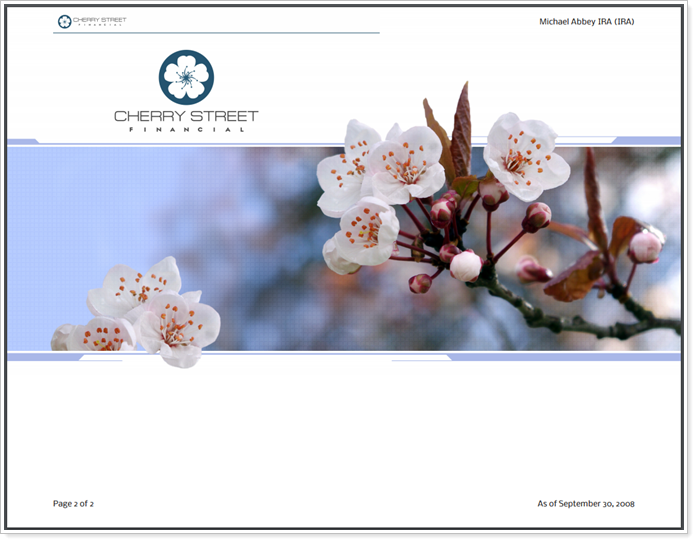
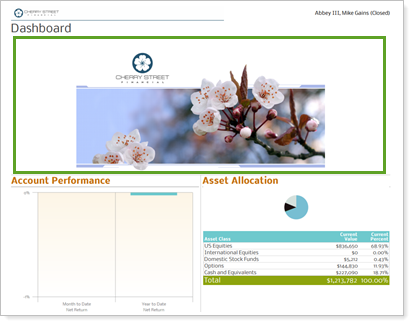
The custom image below was added to a panel that takes up 100% of the top dashboard panel row.
For more information about uploading images to include in PDF reports, see Upload Custom Files.
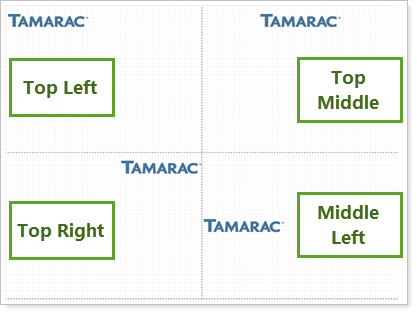
This setting allows you to control the alignment of the image in the PDF dashboard panel, if the image doesn't take up the entire space.
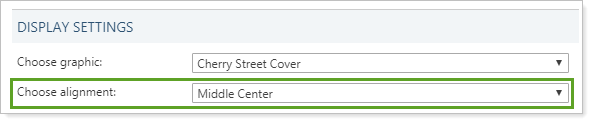
You can align text or images to the top, middle, or bottom, and right, middle, or left of the panel.