 Back
Back Home > Tamarac Reporting > PDF Reports > Create Edit or Delete PDF Report Components > PDF Custom Section
|
Back |
Home > Tamarac Reporting > PDF Reports > Create Edit or Delete PDF Report Components > PDF Custom Section
|
PDF Custom Section
|
Set a PDF as a Background Image |
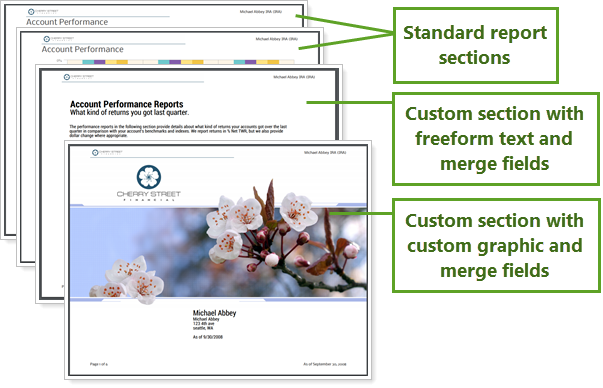
While PDF report templates give you a vast array of reporting options, there are times you may want to enhance your reporting package with other content, such as market commentaries, custom graphics, custom-written text, envelope inserts, and more. The PDF Custom section allows you to add custom text, graphics, horizontal lines, and other Tamarac Reporting information directly to a page in the PDF report.
The following topics are related to the PDF Custom section:
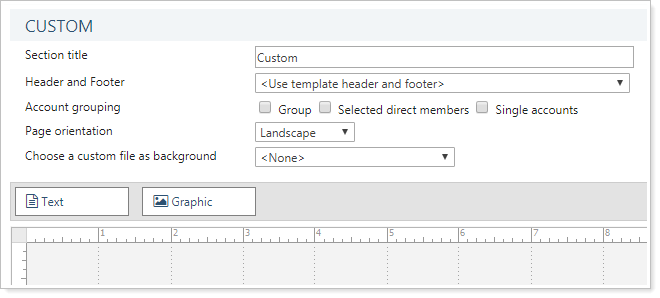
When you use the PDF Custom section, you can configure the following settings:
Bear the following in mind when you use a PDF Custom section:
When inserting an image, be sure that the page orientation for the custom section matches the page orientation of your background image. For example, if your background image was created for a landscape page orientation, make sure you set the page orientation for the custom section as landscape.
Any headers or footers you've added will be layered over top of the custom section, so be sure to only add a header and footer if your custom section does not have any graphics or text in the header or footer area.
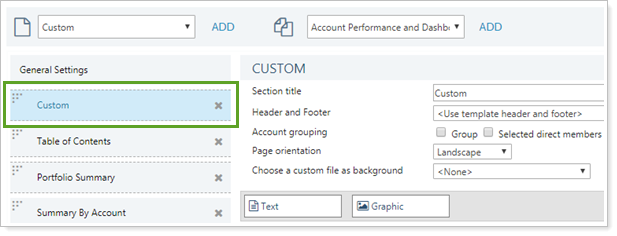
To create a custom section to add to a PDF template:
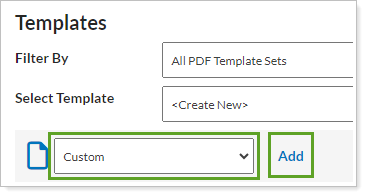
On the Client Reporting menu, click Templates.
In the Select Template list, choose the template where you want to add a custom section. If you haven't created the PDF template, see Create, Edit, and Delete a PDF Template.
In the section list, choose Custom, and then click Add.
Drag and drop text or graphic objects into the page and format as desired.
For more information on using custom text, see Add, Edit, and Delete Custom Text
For more information on using custom graphics, see Add, Edit, and Delete Custom Graphics
Click Save.
Although custom uploaded PDF files can be used as simple background images behind text, you can also use them as a way of including one-page market commentaries, letters, and more.
To insert an uploaded PDF as the background of a PDF Custom section:
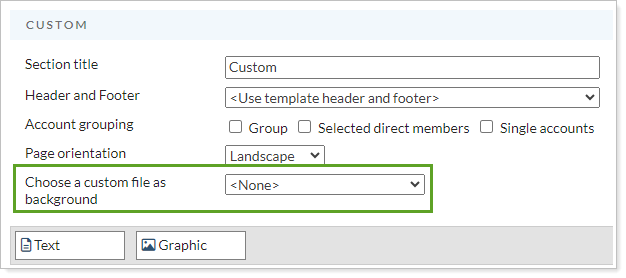
Open the Custom section where you want to add a background image.
In the Choose a custom file as background list, choose the PDF file you want to add as the background image. If the picture you want to add does not appear in the list, you can upload it to Tamarac Reporting. For more information on uploading graphics, visit Upload Custom Files.
Click Save.
Because PDF Custom sections sometimes include external content like market commentaries that, for example, might be landscape when the rest of your report is portrait, you may want to change the page orientation of the Custom section only.
To change the page orientation of a custom PDF section:
On the Client Reporting menu, click Templates.
In the Select Template list, choose the PDF template with the custom section that you want to update.
Click Custom in the list of sections.
Under Page orientation, choose a page orientation for the custom PDF section.
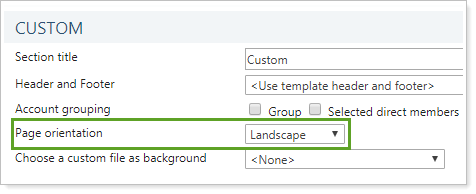
Click Save.
If you are using the Custom section as the cover page of a report and you don't want to display the standard header and footer on the first page, you can choose a custom header and footer for just the PDF Custom section.
To specify a unique header and footer for a custom PDF section:
On the Client Reporting menu, click Templates.
In the Select Template list, click the template where you want to specify a custom header and footer.
In the list of sections, click Custom.
In the Header and Footer list, select the header and footer you want to print with the custom section. To create a new header and footer, see Create, Edit, and Delete Headers and Footers.
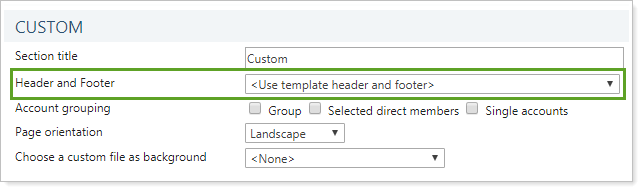
Click Save.
Horizontal lines allow you to add a visual design element that delineates sections.
All horizontal lines are 1 px wide.
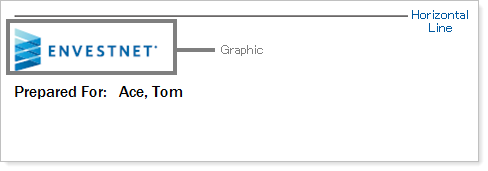
To add a horizontal line to a custom PDF section:
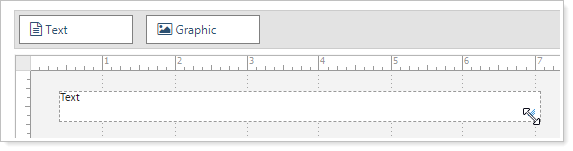
On the object toolbar, drag Text onto the custom section.
Click the corner of the custom text object, and resize the object to span the entire width of the page.
Double-click the custom text object you added.
Click  to add the horizontal line.
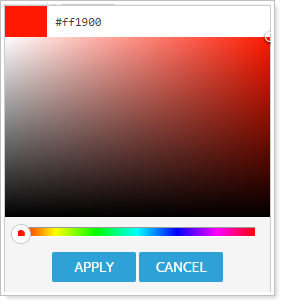
To change the color of the line, click ▼ to open the Color Selection window.
On the Color Selection window, you select a color by clicking anywhere in the color field or entering an exact hexadecimal value. Click Apply to close the dialog.
Click Apply.