Contents
Introduction
Page views are pre-configured views of the Accounts, Households, Securities, and Rebalance pages. With views, you can create several customized views of your data—and even choose which columns that appear—so that you can make more informed decisions. For example, you may create one view on the Accounts page that filters out closed accounts, and another that contains closed accounts. On the Households page, you could create one view that shows address and service team, for administrative tasks, and another view to show net worth.
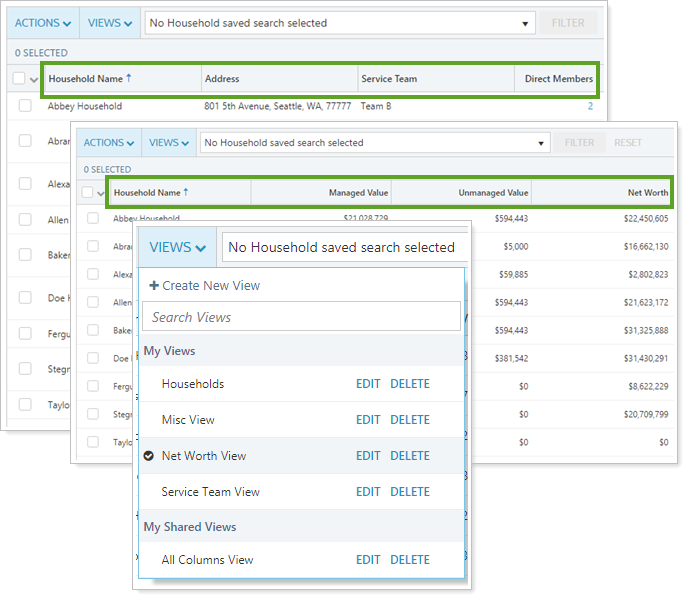
To use custom views, users can be enabled with view permissions under User Management.
Create, Edit, Copy, or Delete a View
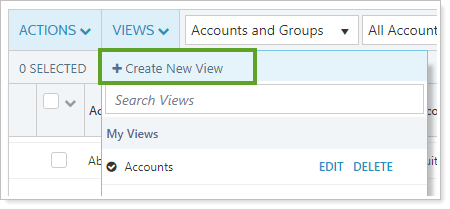
For steps on how to create, edit, copy, or delete page views, see Create, Edit, or Delete a Page View.
Customize a Column Name
You can change the name of columns to match your firm's standards. For information and steps, see Customize Column Names on Pages in Tamarac.

Auto-Fit Column Width
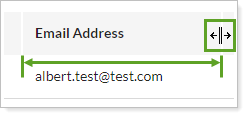
You can adjust column width on pages to fit the data. For information and steps, see Change Column Width on Pages in Tamarac.
Switch Views
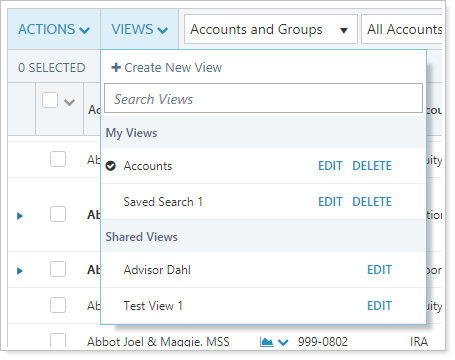
To switch a view, in the View list, click the desired view in the list. The page view will reflect the settings defined for the view you specified.
Share a View With Other Users
You can share your views for others to see. Users will see any views they have created for the page, plus any that have been made publicly available (and which an administrator has given them permission to view, using the User Management page) under the Shared Views heading.
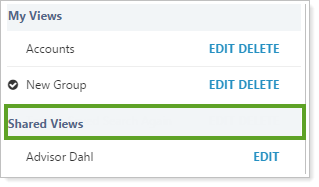
To share a view, follow these steps:
-
Visit one of the following pages:
- Accounts
- Households
- Securities
- Rebalance
-
On the View menu, click Edit next to the view you want to share.
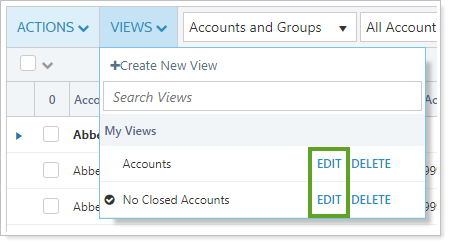
-
Select the Mark as publicly accessible check box.
By default, marking a view as publicly accessible doesn't automatically share it with all users since a large number of shared views would clutter the Accounts page. Instead, shared views must be approved by an administrator before they are shared with others. If you're signed in as an administrator, a Manage View Access link will appear. Click this link to share it with other users.
For details, see Manage Permissions for Views.

-
Click Save.
