
Contents
Introduction
Use target allocations to track and compare account holdings to account targets. Target Allocations make it easy for you to compare the holding goals at the account and group levels and help you determine if you need to adjust the holdings based on the investment policy of the portfolio.
You can see target allocations in the following locations:
-
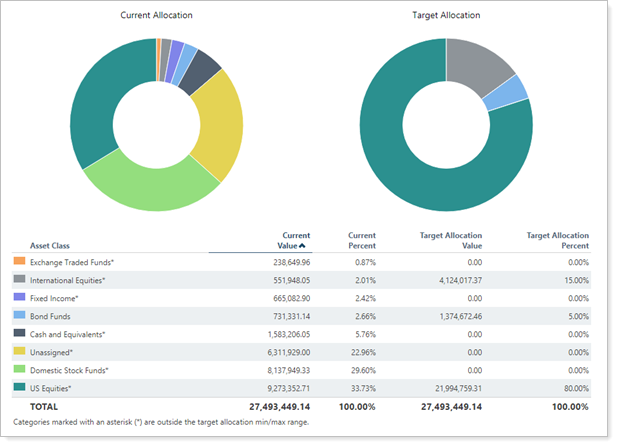
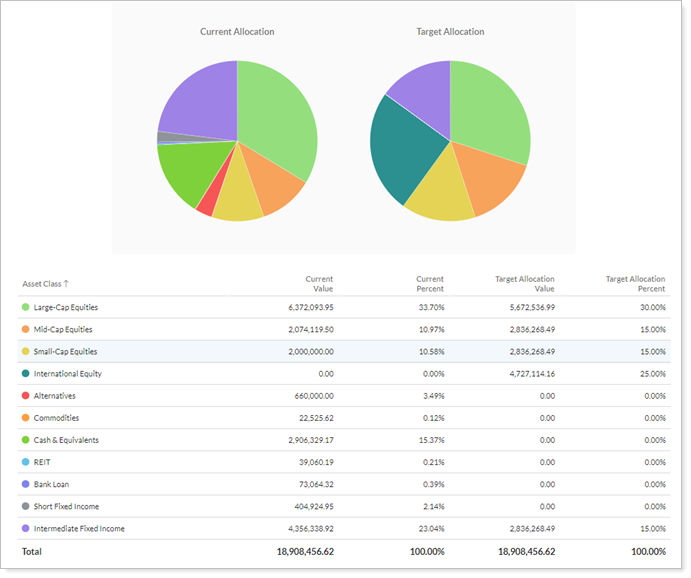
The dynamic and PDF Asset Allocation report displays account- and group-level current and target allocations side by side.
-
The dynamic and PDF Holdings report displays category-level actual and target allocation side by side in subtotals.
-
The PDF Rebalance Summary Charts PDF report compares target allocations with trading and model target data.
For more information on running these reports, see Run a Report and Workflow: Generate a PDF Report.
Target Allocations in Tamarac Trading and Reporting
Target allocations are not integrated between Tamarac Trading and Tamarac Reporting. You must create target allocations separately in Tamarac Reporting.
Create a Target Allocation
To create the target allocation, follow these steps:
-
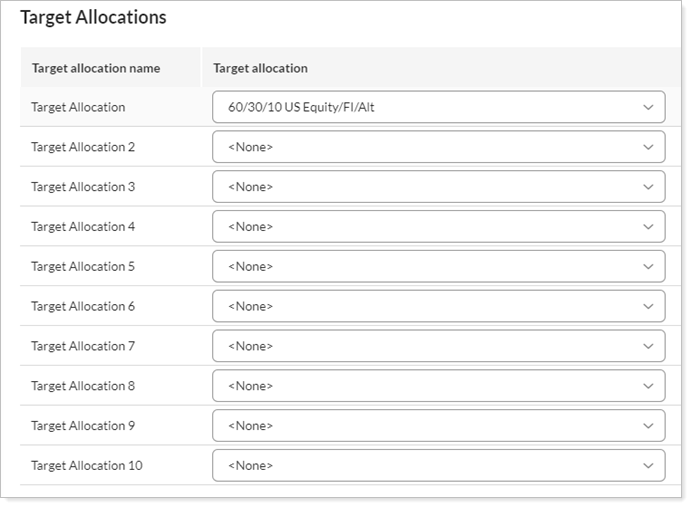
On the Setup menu, under Firm Settings, select Target Allocations.
-
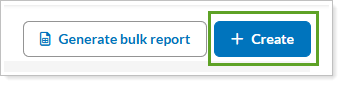
On the Target Allocations setup page, select + Create.
-
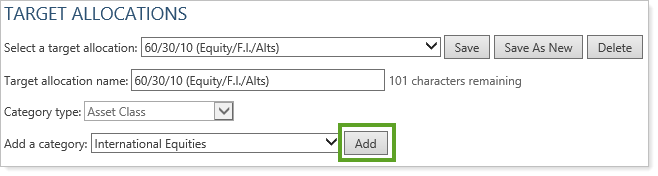
In the Target allocation name box, type a name for the target allocation.
-
In the Category type list, one of your existing categories. For more information on setting up categories, visit Categories.
-
In the Add a category list, choose the applicable item, and then select Add.
-
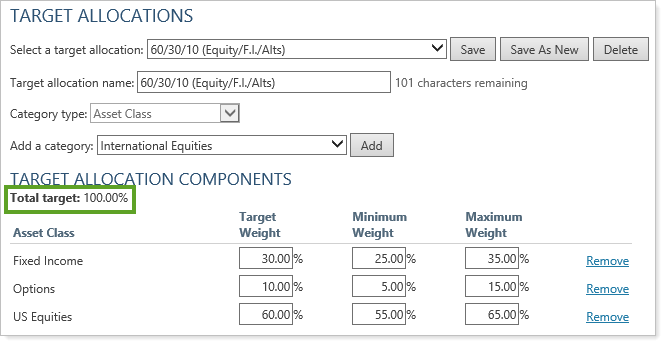
In the Target Weight box, type the target weight for each item. In the Minimum Weight box, type the minimum acceptable weight for the items. In the Maximum Weight box, type the maximum acceptable weight for the items. Repeat these steps until the total amount in the Target Weight column is 100 percent.
-
Select Save.
Edit a Target Allocation
To edit the target allocation, follow these steps:
-
On the Setup menu, select Target Allocations.
-
On the Target Allocation page, select the name of the target allocation you want to modify, or select
 and Edit.
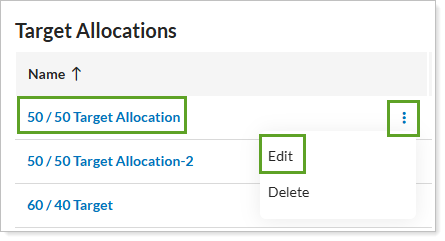
-
Make the necessary changes to the target allocation.
-
Select Save.
Delete a Target Allocation
To delete the target allocation, follow these steps:
-
On the Setup menu, select Target Allocations.
-
On the Target Allocation page, select
and Delete.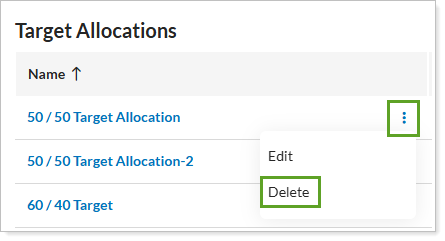
-
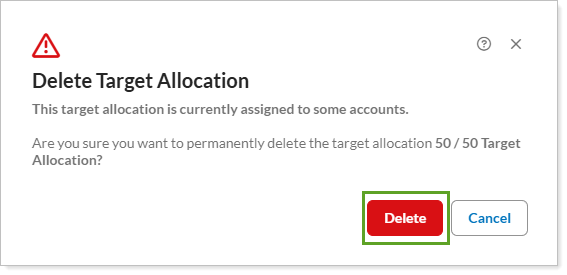
In the Delete Target Allocation dialog, select Delete.
Export Target Allocation Details
Target allocations make it easier for you to compare account holdings to account targets at the account and group level and help you decide if you need to adjust holdings based on the investment policy of the portfolio.
To export target allocation details to a CSV file, click Export Data on the Target Allocations page, which you can find in the Setup menu under Firm Settings.
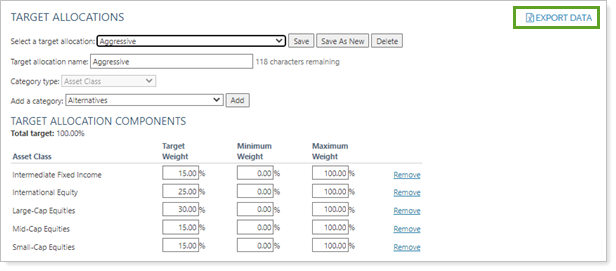
The Target Allocations bulk export allows you to export data points such as these:
- Target allocation name
- Underlying asset classes
- Category types
- Category name
- Weight of those indexes
You can also export all your target allocations currently in use using the Target Allocation Bulk Report.
Assign One or More Target Allocations to an Account or Group
Once you've set up your target allocations, you can assign them to an account or group. You can assign up to 10 target allocations to each account or group. When you run a report, you choose which target allocation you want to use from the ones you assigned.
To assign one or more target allocations to an account or group, follow these steps:
- Under Accounts, select Accounts.
- Select an account or group where you want to assign a target allocation.
- Under Reporting, select Benchmarks / Targets.
- In the Target Allocation list, click the target allocation you want to assign. Optionally, repeat to assign up to 10 target allocations to the account or group.
- Select Save.
Assign Target Allocations in Bulk to an Account or Group
To assign one or more target allocations to an account or group using multi-edit, follow these steps:
- Under Accounts, select Accounts.
- Select the multiple accounts or groups where you want to assign a target allocation.
- Under Actions, select Edit.
- Under Reporting , select Benchmarks / Targets.
- In the Target Allocation list, select the check box for the desired target allocation and set the target allocation you want to assign. Optionally, repeat to assign up to 10 target allocations to the account or group.
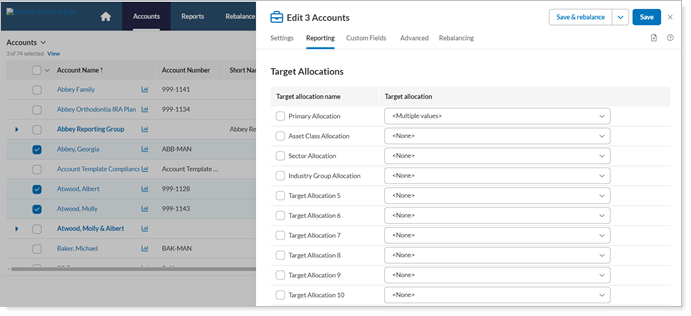
- Select Save.
Assign Target Allocations Using Upload to an Account or Group
To assign one or more target allocations to an account or group using upload, see Add an Upload Data Set.
Assign Target Allocations Using Account Template to an Account or Group
To assign one or more target allocations using Account Template, see Account Templates.