
Contents
|
Assign Custom Fields to Accounts or Groups |
Introduction
Have you wanted to track specific information, but couldn't find an existing field to hold that information? For example, you might want to track a client's classification, the last tax loss harvest date for the account or group, or add a custom bond rating classification to a security. You can create custom fields to make this possible. Custom fields are available for accounts, groups, and securities.
You can create the following kinds of custom fields:
-
String.A freeform text box where you can type any numbers or characters you want.
-
Number.A text box that will allow you to enter a number.
-
Percentage.A text box that will allow you to enter a percentage.
-
Date.A box that will allow you to select a date on a calendar.
-
Yes/No.A check box.
To use custom fields, you'll first need to create the global custom field. Once the field is created, you can then add values to that custom field within your accounts, groups, or securities.
Using Custom Fields
Once you've created custom fields and added their values to your accounts, groups, and/or securities, you can use custom fields in the following ways:
-
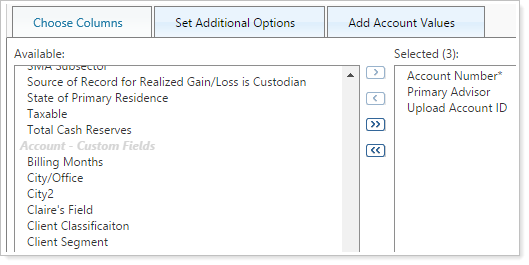
Bulk Reports.Custom fields are available as columns on most of your bulk reports.
-
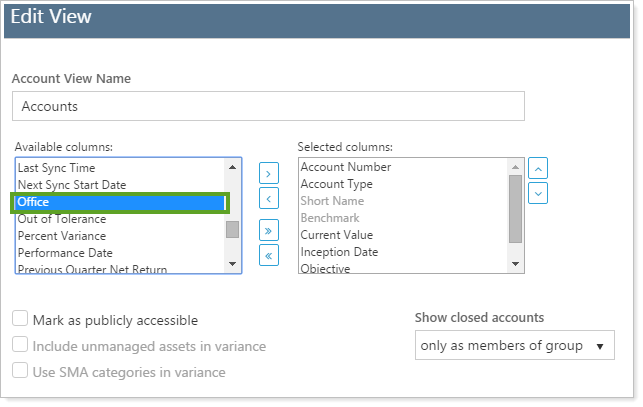
Accounts Page Columns.Add custom fields as columns on the Accounts page.
-
Saved Searches.Create complex saved searches using filters for custom data fields.
-
Securities Page Columns.Add custom fields as columns on the Securities page.
Global Custom Fields
The following sections discuss the ways you can create and change global custom fields that will appear within either accounts, groups, or securities.
Create Global Custom Fields
To create a custom field, follow these steps:
-
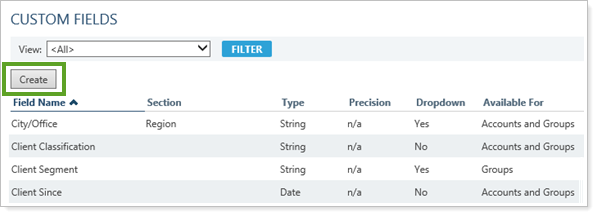
On the Setup menu, click Custom Fields.
-
On the Custom Fields page, click Create.
-
Complete the following:
-
Field Name. We recommend keeping Household custom field names clear and precise if your clients are likely to see it on their dashboard tiles.
-
-
When finished, click Create.
Delete a Global Custom Field
To delete a custom field, follow these steps:
-
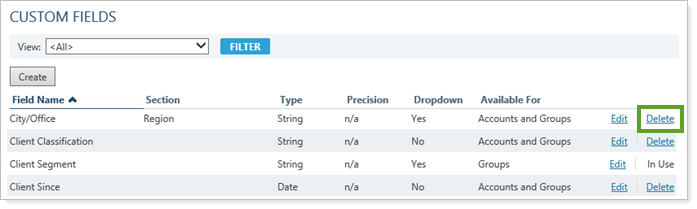
On the Setup menu, click Custom Fields.
-
On the Custom Fields page, click Delete for the field you want to delete.
Edit a Global Custom Field
To make changes to a custom field, follow these steps:
-
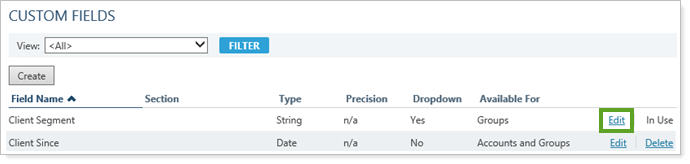
On the Setup menu, click Custom Fields.
-
Click Edit next to the custom field you want to edit.
-
When you've finished making changes, click Save.
Assign Custom Fields
Once you've created global custom fields, you can then add values to individual accounts, groups, and securities.
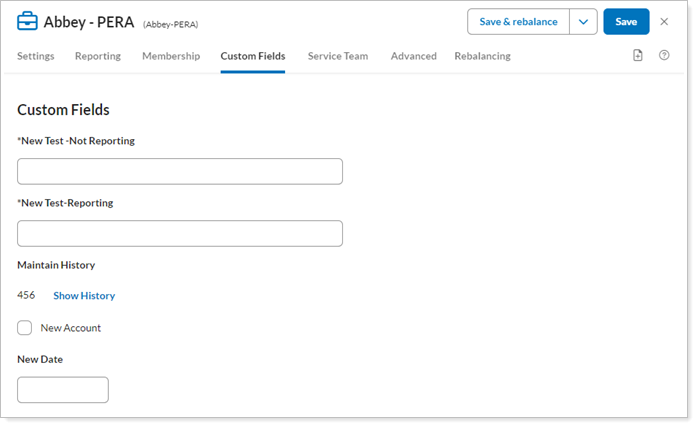
Assign Custom Fields to Accounts or Groups
To assign a custom field to an account or group, follow these steps:
-
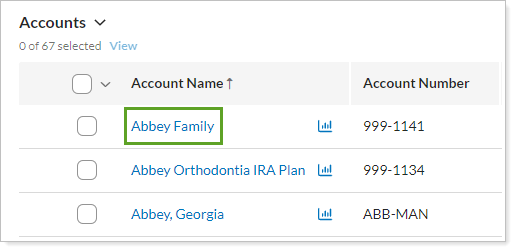
Open the grid page you want to view.
- Accounts
- Households
- Securities
- Rebalance
-
Click the entity where you want to assign the custom field.
-
In the Custom Fields section, choose the values for the custom fields.
See tracked changes for custom fields by clicking the Show History link for that field. This link will be available for custom fields that maintain history, and it allows you to see when the custom field was modified, and who modified it.
For more information on maintaining history, see Maintain History.
For more information about the available fields, or to add a new custom field, see Create Global Custom Fields.
-
When finished making the changes, click Save.
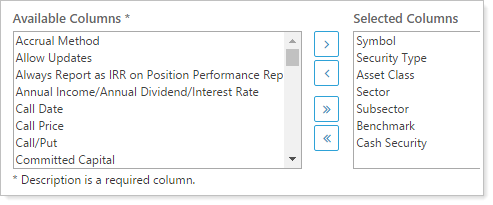
Assign Custom Fields to Securities
To assign a custom field to a security, follow these steps:
-
On the Setup menu, click Securities.
-
Click on the name of the security where you want to complete the custom field. You can use the Search securities box to search for any security.
-
On the Custom Fields tab, complete the custom field.

-
Click Save.
If the custom field you want does not appear, visit Create Global Custom Fields.
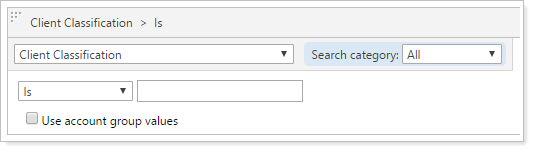
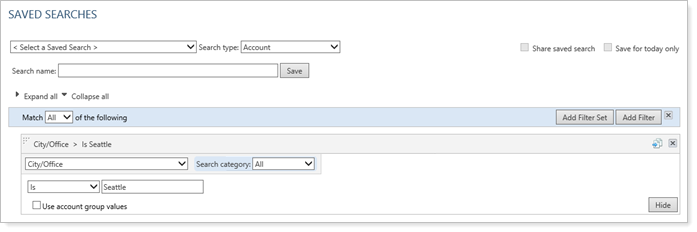
Build a Saved Search Using Custom Fields
After you've built your custom fields and assigned the appropriate values to your accounts and groups, follow these steps to add the custom fields to saved searches:
-
On the Reports menu, click Saved Searches.
-
In the list of saved searches, choose the saved search where you want to use a custom field.
-
Click Add Filter. The custom fields will appear in the list of search filters. In the example below, City/Office is a custom field.
-
When you've finished customizing your saved search, click Save.