Back
Back|
Back |
|
Workflow: Build a Custom View
This workflow provides the steps for how to build a custom view in Tamarac Reporting.

|
|
1. |
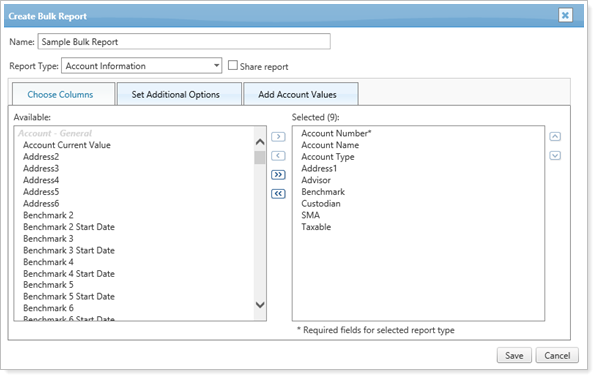
Bulk reports allow you to create reports based on the data parameters you set. First, you select the report type to determine what information you want to include in the report—for example, the Account Information bulk report displays account details—and then customize which columns of data you want to include in that bulk report.
For more information on creating a bulk report, see Understanding Bulk Data Exports. For details on the bulk report types you can create, see Bulk Report Descriptions. |
|
|
2. |
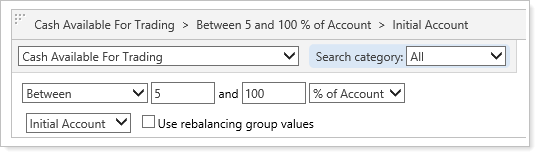
Saved searches allow you to add filters to your data. You can use data filters such as Tax Status and Account Type to narrow your results. You can also nest your saved search filters with filter sets to further narrow your results and make your results more precise. You'll be applying these filters to your bulk reports to narrow down the data in your custom view.
For more information on creating a saved search, see Saved Searches. For details on the search filters you can use to create your saved searches, see Search Filters. |
|
|
3. |
Create the custom view by combining the bulk report and saved search you created. |
|
|
4. |
Once you have results, use the custom view filters to optimize data display. |
|
|
5. |
After you've created your custom view and customized the filtering and sorting, you can export the data to Excel or your spreadsheet program. To export a custom view to Microsoft Excel, click Export Data at the top of the Custom Views page.
Export Data filenames use the view name and include the date and time so you can easily identify your exported files.
|
To learn more about custom views, see Custom Views.