Back
Back Home > Tamarac Reporting > Integrations > CRM Integrations > Household Name and Address Sync for Tamarac CRM
|
Back |
Home > Tamarac Reporting > Integrations > CRM Integrations > Household Name and Address Sync for Tamarac CRM
|
Household Name and Address Sync for Tamarac CRM
If you use both Tamarac Reporting and Tamarac CRM, you can sync the Household name and address between both products. This means that when you update the Household Name or Household Address field in either product, it will be instantly synced to the other product.
The first step in this process is linking Households between products, which you can complete in Tamarac Reporting. Once you link the Households, the name and address information from Tamarac CRM will import into the Household in Tamarac Reporting and they'll be synced from that point forward.
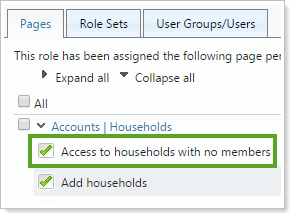
If you create the Household using Create in Tamarac Trading in Tamarac CRM, make sure that users who create the Households have the Access to households with no members permission assigned to their role. This ensures that the user who creates the Household can see it to add members.
Before you can take advantage of this integration, it must be enabled. To enable this integration, please reach out to your Tamarac service team.
You can link Households in Tamarac Reporting to accounts in CRM either manually one at a time, or in bulk using an upload.
To link a Household, follow these steps in Tamarac Reporting:
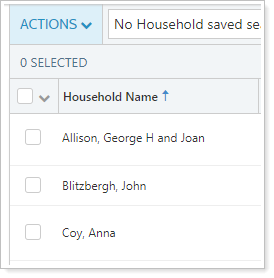
On the Accounts menu, click Households.
Click an existing Household. You can also perform this step when you create a new Household.
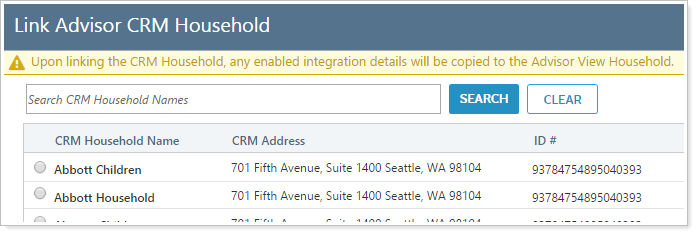
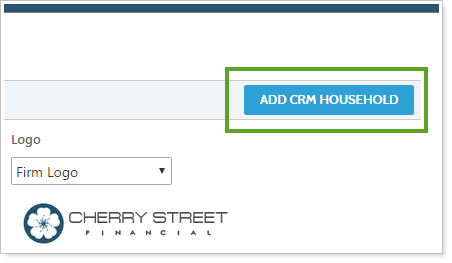
On the Settings page, click the Add CRM Household button.
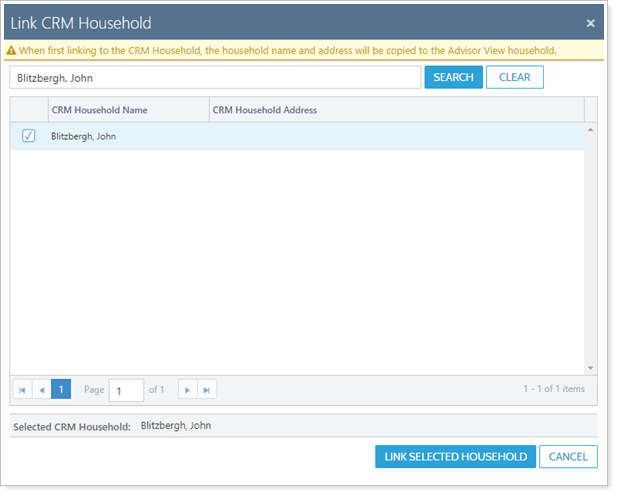
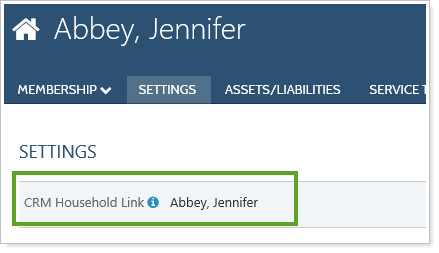
In the Search CRM Household Names box, type the name of the Tamarac CRM Household you want to sync to. When you see it in the list, click the associated radio button and then click Link Selected Household. All integrated fields (the Household Name and Address) will then be synced to Tamarac Reporting.
Search tips:
If you're linking an existing Tamarac Reporting Household to an Advisor CRM Household, the name and address information in Tamarac Reporting will be overwritten with the information in Advisor CRM.
You may not find a match immediately if naming conventions in Tamarac Reporting do not match those in CRM. If you don't see a match, try clearing the search bar and searching by last name only.
The search includes only CRM Account/Households that are not already linked.
To link multiple Households in Tamarac Reporting to accounts in CRM in bulk using an upload, you will follow this general procedure:
Export account information from CRM.
Export a bulk report from Tamarac Reporting.
Match the CRM and Tamarac Reporting data in Excel.
Upload the Excel file in Tamarac Reporting.
We recommend that you follow this procedure for each separate CRM Type. If you want to link client accounts with Households, do one export for that, then do a separate export to link CPAs, attorneys, and other third parties.
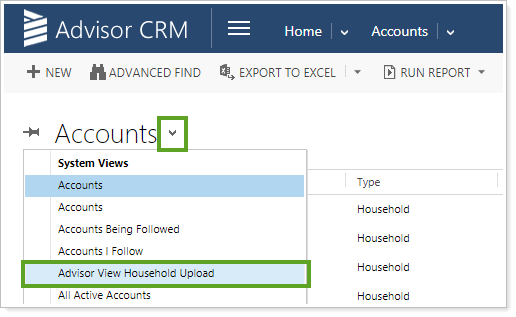
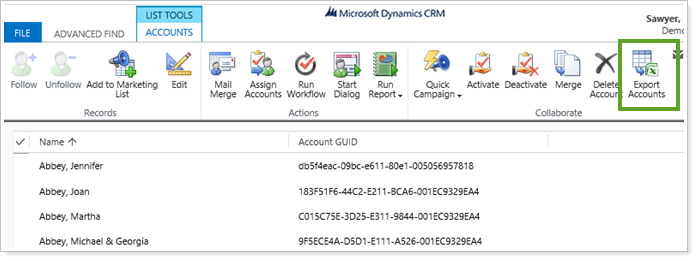
In CRM, on the Accounts page, select the Advisor View Household Upload view.
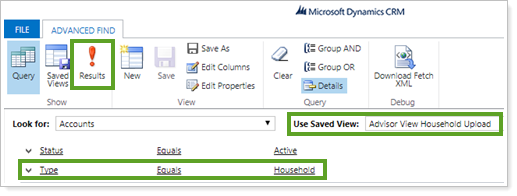
Click Advanced Find. Filter for Type as appropriate. Click Results.
If you want to link only clients, filter the Type to Household.
If you want to link all accounts types, you don't need to make any change.
Click Export Accounts to export the results to an Excel file.
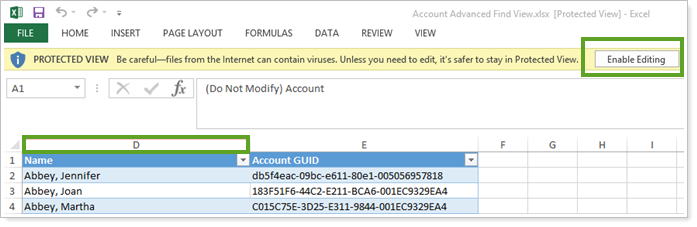
In the Excel file, click Enable Editing. Columns A through C are hidden. You need only the Account Name and Account GUID columns. Delete any extra columns.
In Tamarac Reporting, create a Household Information bulk report. Include the following columns:
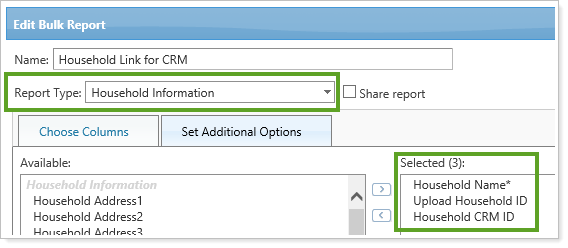
Household Name
Upload Household ID
Household CRM ID
Run the Household Information bulk report.
Save and open the bulk report Excel file.
Copy and paste the GUID from the CRM advanced find export into the matching row in the Tamarac Reporting bulk report.
It is critical that each CRM GUID is correctly matched with the corresponding Tamarac Reporting Household. This is what Tamarac Reporting uses to link the records, so incorrect matching will result in mixed up data.
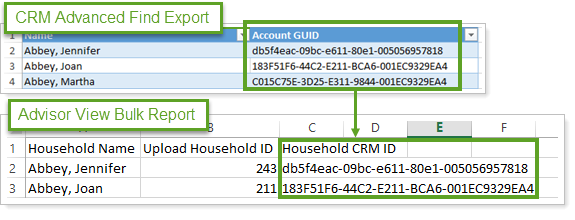
Spot-check to confirm GUIDs were correctly copied into the Tamarac Reporting file.
In Tamarac Reporting, under Setup, click Upload.
Create a Household Information upload.
Add the Excel file containing the matched Account/Household data to the upload.
Click Upload. When the upload is complete, check in Tamarac Reporting to confirm that Households are linked with the correct CRM account.
Once you've linked a Household between Tamarac Reporting and Tamarac CRM, settings in Tamarac Reporting give you flexibility for controlling the addresses used for the household.
Complete the following process to have an address flow from CRM to an Tamarac Reporting Household and all its associated financial accounts:
| Step | Setting | Learn More |
|---|---|---|
| 1 | Link Tamarac Reporting Household and Tamarac CRM Account. | Learn more about linking CRM Accounts and Tamarac Reporting Households. |
| 2 |
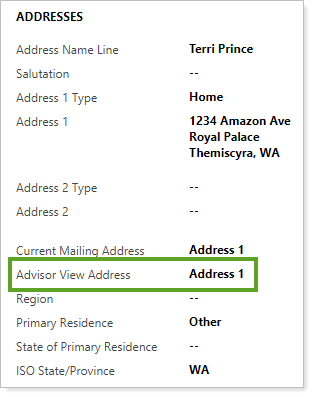
In the Tamarac CRM Account, designate the Advisor View Address. |
Learn more about Tamarac Reporting Address. |
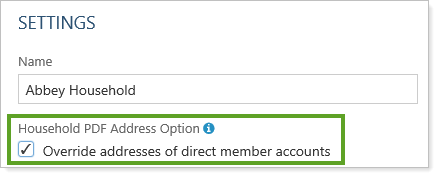
| 3 | In the Tamarac Reporting Household, select the Override addresses of direct member accounts check box. | Learn more about Override addresses of direct member accounts. |
| 4 |
In the Tamarac Reporting financial account, select Primary. Then select the Use Primary Household Address check box. |
Learn more about setting Primary Household. |
| 5 | In the Tamarac Reporting financial account, select the Use Primary Household Address check box. |
Learn more about Use Primary Household Address. |
This option is found on the Accounts page in Advisor CRM for Accounts linked to an Tamarac Reporting Household. It allows you to designate which CRM address is sent to the linked Tamarac Reporting Household.
To learn more about the Advisor CRM address integration settings, see Tamarac Integration.
This checkbox is found on the Household panel in Tamarac Reporting, under Settings.

If selected, all direct member accounts in this Household will use the Household's address when generating PDF reports from the Households page. Accounts will still use their own address when generating reports from the Accounts page.
You can update this setting using a Household Information bulk report and upload that includes the following columns:
Household Name
Upload Household ID
Override addresses of direct member accounts
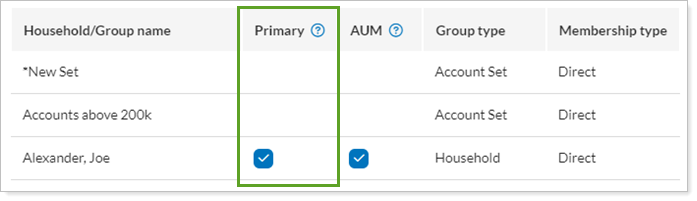
This check box is found in Tamarac Reporting on the Accounts page under the Membershiptab on the Households / Groups panel.

This option is available when the selected account or group is a member of a Household, either directly or implicitly. When selected, this indicates that the selected Household is considered the primary Household for that group or account. For more information on primary Household assignment, see Assign a Primary Household in Maintaining Accounts: The Household and Group Membership Panel.

This check box also sets the Primary Household in Tamarac CRM if Household Membership is enabled.
Be sure you're selecting the correct client Household when using the Primary option. In addition to CRM Household assignment, it determines what the client sees on the client portal. For example, a client has a CPA who also has portal access to receive information about that client, and the CPA's group is part of the client's Household as well as the CPA's Household. In this case, you wouldn't want to select the CPA's group as Primary because this address would be used at the group level for the client.
If you select this option in combination with the Use Primary Household Address option, the proper address will be associated to the group or account.
This checkbox is found on the Accounts panel in Tamarac Reporting. From there, it is in the Name/Address option, under the Settings list.

Use primary household address, when selected, automatically fills in the mailing address for the selected account with the primary address for the Household. By managing the address at the Household level instead of at the account level, you can make address updates less cumbersome—any changes made to the Household address will flow through to any member addresses where this option is selected.

The account or group must have a primary Household assigned in order to take advantage of this feature. The primary Household is assigned automatically for accounts added to a Household for the first time.
You can designate the primary Household on the Household / Group membership panel of any groups. This will allow your Household and member addresses to stay synced.
The following are some scenarios you might encounter when establishing a primary Household:
| If... | When You Select Use Primary Household Address... |
|---|---|
| Primary Household is assigned | Primary Household becomes the source for the account or group's mailing address field. |
| Primary Household is not assigned | Account or group address is cleared. No address appears in the address field until one is added to the primary Household. |
| Address comes from master account | Primary Household becomes the source for the account or group's mailing address field. |
You can update this setting for financial accounts in bulk using an Account Information bulk report and upload that includes the following columns:
Account Number
Upload Account ID
Use Primary Household Address: Set to Yes for accounts you want to use the primary Household address.
Once a Household is linked between Tamarac Reporting and Tamarac CRM, you can easily change which address in Tamarac CRM is used as the address for the Household. You can choose either Address 1, Address 2, or leave this field blank in Tamarac CRM, and this information is pushed to Tamarac Reporting.
To change the address used for the Household, follow these steps in Tamarac CRM:
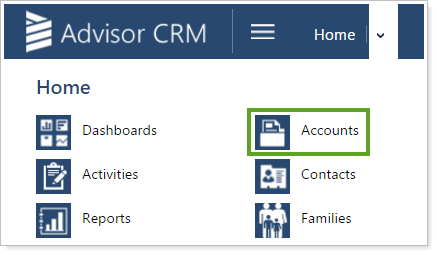
Expand Home and then click Accounts.
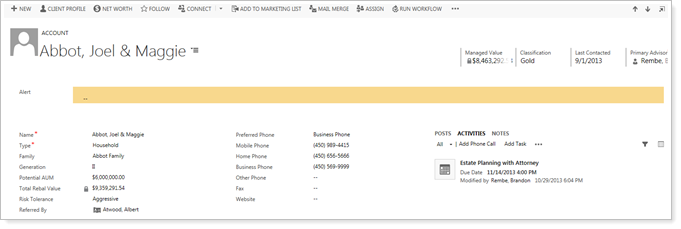
In the quick search bar, type the name of the account you want to update.

Double-click the account you want to update and then make the necessary changes.
Choose the correct address you want to use in the Advisor View Address field, found under Addresses.
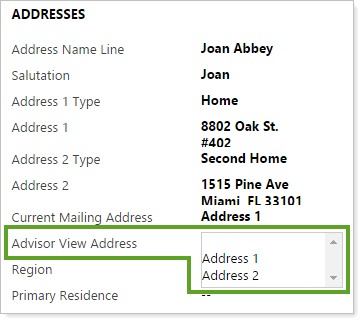
Click the  button in the lower-right corner to save your changes.
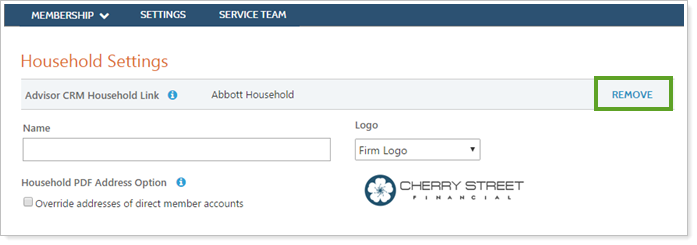
If you've linked an Tamarac CRM Household to an Tamarac Reporting Household, and now you no longer want to sync information between the Households, you can unlink them.
To remove the linking for a Household:
On the Accounts menu, click Households.
Click an existing Household. You can also perform this step when you create a new Household.
On the Settings page, click the Remove button.