 Back
Back Home > Tamarac Reporting > Clients and Client Portals > Client Portals > New Client Portal > Assign New Client Portal Templates to a Client
|
Back |
Home > Tamarac Reporting > Clients and Client Portals > Client Portals > New Client Portal > Assign New Client Portal Templates to a Client
|
Assign New Client Portal Templates to a Client
|
Enable the New Client Portal for a Client Enable the New Client Portal for Multiple Clients at Once |
Enabling portal access is the last step in setting up a new client portal. Clients use the same URL and credentials to access the new client portal. After you enable, clients will see the new client portal experience the next time they sign in.
You can also use this option to later deactivate or revert the client back to the legacy portal.
Deactivate. By setting Enable Portal Access to No, you'll remove the client's access, and they won't be able to sign in. Disabling access will not remove any files, announcements, reports or any other information. You can re-enable access at any time and the portal will be exactly as it was before disabling.
Revert to legacy. By setting Portal Type to Legacy, you'll return the client to the legacy client portal, based on the Client desktop view assigned. Clients still sign in with the same URL and credentials, and they'll still see all the files and announcements provided in the new client portal.
To review which templates are assigned, see Identify Which New Client Portal Templates Are Assigned to a Client.
To activate a new client portal:
Under Accounts, select Clients.
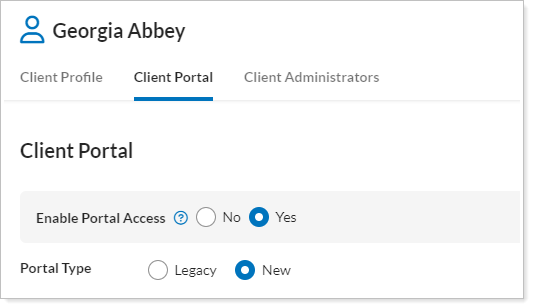
Select the name of the client you want to the new enable client portal access.
On the Client Portal tab, in Enable Portal Access, select Yes.
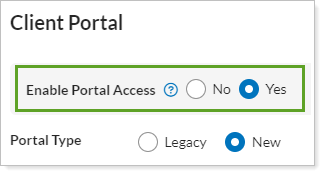
If this option is grayed out, it's because a Household hasn't been assigned to the client on the Client Profile panel.
When you choose Yes to enable portal access, Send Activation Email is automatically selected.
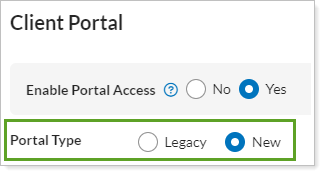
Set Portal Type to New.
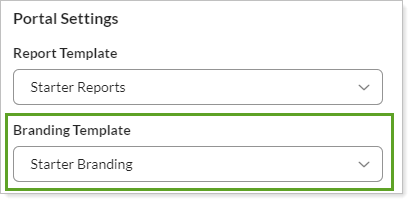
In Report Template, choose the desired Reports template. By default, clients are assigned the Starter Reports template.
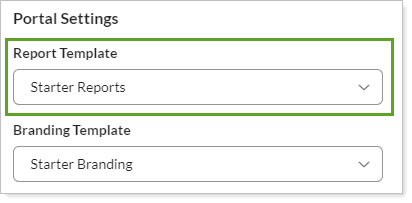
In Branding Template, choose the desired Branding template. By default, clients are assigned the Starter Branding template.
Select Save. Tamarac Reporting sends the client an email with a link to the Set Password page. This link remains active for 72 hours. If your client doesn't click the link within 72 hours, you can resend activation email.
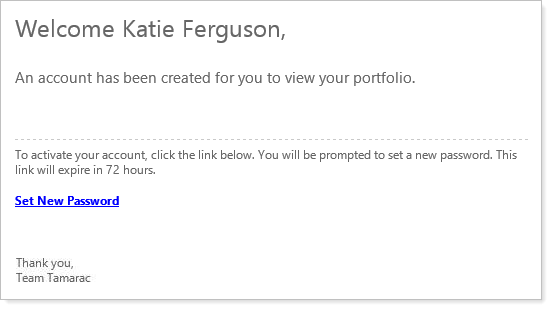
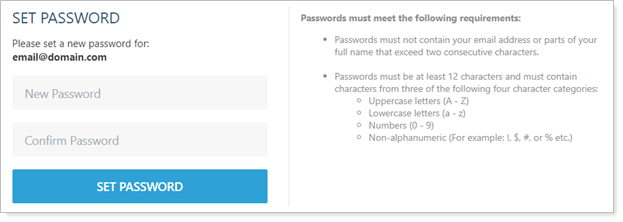
When your client clicks the Set New Password link, the Set Password page opens, where your client creates a new password. There is no disclaimer for clients to activate the portal. However, you can enable dual factor authentication for further portal security.
You can save time when you want to activate the new client portals for multiple clients at once by using multi-edit to activate them all at once.
When multi-editing, the following are the default selections:
Portal Type is selected and set to Legacy when you choose a mix of clients using legacy and new portals.
Report Template is cleared and set to <Multiple values>
Branding Template is cleared and set to <Multiple values>
To activate portals and assign templates for multiple clients, follow these steps:
Under Accounts, select Clients.
Select the check boxes next to the clients you want to enable the new client portal for.
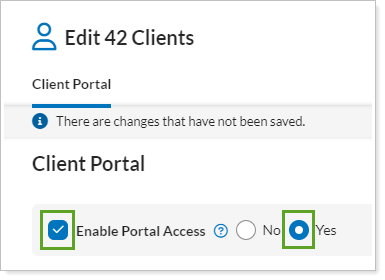
Under Actions, select Edit.
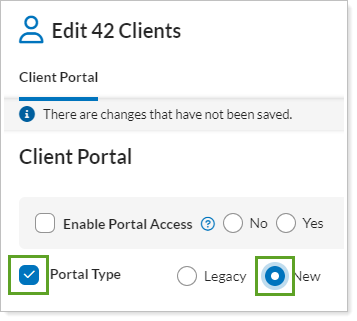
On the Client Portal tab, select the check box next to Enable Portal Access, then select Yes.
This enables portal access, but the activation email is not sent to your client. This allows you to review the client portal before clients see it.
After reviewing the portal you can come back to the client record and select the Send Activation Email check box, or use multi-edit to send the activation email.
Select the check box next to Portal Type and select New. By default, it is selected and set to Legacy.
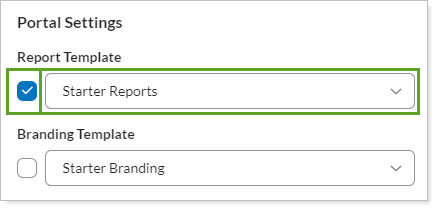
Select the check box next to Report Template and choose the desired Reports template.
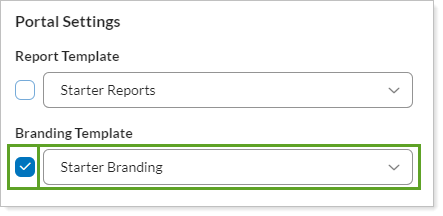
In Branding Template, choose the desired Branding template.
Select Save. When this change is saved, Tamarac Reporting returns to the Clients page with the clients still selected.
You can save time when you want to activate the new client portals for multiple clients at once by using bulk reports and bulk updates to activate them all at once.
To activate portals and assign templates for clients with bulk updates, use the following new columns in the Client Information bulk report and upload to export and edit template assignment:
Client portal type: Indicates whether a client uses the new or legacy client portal.
Branding template: Indicates which Branding template is assigned to the client. By default, this is the Starter Template.
Reports template: Indicates which Reports template is assigned to the client. By default, this is the Starter Template.
For details on bulk reports, see Create, Edit, or Delete a Bulk Report. For details on bulk uploads, see Upload Bulk Data.
If the Enable Portal Access option is grayed out or disabled, it's because a Household hasn't been assigned to the client on the Client Profile panel. Clients must be assigned to a Household before you can activate their portals.
For more information about Households, see Add or Remove Members of a Household.