|

|
1.
|
Run Pre-Billing Audits >
Ensure that:
- All billable accounts are in billing groups
- Billable accounts are assigned to only one billing group each
- Billing groups are properly set up
To complete this step:
-
Create pre-billing audit saved searches.
-
Run each saved search on the Accounts page to identify accounts not assigned to a billing group and accounts assigned to more than one billing group. For more information, see Accounts Page Actions, Views, and Filters.
-
Resolve the issues identified by adding unassigned accounts or removing accounts assigned to multiple billing groups. For more information, see Understanding Billing Groups.
|
|
|
2.
|
Generate Billing History >
Calculate the fees that will be charged to clients for that billing cycle. If the month or quarter ends on a weekend, you will need to wait one business day after the weekend to generate the billing statement. On Monday, Tamarac Reporting will only have closing prices as of the Friday before the weekend.
To generate billing history separately from creating the billing statement, follow these steps:
-
On the Billing menu, click Billing Groups.
-
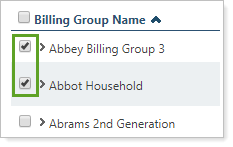
Select the billing group(s) that you want to create billing history for.
-
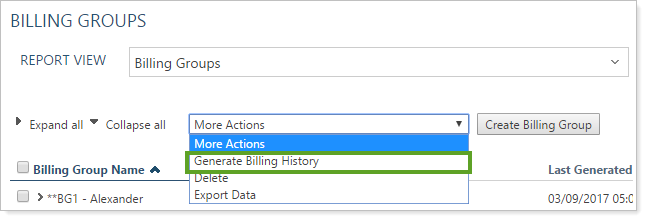
In More Actions, click Generate Billing History.
-
In Billing date, add the date you want to generate the billing history for.

-
Click Generate Billing History. Be aware that:
-
If the group's billing history has not previously been generated for the selected date, the billing history will be generated, and you can view it on the Billing History page.
-
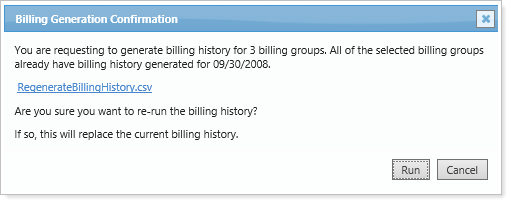
If this group's billing history has already been generated for the selected date, you will see an alert asking you to verify whether you want to overwrite the existing billing history.
|
|
|
3.
|
Confirm Billed Amounts >
Export and examine billing data to identify missing or inaccurate information to reduce potential errors in billing.
Follow these steps to export billing data:
-
Create Account Billing History bulk report.
-
On the Accounts page, use billing account sets to filter the page to see the applicable accounts.
-
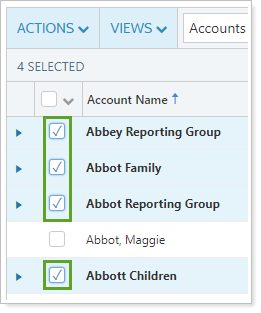
Click the check box next to each account or group, or select multiple accounts at once with the select all check box.
-
Click Actions.
-
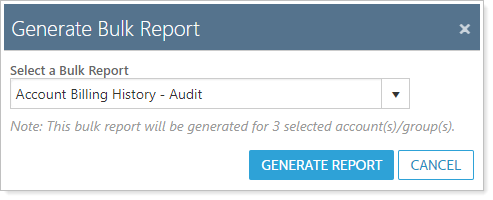
Click Generate Bulk Report.
-
Run the Account Billing History bulk report.
-
Review the .CSV file for any gaps or discrepancies in data.
|
|
|
4.
|
Export and Submit Fees to the Custodian >
Generate the file to send to custodians for clients whose fees are taken directly from the account.
Follow these steps to submit fees to the custodian:
-
On the Billing menu, click Billing History.
-
In the Find Data For list, choose an account set that you want to export. To select all billing information, search for All Accounts. The groups that will be exported are determined only by your selection in the Find Data For list, and are not influenced by selections in the check boxes.
If you use multiple custodians, it can help to create an account set for each custodian and then perform a custodian export for each custodian separately. Once you create the sets, you can use the Find Data For list to filter by custodian. Learn more about billing account sets Create Billing Account Sets.
-
Click Edit.
-
In the Date Range list, click the date period for the quarter that you are billing for.
-
When finished, click Apply.
-
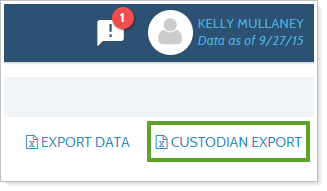
Click Custodian Export.
-
Tamarac Reporting will prompt you to save a file. Save this file to your desktop and then submit it to your custodian as you typically do.
|
|
|
5.
|
Generate and Review Invoices >
Generate and send the PDF invoices to clients.
To generate a PDF billing statement:
-
On the Accounts menu, click Accounts.
-
Filter the Accounts page to find the account or group you want to generate a statement for. Use account sets and filters to quickly find the reporting groups you want to want to generate invoices for. For more information on finding specific accounts or groups on the Accounts page using account sets and filters, see Accounts Page Actions, Views, and Filters.
-
Click the check box next to each account or group you want to run a statement for, or select multiple accounts at once with the select all check box.
-
Click Actions.
-
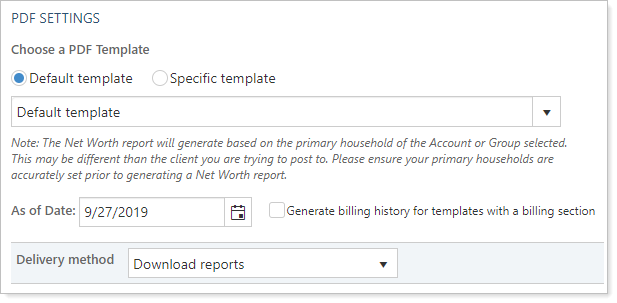
Click Generate PDF Report and complete the following:
-
Choose a PDF Template: If you've assigned the billing invoice as a default template, select the default template. Otherwise, choose the specific billing template to use.
-
As of Date: Specify the billing period end date.
-
Generate Billing History for Templates with a Billing Section: Generate billing history if you know that the billing history is incorrect and you'll be able to audit the billed amounts before sending the invoices to clients.
Important
Selecting Generate billing history for templates with a billing section overwrites existing billing history.
-
Delivery Method: Choose how you want the client to receive the PDF report.
-
Click Generate Reports.
-
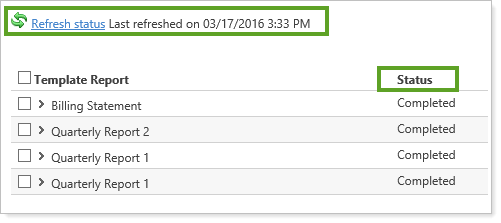
On the PDF Report Status page, the Status column displays:
-
Completed: When Tamarac Reporting is finished generating the reports.
-
Processing: When Tamarac is still generating the report. If you selected a large number of accounts, processing may take a few minutes.
To update, click the Refresh Status link at the top of the page.
-
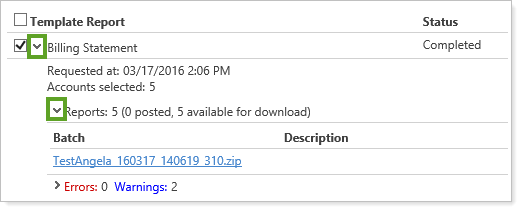
When complete, expand the template report you just generated, then expand the Reports section to access the reports.
-
Click the link to download reports. If you are generating a billing statement for more than one account, Tamarac Reporting will create a ZIP file that contains the statements you generated. Choose a location to save the ZIP file, and then click Save. When the download is complete, double-click the file you saved.
-
Double-click the billing statement file you want to view, and a PDF report appears on your screen. You need Adobe Reader or Adobe Acrobat to view the reports.

|
|
|
6.
|
Reconcile Billing History >
Compare the payments received with the billed amounts to ensure they match.
To perform auto-reconciliation, follow these steps:
-
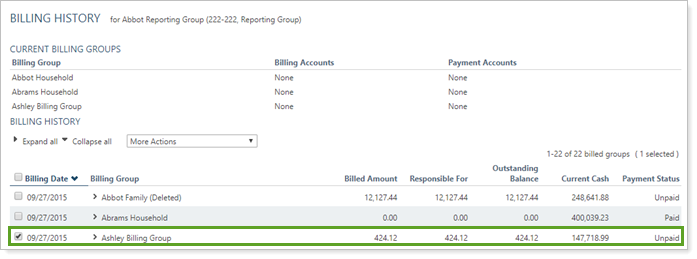
On the Billing menu, click Billing History.
-
In the Find Data For list, click All Accounts.
-
Click Edit. In the Date Range list, click the date period for the quarter that you billed for. When finished, click Apply.
-
Select the check boxes next to the billing statements that you want Tamarac Reporting to automatically reconcile as paid, or select all billing groups using the check box next to the Billing Date column.
-
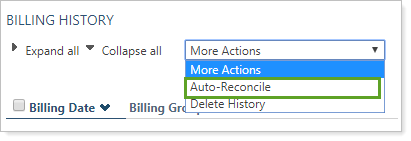
In the More Actions list, click Auto-Reconcile.
-
Choose the number of days to search for the past billing data. For more information, see Search Past X Days Past Billing Date.

-
Select the Remove all associated reconciliations check box, if applicable.
-
Click Start Auto-Reconcile.
-
When the auto-reconciliation is complete, Tamarac Reporting will take you to the Auto-Reconciliation History page where you can see the results of the auto-reconciliation.
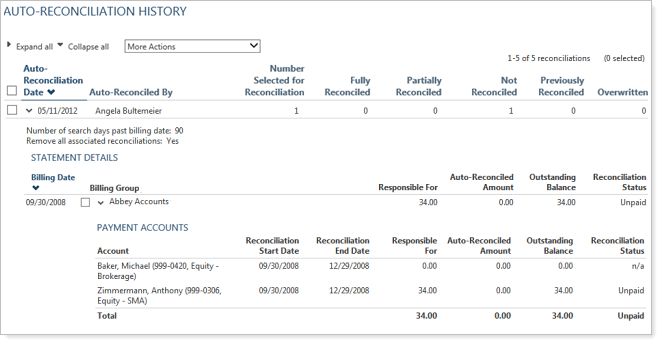
For more details on manual and auto-reconciliation, see Run Billing Reconciliation.
|
 Back
Back